Picture on Picture Editor: Layer Images Without Photoshop
 Aiko Tanaka
Picture on picture editing comes up constantly in design work — placing a product photo against a new background, layering a brand mark over a campaign image, compositing a lifestyle photo onto a textured surface for a moodboard. It sounds technical, but the task itself is straightforward: you want one image sitting on top of another, with control over how they interact.
The "Photoshop or nothing" assumption around this workflow has been obsolete for a few years. Browser-based editors now handle the most common picture on picture compositing tasks in a fraction of the time, without requiring knowledge of blend modes, smart objects, or clipping masks. Setting up a moodboard or building a quick product mockup for a campaign proposal rarely requires opening Photoshop at all.
Direct answer. A picture on picture editor lets you place one image on top of another — layering subjects, backgrounds, logos, and product photos into a single composite — without Photoshop. For most design, ecommerce, and social media use cases, a browser-based editor with background removal and layer positioning covers the full workflow.
What "Picture on Picture" Means in Design
The term covers a range of compositing tasks that share the same underlying operation: one image (the top layer) sits over another (the base layer), with some form of interaction between them.
The most common versions:
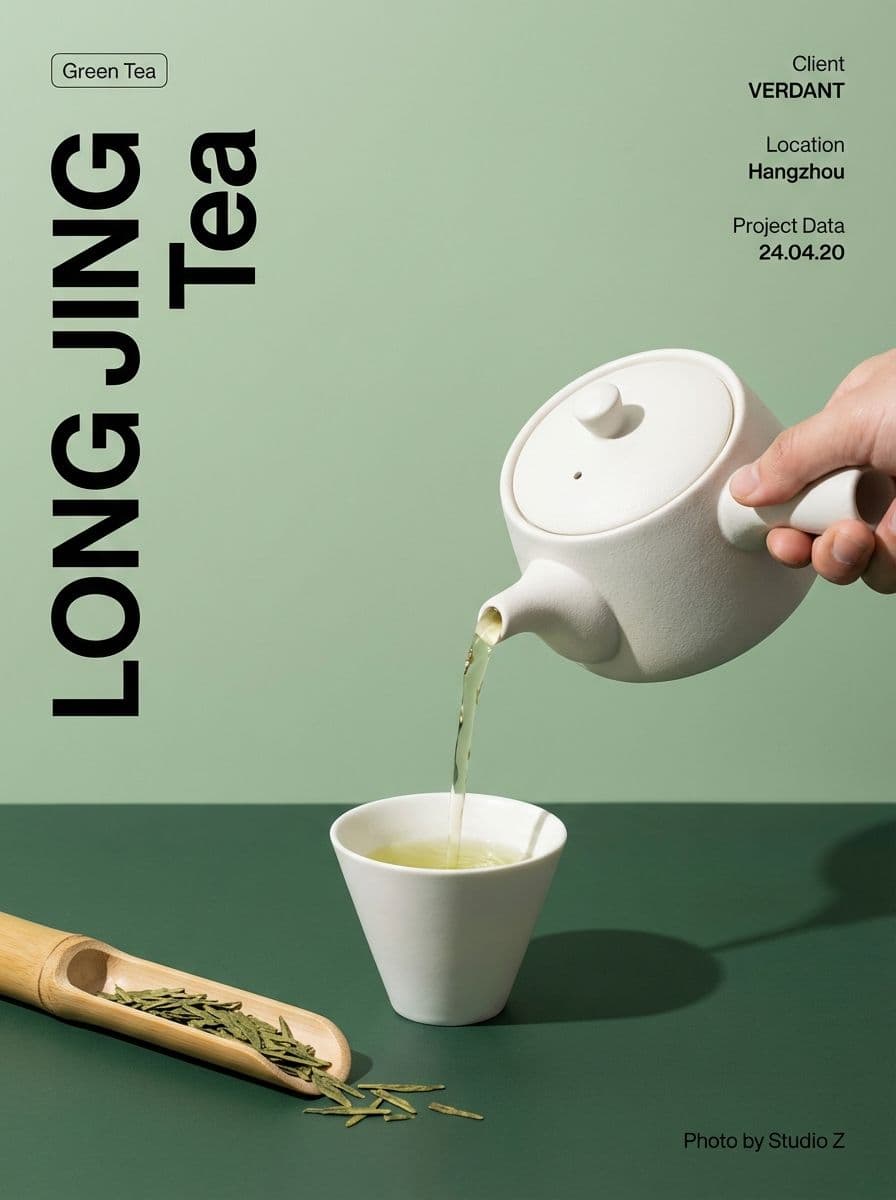
Transparent subject over background. A product photo with the background removed, placed against a studio white, a lifestyle scene, or a brand-colored solid. The subject image is "on top" of the background image. This is probably the single most common picture on picture operation in ecommerce and brand work.
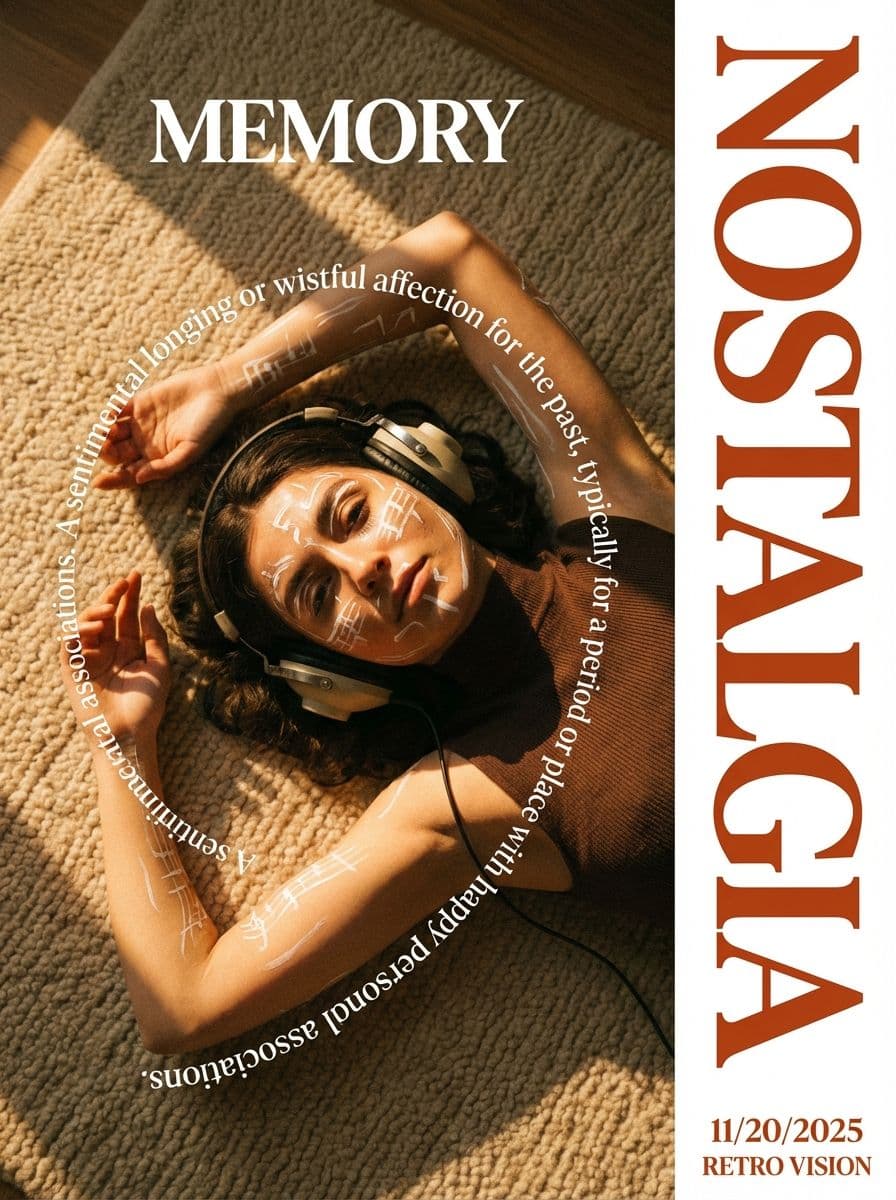
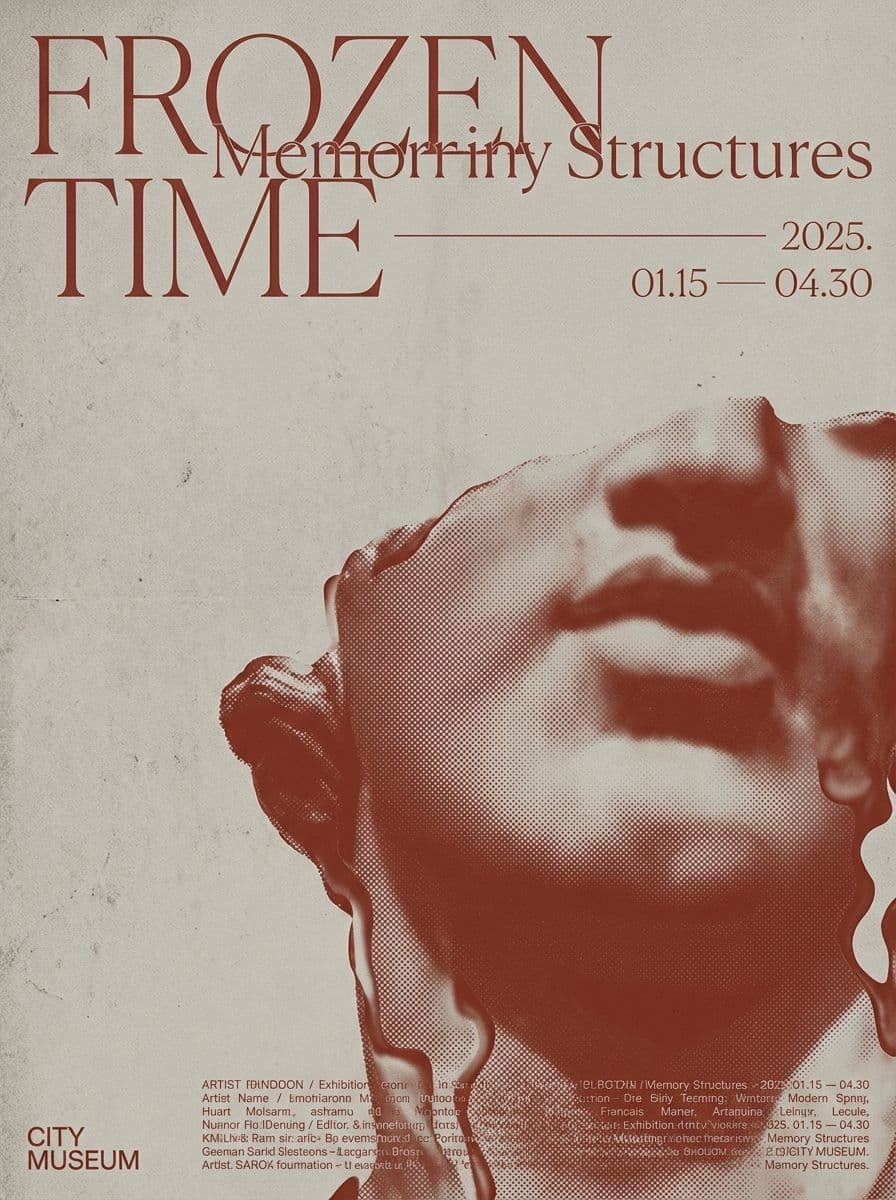
Overlay with opacity. A texture, gradient, or secondary image placed on top of a photo at reduced opacity — creating the impression that the two images are merged. Common in moodboards, editorial layouts, and atmospheric social posts.
Logo or watermark placement. A brand mark (usually a PNG with transparent background) placed on top of a photo. Logistically simple; the design challenge is in sizing and positioning so the mark doesn't visually compete with the subject.
Product mockup. A product photo composited onto a flat-lay surface, a packaging mockup template, or a real environment photo. The product needs to be cut out cleanly; the shadow and perspective matching determine whether the result looks real.
Understanding which type you're doing changes which tools and settings you reach for.
Six Common Use Cases for a Picture on Picture Editor
1. Product-on-background compositing. Remove the background from a product photo, then place it against a studio white, an AI-generated lifestyle scene, or a brand-colored background. Standard for ecommerce listings and campaign assets.
2. Social media graphic layering. A portrait or product photo as the base, with a semi-transparent color overlay, a pattern, or a secondary image layered on top to create a branded social post.
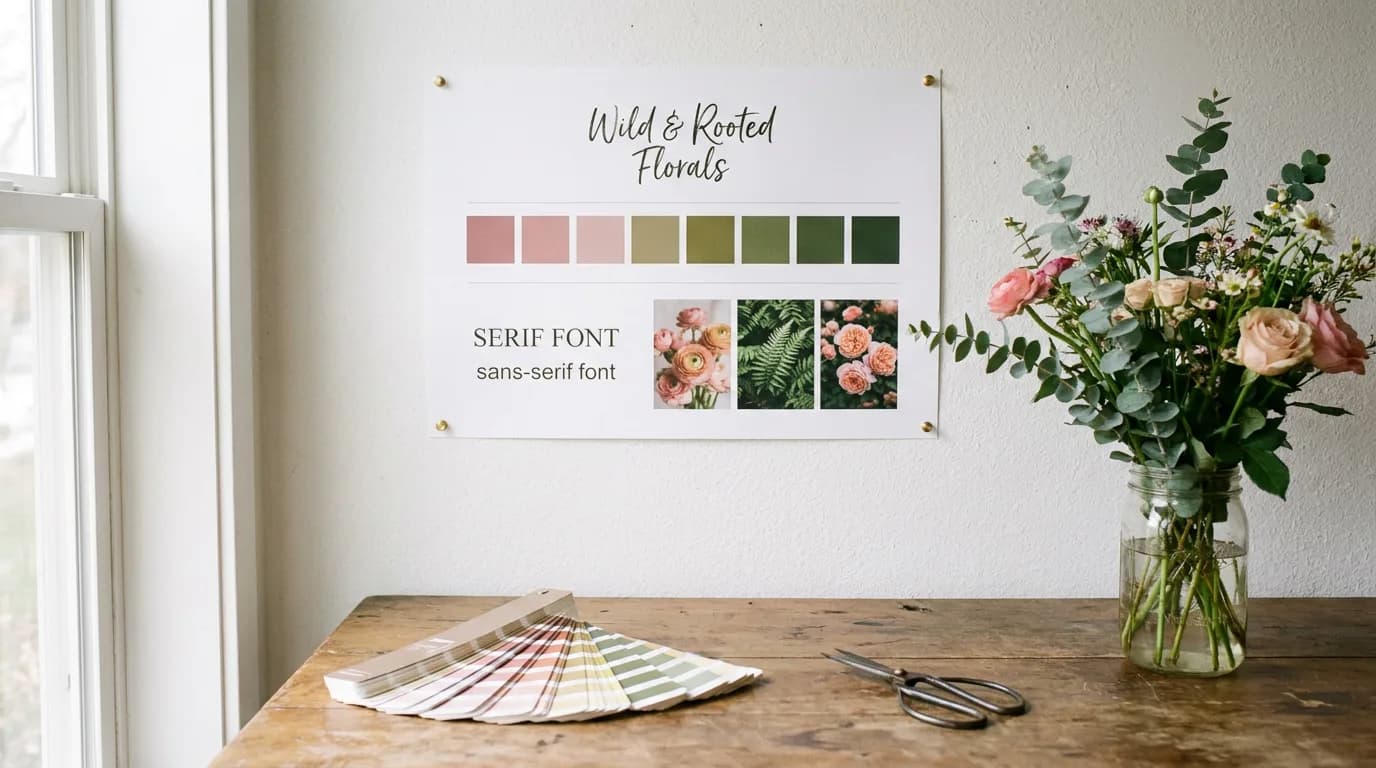
3. Moodboard construction. Multiple images placed over each other at various opacities, with cropping and position control, to communicate a visual direction to a client or creative team.
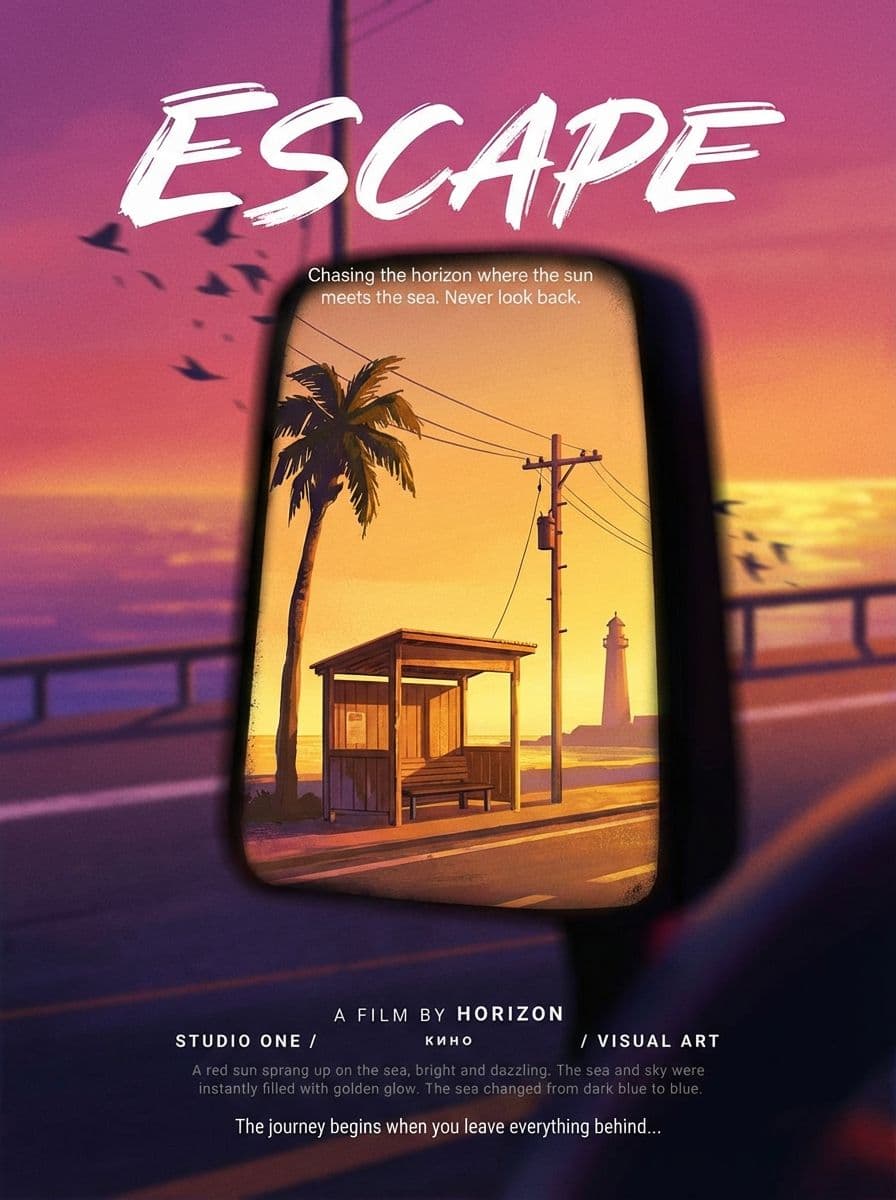
4. Event and promotional poster. A venue or product photo as the base, with a foreground subject (a performer, a product, a headline image) composited on top in a clean cutout.
5. Before/after comparison. Two versions of the same image — pre-edit and post-edit, or two product colorways — arranged as a split or overlap, with a clear boundary between them.
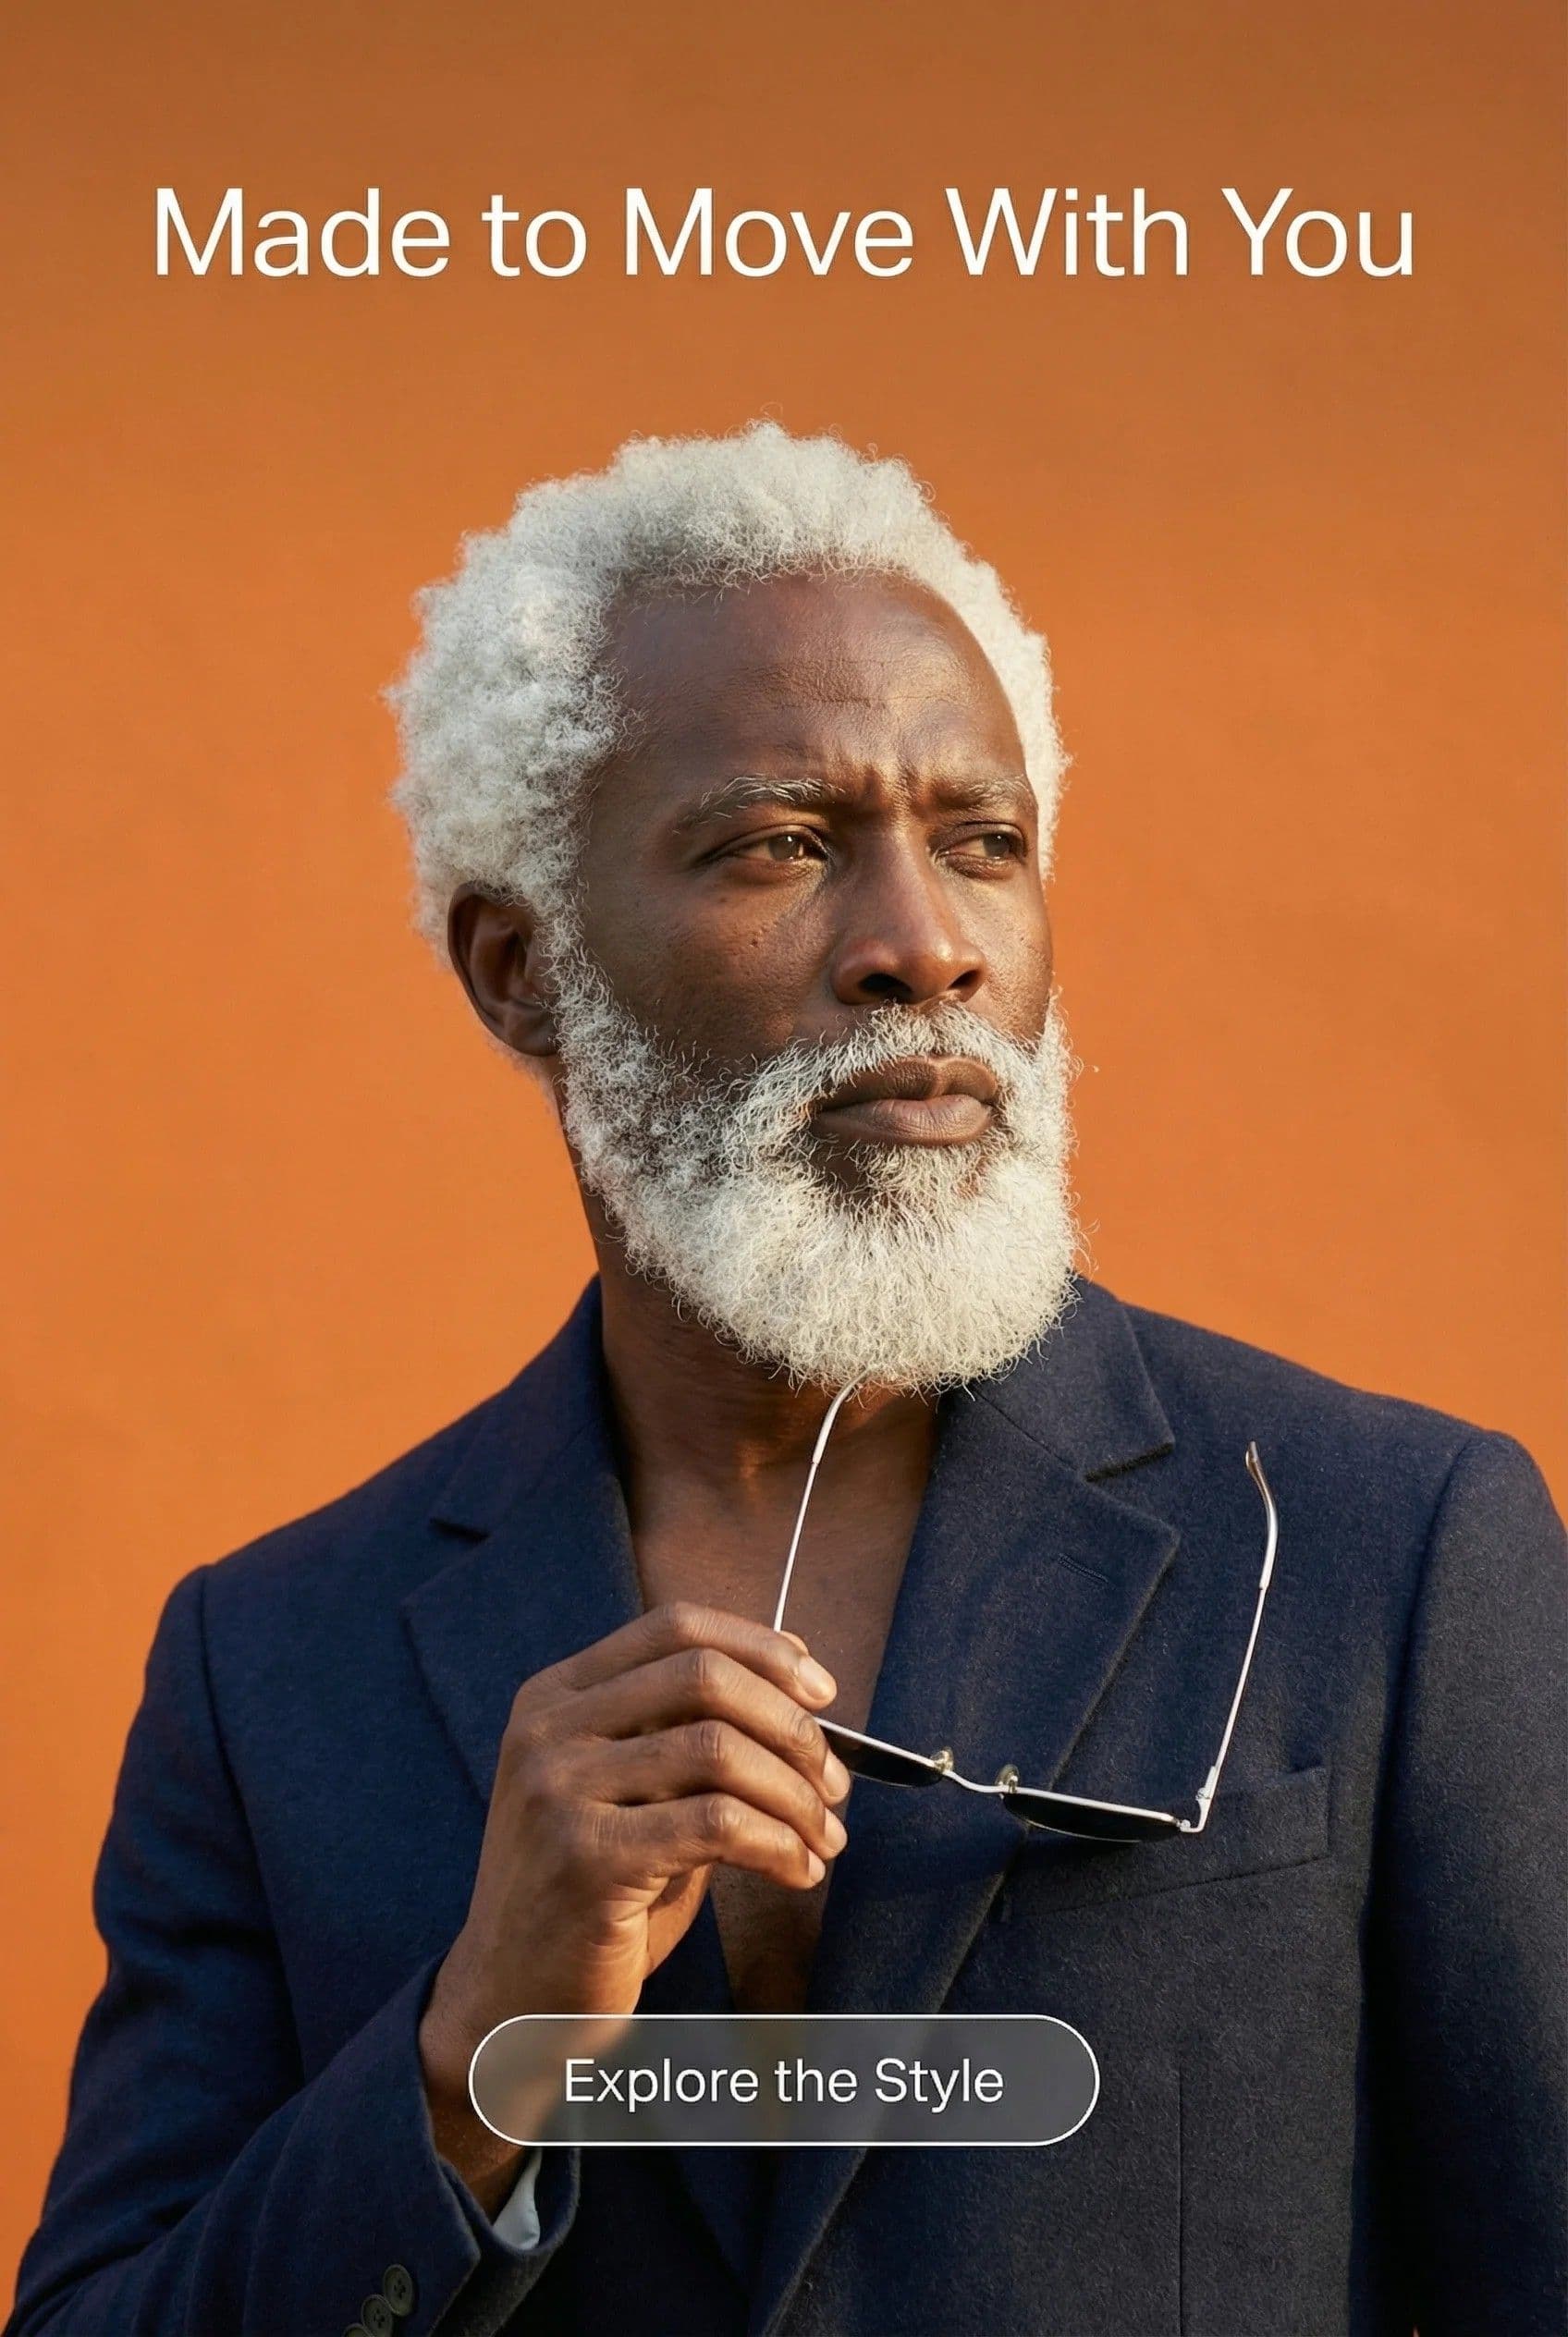
6. Profile and headshot compositing. A portrait subject placed against a professional background — a solid color, an office environment, or a brand-appropriate scene — without the person needing to be physically photographed there.
How to Layer Images: Step by Step
Step 1 — Prepare the top image. If the image you're placing on top has a background you don't want, remove it first. In Playyy, use the background remover or inpaint to isolate the subject. Export as PNG with transparency if you're working between tools, or keep it on the Playyy canvas.
Step 2 — Open your base image. Set the background image on the canvas. This is the image that will sit behind everything else.
Step 3 — Place the top image. Add the subject or overlay image as a second element on the canvas. Adjust position, scale, and rotation. For opacity-based overlays, reduce the layer opacity to blend the top image into the base.
Step 4 — Refine the edge. For cutout subjects, inspect the edge where the subject meets the background at 100% zoom. If the edge has fringing (a faint halo from the original background), use inpaint replace along the edge to clean it up. This is the step that distinguishes a convincing composite from one that obviously looks cut out.
Step 5 — Adjust for coherence. The composite reads as believable when the lighting direction of the subject matches the background. If the subject was lit from the left and the background scene has light coming from the right, the brain reads it as fake. A subtle brightness adjustment on the subject — or a background choice that matches the original lighting — fixes this.
Getting the Composite to Look Right
The technical execution of picture on picture editing is straightforward. The design judgment is what takes practice.
The three decisions that most affect whether a composite looks intentional or accidental:
Light direction. Match or fake it. If the subject's shadows fall to the right, the background light source should be on the left. This is the most commonly ignored rule in beginner compositing and the most visible mistake.
Scale and perspective. A subject placed at the wrong scale relative to the background reads as surreal even when the cutout is clean. Err slightly smaller than you think — subjects composited at natural scale often look oversized because we're not accounting for depth.
Edge behavior. A hard cutout edge on a soft, atmospheric background looks like a sticker. Feathering or slight edge blending — for example a light inpaint pass along the boundary in Playyy — makes the composite read as cohesive. See also: how to make a background transparent for the full workflow on clean transparent cutouts.
The quality gap between browser compositing tools and Photoshop is real but narrow, and it lives entirely in edge cases. On a standard product-on-background composite — opaque subject, clean edges, straightforward lighting — an automated cutout and a hand-cut mask are indistinguishable at listing resolution. Photoshop earns its time back on hair, fine detail, transparency and anything where you need to control the mask by hand. For most ecommerce and social use, that work isn't required.
When Simple Layering Isn't Enough
Most picture on picture compositing is resolved by background removal plus layer positioning. Two situations call for more:
Subjects with complex edges. Fine hair, transparent fabrics, and fur all require careful masking to separate cleanly from the background. The split layers tool in Playyy handles automatic subject separation that covers most portrait and product cases; for genuinely complex edges, a manual mask refinement pass produces cleaner results.
Perspective matching. Placing a flat product label onto a curved bottle, or a 2D graphic onto a building facade, requires perspective warping. This is the one use case where most browser-based compositing tools still fall short of Photoshop, whose Vanishing Point and Perspective Warp tools are built for exactly this job.
For the overwhelming majority of design, social media, and ecommerce compositing tasks, a picture on picture editor running in a browser handles the work in the time it would take Photoshop to open. Start with the Playyy AI Image Editor and reach for the more complex tools when the task genuinely requires them. See also: how to make a social media collage for the multi-image layout version of this workflow.

Aiko Tanaka
I work with boutique brands, cafes, creators and small businesses on visual systems, layout discipline, typography and moodboards. My focus is on fast concept exploration that still has a strong design point of view.
Frequently asked questions
A picture on picture editor is a tool that lets you place one image on top of another — layering a product photo over a background, adding a logo over an image, or compositing multiple elements into a single visual. Unlike Photoshop, browser-based picture on picture editors handle the transparency, positioning, and blending in a simplified interface that doesn't require layer expertise.