10 T-Shirt Design Ideas That Survive the Print
 Minji Park
Merch gets made for a lot of reasons that have nothing to do with fashion — a launch, a team, a small following, an event, a shop that needs one good product. The gap most people hit is not a shortage of ideas. It is that an idea which looks sharp on a screen has to survive being pushed into cotton at a fraction of the resolution, on a coloured background, viewed from three metres away. The ideas below are organised around that constraint, because it is the one that decides whether the finished shirt looks designed or looks printed.
Quick answer. T-shirt design ideas that survive printing share three traits: one focal element rather than several competing ones, a palette small enough to stay high-contrast against the garment colour, and no detail thinner than a shoelace. Bold type, simplified single-subject illustration, and text-and-shape lockups all meet those conditions. Photographic artwork and fine-line illustration are the two categories that most often disappoint in person.
1. Type Only, Set Large
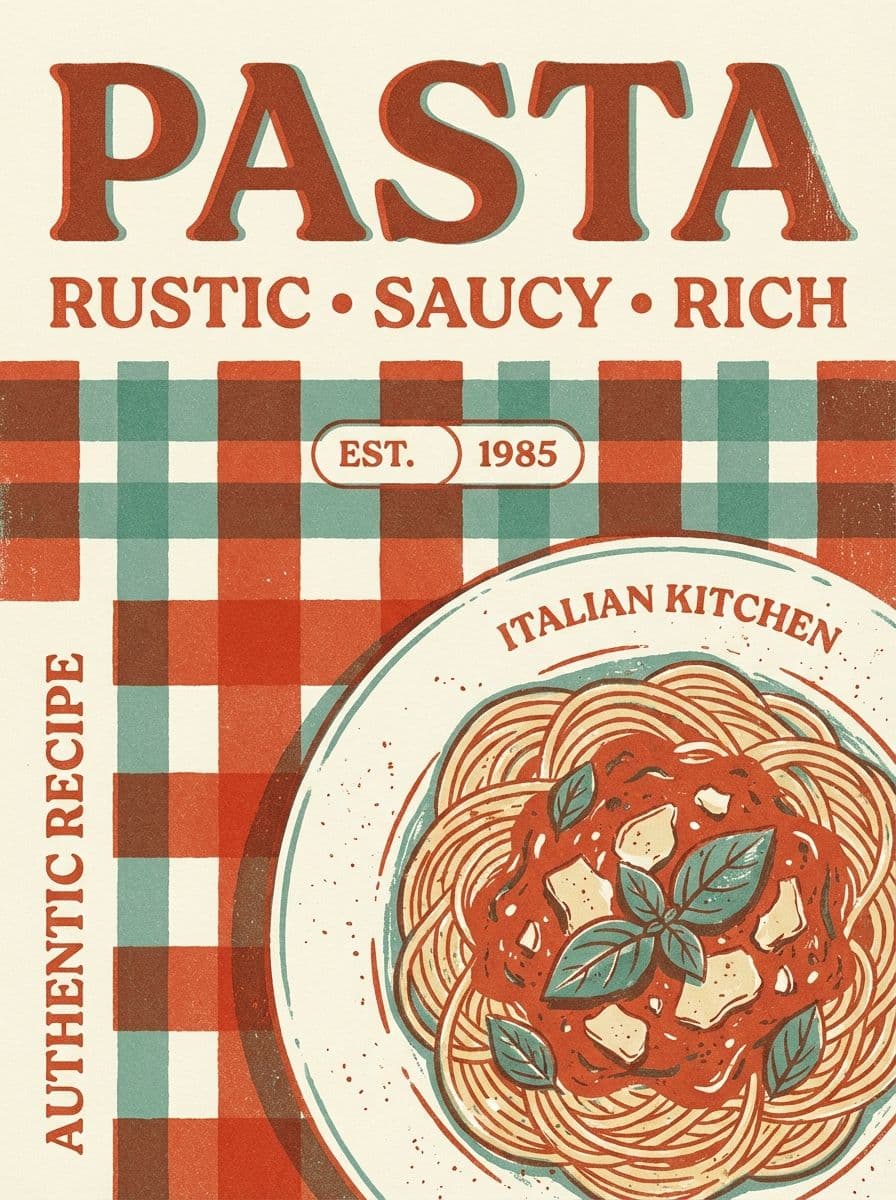
The most reliable graphic on a shirt is a single phrase set in one strong typeface, filling most of the print area. No illustration, no ornament.
It works because type is pure contrast — solid shapes against bare fabric — and because it is legible at the distance shirts are actually seen from. It is also the format with the fewest ways to go wrong: the decisions are wording, typeface and size, and nothing else.
The failure mode is stretching. Type drawn at one proportion and squeezed horizontally to fill a width reads as wrong even to people who cannot say why. Set the words to the width they want, then change the size.
2. One Simplified Subject
A single object, animal or figure, drawn flat and reduced to its silhouette and a handful of interior lines. A mountain, a fish, a chair, a hand.
Simplification is the whole job. The test is whether the subject is still recognisable when you shrink the artwork to thumbnail size — if it is, it will hold at fabric resolution. If the recognition depends on small internal detail, that detail will be the first thing to go.
3. Small Chest Hit, Large Back Print
A small mark over the left chest, roughly the size of a pocket, paired with a large graphic across the back.
This is the layout most contemporary merch uses, and it works for a practical reason: the front stays wearable in situations where a large graphic would not be, while the back carries the statement. It is also the only layout that gives you two chances to be interesting on one garment.
4. Text and Shape Lockup
A phrase enclosed in or anchored to a simple geometric container — a circle, an arch, a banner, a rule above and below.
The container does structural work. It gives the type a defined edge, which keeps a loose phrase from floating in the middle of a shirt, and it survives printing because a solid shape has nothing fine to lose. Arched type over a small mark is the single most durable merch layout in circulation.
5. One-Colour Line Illustration
An illustration drawn entirely in a single ink weight, with no fills and no shading. Botanical subjects, faces, objects, maps.
Keep the line heavier than feels natural. A drawing made at a weight that looks right on screen will thin visibly once ink spreads into fabric, and lines that were close together can merge. Draw it heavy, then check it small.
6. Vintage Wash Treatment
A graphic given a faded, cracked or distressed finish so it reads as an old shirt rather than a new one.
The effect has to be built into the artwork, not applied as a transparency. A distressed texture baked into the shapes prints cleanly; a graphic made semi-transparent to look faded prints as a muddy halftone, because most apparel printing has no way to render partial opacity smoothly.
7. Event Poster Layout
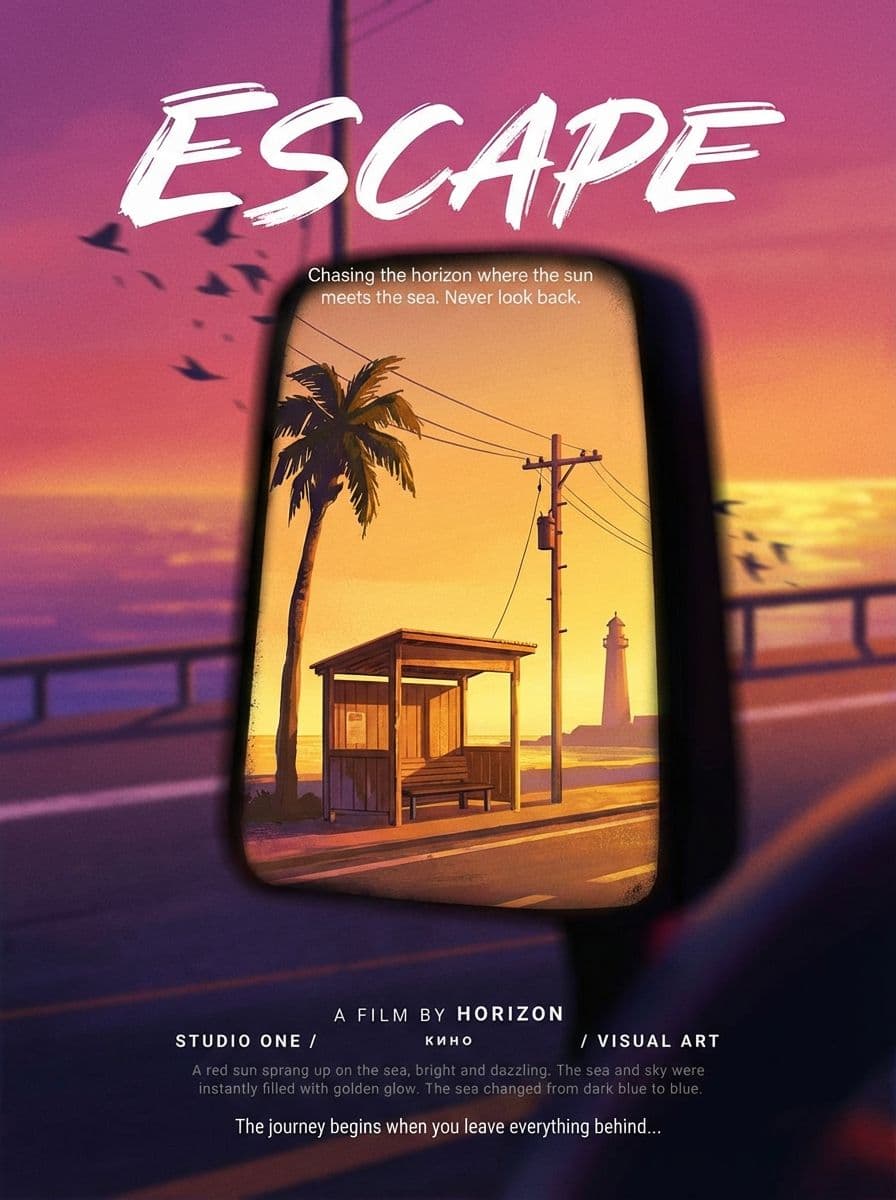
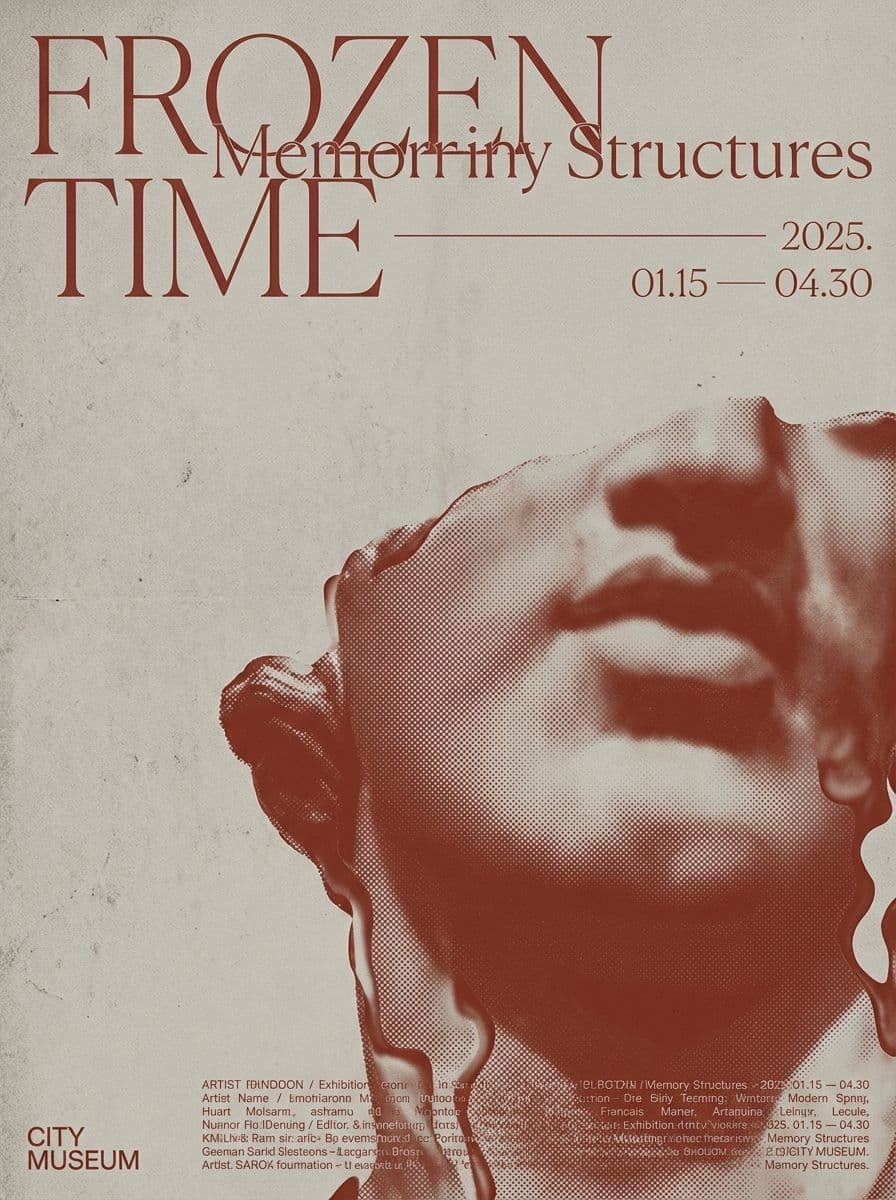
The structure used by tour shirts and event merch: a headline, a list of dates or locations in smaller type below, and a mark on top — applied to something that is not a tour.
The layout is doing the work, so it transfers cleanly to a team, a product launch, a conference, an anniversary, or an inside joke with a list of fictional dates. It is a type-only design with more hierarchy, which is why it prints as well as one.
8. Tonal Print
Artwork printed in a colour a shade or two from the garment itself — black on charcoal, cream on sand.
Tonal designs read as considered rather than loud, and they are forgiving of detail loss because there is no hard contrast edge to blur. They are also the one case where a larger, more detailed graphic is safe, since nothing has to stay crisp to be read.
9. Sleeve and Hem Prints
A short piece of type running down a sleeve, along a hem, or across the shoulders.
These placements are underused because they need artwork built for a narrow strip rather than a rectangle, and most templates do not offer one. On a hoodie they are especially useful, because the pocket and drawstrings break up the front and leave the sleeves as the cleanest unbroken area.
10. A Mark You Can Reuse
A single brand mark — a wordmark, a monogram, an emblem — printed small on the chest and large on the back, with nothing else.
This is the idea that pays off twice, because the same mark works on the shirt, the packaging, the social avatar and the site. If the merch is for a business rather than a one-off, generating the mark first with a free AI logo generator and building the garment around it is a shorter path than designing a shirt graphic and then discovering you need a logo too.
Why Detailed Artwork Collapses on Fabric
Every idea above is an application of one constraint, and it is worth stating directly because it predicts which of your own ideas will work.
A garment print is not a small poster. Ink is pushed into a woven surface that absorbs and spreads it, the substrate is rarely white, and the viewing distance is metres rather than centimetres. Three things follow. Thin lines thicken and can merge. Gradients and drop shadows band, because smooth tonal transitions require a resolution the fabric cannot hold. And colours shift, because a semi-opaque ink takes on the garment colour underneath it.
Scale compounds all three in the current style climate. Printify's print size guidance puts an oversized front print at 12–15 inches wide by 14–16 inches tall — artwork drawn small and scaled up to fill that area carries every soft edge and every thin stroke up with it, magnified.
The practical rule that falls out: design at the size it will print, in the fewest colours that carry the idea, and judge it on a garment-coloured background rather than on white. Anything that still reads under those conditions will read on the shirt.
Getting From an Idea to a File a Printer Accepts
The gap between having an idea and having merch is a file, and it is where most of these projects stall. Print shops want artwork at final size, at print resolution, with a transparent background — not a screenshot, not a JPEG with a white box around it.
A free AI t-shirt design generator closes that gap directly: describe the graphic, see it on the shirt before paying for a print run, and export a vector SVG or a transparent PNG to send to any print shop. For hooded garments the placement question comes first, and a hoodie design generator handles chest hit, full back print and sleeve as separate layouts rather than one front rectangle.
Which leaves one decision that no generator makes for you: how big the graphic should be and where it sits on the garment.
Deep Dive: How Big Should a T-Shirt Design Be?
Deep Dive: 7 Types of Logos, and the Versions Each One Needs

Minji Park
I help indie creators, online educators and small product teams prepare launch visuals and social campaigns. My goal is to make launches feel polished and trustworthy — even when you are working without a designer.
Frequently asked questions
Start from something specific to the people who will wear it rather than from a visual style — an in-joke, a place, a date, a phrase your audience already uses. Generic ideas produce generic shirts. Then constrain the execution before you draw: one focal element, two or three colours, and no detail thinner than a shoelace, because those limits are what the printing process can actually hold.