How Big Should a T-Shirt Design Be?
 Minji Park
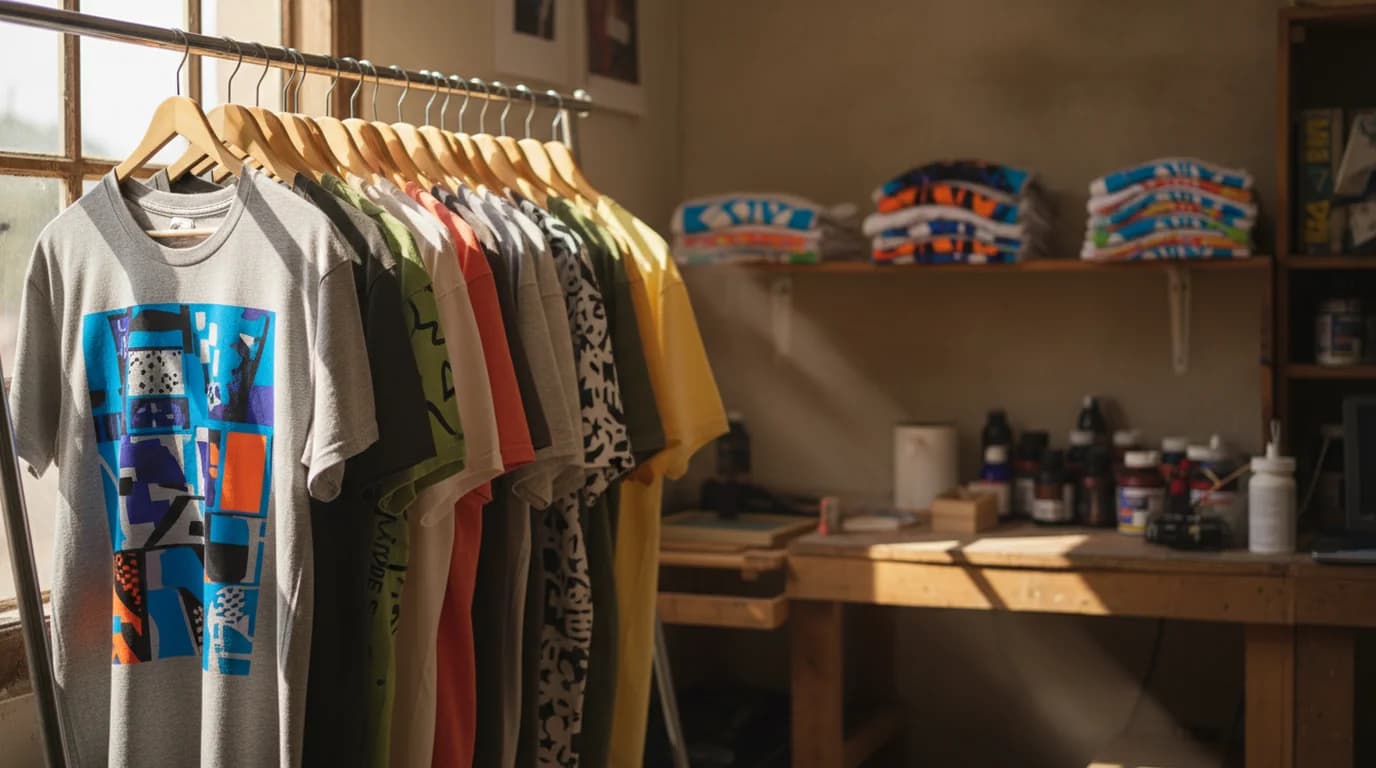
Apparel artwork gets rejected or reprinted for the same handful of reasons, and almost all of them trace back to a size decision made at the wrong moment. A graphic drawn to look right on screen, sent at whatever dimensions it happened to be, printed at a size nobody specified. The fix is knowing that "how big" is really two questions asked in two different units — inches for the garment, pixels for the file — and that they have to be answered in that order.
Quick answer. A centre-chest t-shirt print is typically 6–10 inches wide by 6–8 inches tall, a full-front print 10–12 by 10–14 inches, and an oversized front print 12–15 by 14–16 inches. Whichever you choose, build the file at 300 DPI at that physical size — so a 12-inch-wide print needs artwork 3,600 pixels wide.
The Print Sizes, in Inches
Placement sets the size, so it is the first decision rather than the last. Printify's t-shirt design size guidance gives three working ranges for adult garments:
- Centre-chest print — 6–10 inches wide by 6–8 inches tall. The traditional graphic tee placement, sitting a few inches below the collar.
- Full-front print — 10–12 inches wide by 10–14 inches tall. Fills most of the chest and upper torso.
- Oversized front print — 12–15 inches wide by 14–16 inches tall. Runs close to the seams and often past the chest, the placement behind most current streetwear-style merch.
A left-chest hit sits outside these ranges and is usually 3–4 inches wide. Back prints commonly run 11–14 inches wide, and because the back has no collar or pocket interrupting it, it is the most forgiving area on the garment.
Treat all of these as a starting range and confirm the maximum with the printer, because the usable area is the number that varies most between shops and between printing methods.
Inches and Pixels Answer Two Different Questions
This is where most reprints come from, and it is worth separating cleanly.
Inches describe the garment. They answer how large the graphic will physically be on the shirt, which is a design decision about proportion and how the piece will be seen.
Pixels describe the file. They answer whether there is enough image data to print that physical size sharply, which is a production requirement.
The bridge between them is DPI — dots per inch. 300 DPI is the standard recommendation for apparel, and the arithmetic is a single multiplication: print size in inches × 300 = required pixels.
So a 12-inch-wide full-front print needs a file 3,600 pixels wide. A 14-inch-tall print needs 4,200 pixels tall. A 4-inch left-chest hit needs 1,200 pixels. A file that is 1,500 pixels wide is ample for the chest hit and badly short for the full front, and nothing about the file itself announces which situation you are in.
The rule that follows is the one printers repeat most: build the artwork at the final output size rather than designing small and scaling up afterwards. Enlarging a raster image does not recover detail that was never captured — the software interpolates new pixels from existing ones, which softens every edge and turns crisp type slightly woolly. The softening is subtle on screen and obvious on a garment.
Vector artwork sidesteps the whole issue. An SVG stores shapes as mathematical paths rather than as a grid of pixels, so it has no native resolution and prints at any size at full sharpness. For type, flat illustration and geometric work — most merch, in other words — vector is the format that removes the sizing question rather than answering it.
Placement Is Part of the Size Decision
Two designs at identical dimensions look different depending on where they sit, and placement has its own conventions.
A centre-chest graphic is normally positioned so its top edge sits roughly 2–3 inches below the collar seam. Higher than that and it crowds the neckline; lower and it disappears under a jacket or into the wearer's torso when seated.
A left-chest hit is aligned to fall over the wearer's left pectoral, which on a laid-flat garment is the viewer's right. Getting this mirrored is a common and expensive mistake.
Oversized prints are positioned by their relationship to the shoulder seams rather than by margins from the collar, because at that scale the seam is the visual boundary the eye reads.
And front-to-back pairings need deciding together. A small chest hit with a large back print is the layout most current merch uses, and the two elements have to share a visual language even though nobody sees them at the same time.
Ideas that suit each placement — and the ones that collapse regardless of size — are their own subject, covered in ten t-shirt design ideas that survive the print.
Garment Size Changes the Answer
A single artwork file does not serve an entire size run, and this is the constraint most first-time sellers miss.
A 12-inch-wide print is proportionally moderate on an adult large, dominant on an adult small, and wider than the printable area on most youth garments. On a 3XL the same print looks stranded in the middle of a much larger field.
Print-on-demand services generally scale artwork automatically within a size range, which handles the middle of the run and does not handle the ends. If the range spans youth through 3XL, supplying two versions — one for youth and small adult sizes, one for large and up — costs one extra export and prevents the two worst outcomes.
Hoodies Need Their Own Numbers
A hoodie is not a t-shirt with more fabric. The front has a kangaroo pocket across the lower half and drawstrings down the centre, which removes the area a full-front tee print would occupy.
What works instead: a left-chest hit of 3–4 inches, or a chest print kept entirely above the pocket line, which usually leaves a band around 10–11 inches wide and 6–8 inches tall. The back is unbroken and takes a print as large as, or larger than, a tee back print. Sleeve prints run down a narrow strip and need artwork built for that proportion rather than a rectangle cropped to fit.
Embroidery, which hoodies get more often than tees, has tighter limits than printing. Thread cannot hold fine detail or tight gaps, so embroidered designs want simple bold shapes and a minimum stroke weight — and they are usually kept under about 4 inches for a chest placement.
A hoodie design generator treats chest hit, full back print and sleeve as separate layouts for this reason, rather than offering one front rectangle and leaving the pocket collision to be discovered at the sample stage.
File Format and Background
Three requirements cover nearly every print shop.
Transparent background. The design has to arrive with nothing behind it, so the garment colour shows through. This rules out JPEG entirely, since the format has no alpha channel — a JPEG design prints with a white rectangle around it.
Vector where possible, PNG where not. SVG for type, shapes and line art. PNG at 300 DPI at final size for anything with raster texture or photographic content. The choice between formats is about what the artwork is made of, not about which is generally better; the trade-offs between formats are worth understanding if you are preparing files regularly, and the image format guide covers them.
RGB or CMYK as the printer asks. Direct-to-garment printing usually accepts RGB, screen printing usually wants separated colours. Ask rather than assume, because a colour conversion done by the shop at the last minute is a colour conversion you did not approve.
The shortest path from an idea to a file that meets all three is to generate it at print specification in the first place. A free AI t-shirt design generator outputs a vector SVG or a transparent PNG, and previews the graphic on the shirt before a print run is paid for — which catches the placement and proportion mistakes at the point where they cost nothing.

Minji Park
I help indie creators, online educators and small product teams prepare launch visuals and social campaigns. My goal is to make launches feel polished and trustworthy — even when you are working without a designer.
Frequently asked questions
It depends on the placement. A centre-chest print is usually 6–10 inches wide by 6–8 inches tall, a full-front print 10–12 inches wide by 10–14 inches tall, and an oversized front print 12–15 inches wide by 14–16 inches tall. Pick the placement first, then build the artwork at that physical size rather than resizing it afterwards.