Standard Poster Sizes for Print and Events
 Luca Moretti
Before you send anything to print, you need to know one thing: the size you pick determines how much it costs, where it can be displayed, and whether anyone will actually read it from the distance it's meant to be seen from. Getting this wrong costs real money.
Restaurant owners print 50 copies of a beautiful A4 poster, then discover it's unreadable from the entrance door three metres away. Event organisers order 24×36 inch posters for a noticeboard that only fits A3. Small businesses waste an entire print run because the file was built in RGB and the colours came out muddy. Every one of these is avoidable.
Reading distance is the single most important factor people ignore. A poster headline needs to be legible from the distance your audience will first see it. For a noticeboard poster, that's 1–2 meters. For a storefront window, it's 5–8 meters from the pavement. For outdoor event signage, it's 15–20 meters. The further the reading distance, the larger the poster and the larger the minimum type size. A beautifully designed A4 poster is invisible at 5 meters. A 24×36 poster with 10pt body text is equally useless at 3 meters. Size and type scale work together — choose the wrong size for the location and no amount of good design saves it.
Direct answer. The most useful standard poster sizes are 18×24 in (US) or A2 (international) for events and storefronts, 24×36 in or A1 for outdoor and lobby display, and 11×17 in or A3 for small venues and notice boards. Design at 300 DPI, in CMYK, with 3–5mm bleed. Reading distance determines the right size more than anything else.
Standard Poster Sizes: Complete Reference Table
This table covers every standard poster size you'll encounter from a print shop, whether you're ordering in the United States or internationally. Sizes marked as "US standard" are the dimensions American print shops stock by default. Sizes marked "ISO A-series" follow the international standard used in the UK, Europe, Australia, and most of the rest of the world.
| Size Name | Inches | Centimetres | Millimetres | Standard | Best Use |
|---|---|---|---|---|---|
| US Letter | 8.5 × 11 in | 21.6 × 27.9 cm | 216 × 279 mm | US | Handouts, table cards, notice boards |
| A4 | 8.27 × 11.69 in | 21.0 × 29.7 cm | 210 × 297 mm | ISO | Notice boards, informational notices |
| 11 × 17 in | 11 × 17 in | 27.9 × 43.2 cm | 279 × 432 mm | US | Indoor events, café windows, small venues |
| A3 | 11.69 × 16.54 in | 29.7 × 42.0 cm | 297 × 420 mm | ISO | Cafés, community events, school notice boards |
| A2 | 16.54 × 23.39 in | 42.0 × 59.4 cm | 420 × 594 mm | ISO | Indoor promotions, retail window, menus |
| 18 × 24 in | 18 × 24 in | 45.7 × 61.0 cm | 457 × 610 mm | US | Events, promotions, storefront windows |
| A1 | 23.39 × 33.11 in | 59.4 × 84.1 cm | 594 × 841 mm | ISO | Exhibition, large retail window, event promo |
| 24 × 36 in | 24 × 36 in | 61.0 × 91.4 cm | 610 × 914 mm | US | Street-level display, lobby, outdoor |
| 27 × 40 in | 27 × 40 in | 68.6 × 101.6 cm | 686 × 1016 mm | US | Cinema lobbies, festivals, large venues |
| A0 | 33.11 × 46.81 in | 84.1 × 118.9 cm | 841 × 1189 mm | ISO | Exhibition stands, trade shows, backdrops |
| 48 × 72 in | 48 × 72 in | 121.9 × 182.9 cm | 1219 × 1829 mm | US | Outdoor banner, large-format display |
Custom sizes are also common for specific display fixtures (bus stop panels, window clings, banner stands). If you're designing for a specific frame or display unit, measure first and design to those exact dimensions rather than forcing a standard size.
International Poster Sizes vs US Poster Sizes
If you've ever downloaded a poster template and found it didn't match the sizes your local printer quotes, you've run into the US vs ISO divide. Here's how the two systems work and when each applies.
The ISO A-Series (Used Internationally)
The A-series is defined by ISO 216 and used almost everywhere outside North America. The logic is elegant: each size is exactly half the area of the size above it, and all sizes share the same aspect ratio (1:√2, approximately 1:1.414). This means you can scale any A-series design to a different A-series size without distortion.
- A0 is the largest standard size: 841 × 1189 mm (33.1 × 46.8 in)
- A1 is half of A0: 594 × 841 mm (23.4 × 33.1 in)
- A2 is half of A1: 420 × 594 mm (16.5 × 23.4 in)
- A3 is half of A2: 297 × 420 mm (11.7 × 16.5 in)
- A4 is half of A3: 210 × 297 mm (8.3 × 11.7 in)
If you're in the UK, Australia, Europe, or designing for a venue in those markets, use A-series sizes. Your print shop stocks them, your frames fit them, and templates are designed for them.
US Standard Poster Sizes
US poster sizes are not based on a mathematical series — they evolved from printing industry conventions and don't share a consistent aspect ratio. This means scaling a US 18×24 design to 24×36 changes the proportions slightly and requires layout adjustment.
The most commonly stocked US poster sizes are: 11×17, 18×24, 24×36, and 27×40. The 27×40 size is specifically associated with theatrical one-sheets — see the movie poster size reference for its pixel dimensions and aspect ratio (the standard format used in US cinema lobbies since the 1980s).
Converting Between Systems
When you need to adapt a design between systems, here are the closest equivalents:
| US Size | Closest ISO Equivalent | Difference |
|---|---|---|
| 11 × 17 in | A3 (11.69 × 16.54 in) | A3 is slightly wider and shorter |
| 18 × 24 in | A2 (16.54 × 23.39 in) | 18×24 is wider and taller |
| 24 × 36 in | A1 (23.39 × 33.11 in) | A1 is slightly narrower and ~3 in shorter |
| 27 × 40 in | No direct equivalent | Closest is between A1 and A0 |
For practical purposes: if your venue or printer stocks A1 and you designed for 24×36, the layouts are close enough to adapt with minor margin adjustment. If you're adapting A3 to 11×17, account for the aspect ratio difference or you'll have awkward white space at the top or bottom.
Poster Sizes by Use Case
Knowing the dimension is only half the answer. Here's what actually works in each real-world context.
Event Posters (Community, Music, Sports)
Recommended: 18×24 in (US) or A2 (international)
This is the most versatile event poster size. It's large enough to be read from across a room (5–6 meters), fits standard poster display stands and window frames, and is inexpensive to print in small runs. For outdoor events or large venue lobbies, step up to 24×36 / A1. For a small neighborhood event posted on community boards, 11×17 or A3 works fine and is cheaper to print in quantity.
Restaurant Menus and Daily Specials
Recommended: A3 (ISO) or 11×17 in (US) for table/wall display; A2 for window specials
Daily specials boards typically live close to the counter — A3 or 11×17 is perfectly readable at 1–2 meters. Window specials meant to pull people in from the pavement need to be seen from 5–8 meters: use A2 or 18×24 minimum. Laminated A3 menu sheets on tables work well because they can be reprinted inexpensively whenever the menu changes.
Retail Window Displays
Recommended: A1 (ISO) or 24×36 in (US)
A retail window poster is competing with everything on a busy street. It needs to stop someone walking at normal pace from 6–10 meters away. A1 and 24×36 are the minimum effective sizes for window displays that need to communicate a sale, a new product, or an event. Anything smaller requires the customer to already be at your door before they can read it — at which point the poster isn't doing much work.
Concert and Music Posters
Recommended: 11×17 in for venue bills; 24×36 in for outdoor/window promotion
Concert posters have two lives: the small bill posted around the neighborhood (11×17 is the traditional format for flyposting), and the venue window or lobby display (24×36 or A1). If you're printing a run of 100 posters to staple to poles and community boards, 11×17 keeps the per-unit cost manageable. If you're putting one large piece in the venue window, go bigger.
Movie Posters
Recommended: 27×40 in (US one-sheet) or A1 for European markets
The theatrical one-sheet — 27×40 inches — is the standard US movie poster format. It's what cinema lobbies use and what movie-style poster frames are built for. For non-theatrical use (event promotion with a cinematic feel, film club screenings), A1 is the practical choice in international markets and close enough in dimensions that 27×40 templates can be adapted with minimal layout change.
School and Community Notice Boards
Recommended: A4 or 8.5×11 in (US Letter)
Notice boards have fixed frame sizes, and most are built for A4 or US Letter. These print on any home or office printer, making them the lowest-cost option for recurring weekly or monthly notices. Keep body text at 12pt minimum for readability at arm's length; headlines at 24pt or larger.
Trade Show Displays
Recommended: A0 or 48×72 in for backdrops; A1/24×36 for panel inserts
Trade show banner stands typically use 33×79 in (85×200 cm) retractable banners — these are not standard poster sizes. For panel displays and exhibit walls, A0 or 48×72 are common background sizes. For individual feature panels within a booth, A1 or 24×36 gives enough room for images and bullet points at a size readable from 2–3 meters across an aisle.
Poster Print Resolution: DPI Guide for Every Size
The standard print resolution for posters viewed at close reading distance is 300 DPI. At that density, an 18×24 inch poster file is 5,400×7,200 pixels (about 39 megapixels). For large-format posters viewed from 5 meters or more (outdoor banners, trade show backdrops), 150 DPI is sufficient and cuts the pixel count to a quarter without visible quality loss at viewing distance.
Resolution is the most common technical mistake in poster design, and it's the one that wastes the most money because you don't discover the problem until after printing.
The rule: Design at 300 DPI for any poster that will be viewed from within 3 meters. At 300 DPI, the printed image has enough dot density to look sharp to the human eye at typical reading distances. For larger format posters viewed from 5+ meters (trade show backdrops, outdoor signage), 150 DPI is acceptable because the viewing distance compensates for the lower dot density.
This table shows the pixel canvas size you need to set up before you start designing:
| Size | Inches | 300 DPI Pixel Dimensions | 150 DPI Pixel Dimensions | Approx. File Size (300 DPI TIFF) |
|---|---|---|---|---|
| A4 | 8.27 × 11.69 in | 2480 × 3508 px | 1240 × 1754 px | ~25 MB |
| US Letter | 8.5 × 11 in | 2550 × 3300 px | 1275 × 1650 px | ~25 MB |
| A3 | 11.69 × 16.54 in | 3508 × 4961 px | 1754 × 2480 px | ~50 MB |
| A2 | 16.54 × 23.39 in | 4961 × 7016 px | 2480 × 3508 px | ~100 MB |
| A1 | 23.39 × 33.11 in | 7016 × 9933 px | 3508 × 4961 px | ~200 MB |
| 27×40 | 27 × 40 in | 8100 × 12000 px | 4050 × 6000 px | ~280 MB |
| A0 | 33.11 × 46.81 in | 9933 × 14043 px | 4961 × 7016 px | ~400 MB |
When 150 DPI is acceptable: Outdoor banners and backdrops viewed from 5 meters or more. Trade show displays. Window graphics seen from across a street. Large-format inkjet printing (most large-format printers produce excellent output at 150 DPI for these applications).
When you must use 300 DPI: Any poster viewed at arm's length or close reading distance. Table cards. Notice board posters. Any poster with fine text, small logos, or detailed illustrations.
What to do if your existing image is too low resolution: If you have a design file or photo at insufficient resolution, an AI image upscaler can increase the pixel dimensions without the blurring you'd get from simple resampling in Photoshop. This is particularly useful for older logos or photos you want to use at large format.
File formats for print: Send a PDF where possible — PDFs embed fonts and preserve vector quality. If your print shop requires a TIFF, export at the full pixel dimensions above. Avoid JPEG for print files; JPEG compression introduces artifacts visible at large scale under print conditions.
How to Design Posters Without Design Experience
The biggest barrier most non-designers face is the blank canvas. Professional designers are trained to start from nothing; everyone else stares at an empty artboard for twenty minutes and ends up with something that looks exactly like what it is — a template someone without training tried to fill.
The practical approach is to start from a layout that already works, then replace the content with your own.
Step 1: Start with an AI-generated layout
Playyy's AI image generator generates poster layouts from a text description. Describe what you need — the event type, your color scheme, the key information — and you get a designed starting point. For recurring materials (weekly specials, monthly events, regular class schedules), generate a layout once and reuse the structure.
Example prompts that produce usable results:
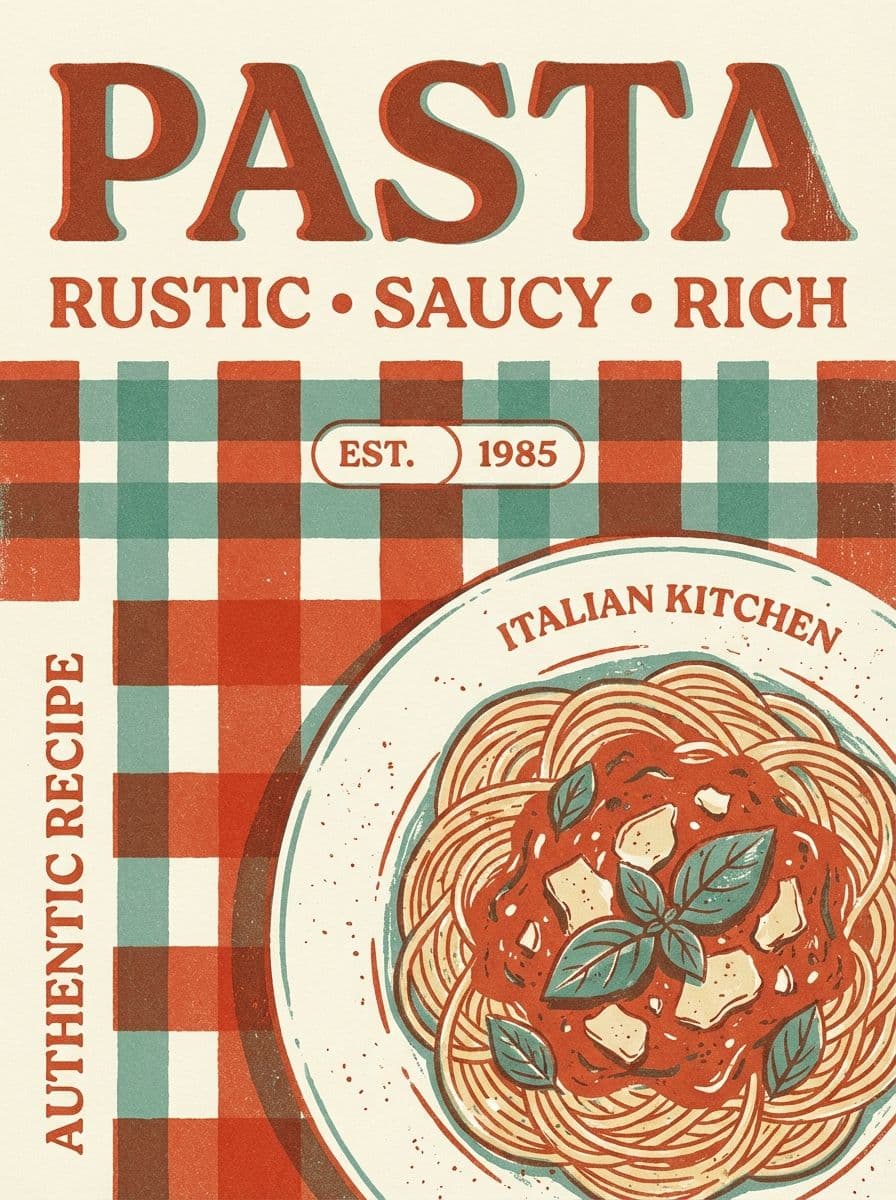
- "Restaurant daily special poster, warm earth tones, rustic Italian style, large dish name at top, price and description below"
- "Community event flyer, bold and modern, blue and white, large headline, date and location prominent"
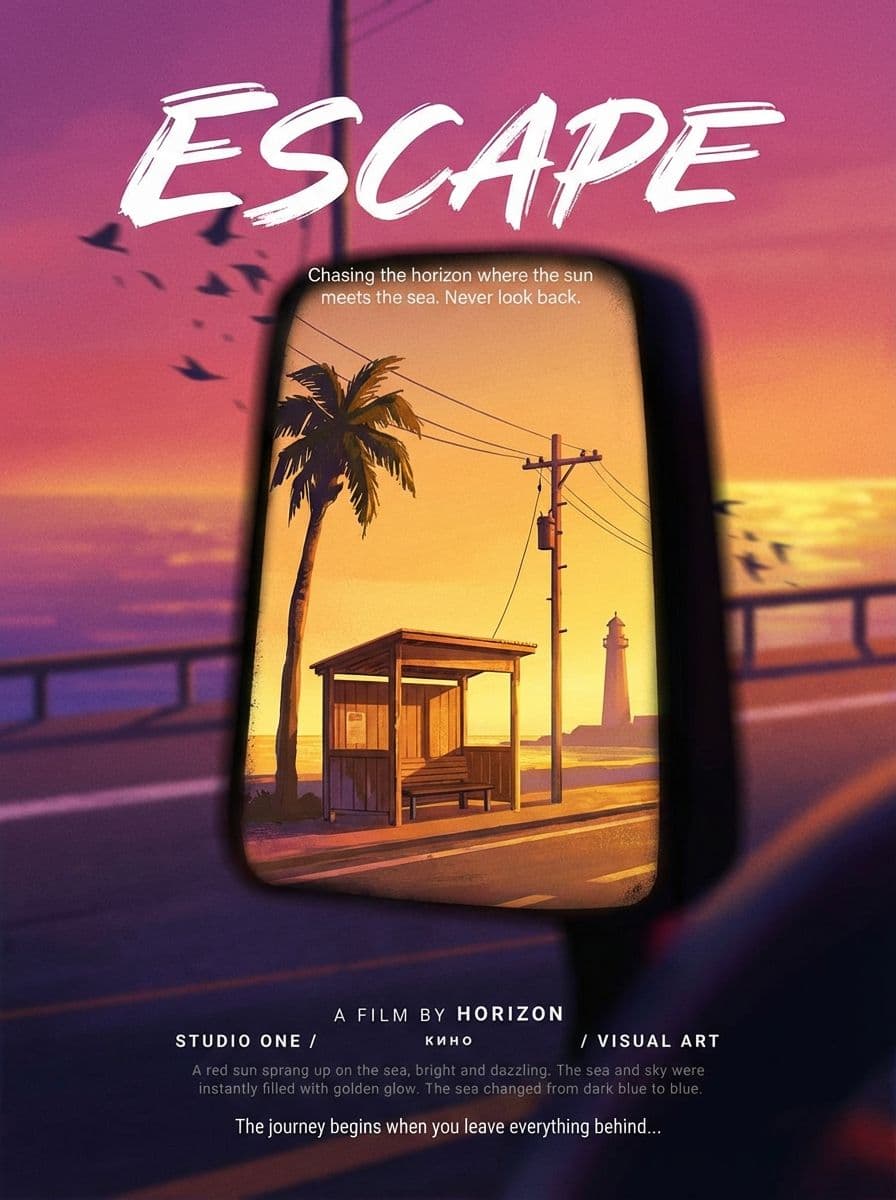
- "Music concert poster, dark background, neon accents, band name large at top, venue and date at bottom"
The AI does the layout work. You supply your specific text, logo, and any photos.
Step 2: Set up at the correct size and resolution
Before you start customizing, confirm your canvas is set to the correct poster dimensions at 300 DPI. This is the single most important technical step. A canvas set to 72 DPI (screen resolution) at 18×24 inches will look sharp on screen but print blurry. Set it right at the start — it cannot be fixed cleanly afterward.
Step 3: Apply the three-element hierarchy
Every effective poster has a visual hierarchy with three levels:
- Primary message — what you want people to remember after a 2-second glance. Usually the event name, the offer, or the headline. This should be the largest element on the poster.
- Supporting details — date, time, location, price. These should be readable but clearly secondary to the primary message.
- Action or contact — what to do next: a website, a QR code, a phone number. Smallest of the three levels, but present.
If your primary message and your supporting details are the same size, nothing stands out and the poster reads as visual noise.
Step 4: Respect the safe zone
Keep all important content at least 5mm (0.2 inches) inside the poster edge. This accounts for both print bleed trimming and the slight misalignment that happens in cutting. Any text or logo within 5mm of the edge risks being cut off. See the print checklist below for the full bleed and safe zone requirements.
Step 5: Check readability at distance before printing
Before sending the file, zoom out until the poster on your screen is roughly the size it will appear at its intended viewing distance. Can you still read the headline? Can you read the date and venue? If not, increase the type size. The most common poster design error is text that looks fine on a 27-inch monitor and is invisible at 3 meters in print.
Common Poster Design Mistakes That Waste Print Money
These are the errors that most often leave local business owners and event organisers with posters that don't perform — or don't even make it out of the print shop without issues.
Wrong DPI (Designing at Screen Resolution)
The mistake: Creating the design in a tool that defaults to 72 or 96 DPI, then printing it.
The result: The poster prints with visible pixelation and blurring, particularly in text edges and photographic images. This is not fixable after printing — the entire run is wasted.
The fix: Set your canvas to 300 DPI at the actual poster dimensions before you start. If you're working with an existing design at low resolution, use an AI image upscaler to bring it to print-ready dimensions before submitting.
RGB vs CMYK Color Mode
The mistake: Designing in RGB (the color mode screens use) and submitting that file to a print shop.
The result: Colors shift during conversion. Vivid screen blues often print as duller, grayer shades. Bright oranges can shift toward brown. Neon greens become muted. The poster on screen and the poster in your hand look noticeably different.
The fix: Design in CMYK from the start if your software supports it. If you're using a tool that only outputs RGB, ask your print shop to convert the file — they do this regularly. For important runs, request a color proof before the full print quantity.
Text Too Close to the Edge (Ignoring Bleed and Safe Zones)
The mistake: Placing text or logos right up to the poster edge.
The result: After trimming, text or part of a logo gets cut off. What looked like a clean edge on screen has a sliver of background color missing or a letter clipped.
The fix: Add 3–5mm of bleed (extend the background past the edge) and keep all important content at least 5mm inside the final trim line. Most professional design tools have a bleed/safe zone guide; turn it on and stay within it.
Font Size Too Small for Viewing Distance
The mistake: Setting body copy at 10–12pt on a 24×36 inch poster.
The result: The poster has lots of text that nobody reads because it requires standing directly in front of the poster to see it. The essential information gets lost.
The fix: On a 24×36 poster viewed from 3 meters: headline minimum 72pt, key details minimum 36pt, supporting copy minimum 24pt. The rule of thumb: 1 inch of type height is legible at approximately 10 feet (3 meters). Scale accordingly.
Submitting JPEG Files to Print
The mistake: Exporting the final design as a JPEG to save file size, then sending that to the printer.
The result: JPEG compression introduces subtle color banding and edge artifacts that become visible at large print sizes. Text edges look slightly unsharp. Flat color areas show compression noise.
The fix: Export as PDF (preferred) or TIFF. PDFs embed fonts and preserve vector sharpness. TIFFs are large but lossless. Reserve JPEG for social media sharing of your poster design, not for the print file.
Incorrect Poster Orientation
The mistake: Designing a landscape layout for a size that's typically hung portrait, or vice versa.
The result: The poster doesn't fit the display location — a portrait stand, a portrait window frame, a portrait noticeboard slot.
The fix: Before designing, confirm the orientation of the display location. Most standard poster sizes default to portrait. Landscape posters are appropriate for specific uses (restaurant menu boards, wide storefront banners) but unusual for standard event or promotional posters.
Print Specifications Checklist Before Sending to Print
Run through this before submitting any poster file to a print shop or online printing service:
- Canvas size matches the intended print size exactly (e.g. 18×24 in, not 18.5×24)
- Resolution is 300 DPI (or 150 DPI minimum for large-format posters viewed from 5+ meters)
- Color mode is CMYK — or confirmed with your print shop that they will convert from RGB
- Bleed extends 3–5mm beyond the trim line on all four edges (background color or image fills the bleed area)
- All important content is at least 5mm inside the trim line (safe zone)
- Fonts are embedded — for PDF export, fonts should be embedded or outlined; print shops cannot print missing fonts
- File format is PDF or TIFF — not JPEG, not PNG (PNG is acceptable for small-format digital proofs but not ideal for print)
- Proof copy requested for any run over 20 copies, especially if using custom colors or brand-critical materials
- QR codes tested — if your poster includes a QR code, scan it before printing; a QR code that doesn't work is worse than no QR code
- Contact information verified — phone numbers, website URLs, and dates should be checked against your actual records before the file is sent
For online printers (Vistaprint, Canva Print, Moo, local print-on-demand services), upload the file and use their preview tool to check for any flagged issues before confirming the order.
Which Size Should You Use? Quick Decision Guide
If you're still deciding on the right size, here's the shortest version of the answer:
For a community notice board: A4 or 8.5×11 inches. These fit standard frames and most notice boards without modification. They're inexpensive to print on a home or office printer. Perfect for regular weekly events, class schedules, and informational notices.
For a small café, workshop, or studio: 11×17 inches or A3. This is the go-to for independent venues that want something more visible than a flyer but don't need full window coverage. It fits widely available ready-made frames and prints affordably at local print shops.
For a storefront window or indoor event: 18×24 inches. This is the most versatile standard poster size for businesses. Visible from across a street, cost-effective to print in small runs, and compatible with most poster display stands and window-mounted adhesive holders.
For outdoor display or lobby signage: 24×36 inches. This is the size you see on telephone poles, in restaurant windows, and in venue lobbies. It demands attention at distance and is the minimum size for anything meant to be read from across a room or from a car.
For a festival, exhibition, or major event: 27×40 inches or A0. These require professional large-format printing and are typically not practical for self-service print shops. Expect a higher per-print cost, and make sure your venue actually has wall or display space to accommodate them.
Practical Tips Before You Print
-
Proof on screen at actual size: Before sending to print, zoom your screen to show the poster at 100% and step back to the distance it'll be read from. What's legible on a laptop screen at 6 inches often disappears at 10 feet.
-
Print one test copy first: For orders over 20 copies, always print a single test copy first. Colors print differently than they look on screen, and catching a color issue on one print costs pennies; catching it on 50 prints costs the full order.
-
Check readability at distance: Your poster headline should be legible at the viewing distance — typically 6–10 feet for indoor posters, 15–20 feet for outdoor or window displays. As a rough guide: 1 inch of type height is readable from about 10 feet.
-
Leave your phone number or QR code off if it'll change: Posters have a long shelf life. Use a QR code that redirects to a URL you control, so you can update the destination without reprinting.
Get the size right, set up the file correctly, and the printer does the rest. If you need a designed poster quickly — for a restaurant special, a school event, or a local promotion — Playyy's AI image generator can generate a poster design from your brief without requiring any design skills. Start with the size guide above, describe your event, then upscale the result to the pixel dimensions in the DPI table before it goes to the printer.

Luca Moretti
I help restaurants, venues, schools, workshops and small service businesses create posters, menus, invitations, event flyers and social promotions. I write for non-designers who need practical, good-looking visuals for real-world promotions.
Frequently asked questions
The most common standard poster sizes are: Small (11×17 in / A3), Medium (18×24 in), Large (24×36 in / A1), and Extra Large (27×40 in). For business use, 18×24 is the most versatile. For events and storefronts, 24×36 is the most visible at a distance. A4 (8.27×11.69 in) works for small handouts and notice board posters.