How to Get Studio-Quality Photos Without a Photographer
 Minji Park
Let's be honest about something: a traditional photoshoot gets expensive fast once you account for the photographer, location, wardrobe, and post-processing. For a solo creator, indie maker, or small product team, that's a lot to spend before you've validated whether the content even works.
An artificial intelligence photoshoot changes that math entirely. You can generate professional-looking product and portrait photos in minutes, at a very low marginal cost, and iterate on the results until they're right.
For people doing everything themselves — creators building personal brands, indie makers launching their first product, and small teams that can't justify a photography budget every time they need fresh content — an AI photoshoot is probably the most underused tool in the stack right now.
Direct answer. An AI photoshoot uses a generative model to produce realistic product or portrait photos from a reference image and a text description — no camera, studio, or photographer needed. The workflow is: provide a clean, well-lit reference photo, write a specific scene description (not just "nice background"), and generate 4–6 variations to select from. Best results come from product shots on clean backgrounds and professional headshots; complex multi-person scenes and detailed fashion work still need traditional photography.
The use cases are broader than most people assume. It's not just headshots. An AI photoshoot can produce your product listing hero image, your email campaign header, your YouTube thumbnail background, your launch announcement photos, and your about page portrait — all in one afternoon, without booking a single studio hour. The creator economy runs on content volume, and AI photography for creators finally makes that volume achievable without a full production team.
What changed in 2025 and 2026 is the quality floor. Early AI photo generators were obviously artificial at close inspection — the skin texture was off, hands were wrong, backgrounds had subtle distortions that gave them away. The current generation of tools has closed most of those gaps. At the resolution where most digital content actually lives (Instagram, email, product pages), AI-generated photos are genuinely difficult to distinguish from professional photography. That threshold being crossed is what's driving real adoption — not hype, but actual utility.
Here's how it actually works — and where it still has limits.
What an AI Photoshoot Actually Produces
The quality threshold for AI-generated photography has crossed a meaningful line: at the resolutions where most digital content is actually displayed — Instagram, product pages, email, LinkedIn — AI-generated photos are genuinely difficult to distinguish from professional photography when the input is prepared correctly. The gap that remains is at print resolution and in close-inspection contexts like detailed fashion, multi-person scenes, and verified real locations. For the majority of content needs that don't hit those edge cases, AI photography is competitive with traditional photography on quality and dramatically faster and cheaper on every other metric.
An AI photoshoot doesn't involve a camera. You provide either a text description of the image you want, a reference photo of yourself or your product, or both — and the AI generates realistic photos based on those inputs.
The outputs have improved dramatically. In 2024, AI-generated photos often had the telltale signs: slightly off hands, unnatural backgrounds, uncanny skin texture. In 2026, the best tools produce images that are genuinely difficult to distinguish from real photography at social media resolution — which, honestly, is where most of your content lives.
What works especially well right now:
- Product photos on clean or white backgrounds — very high consistency
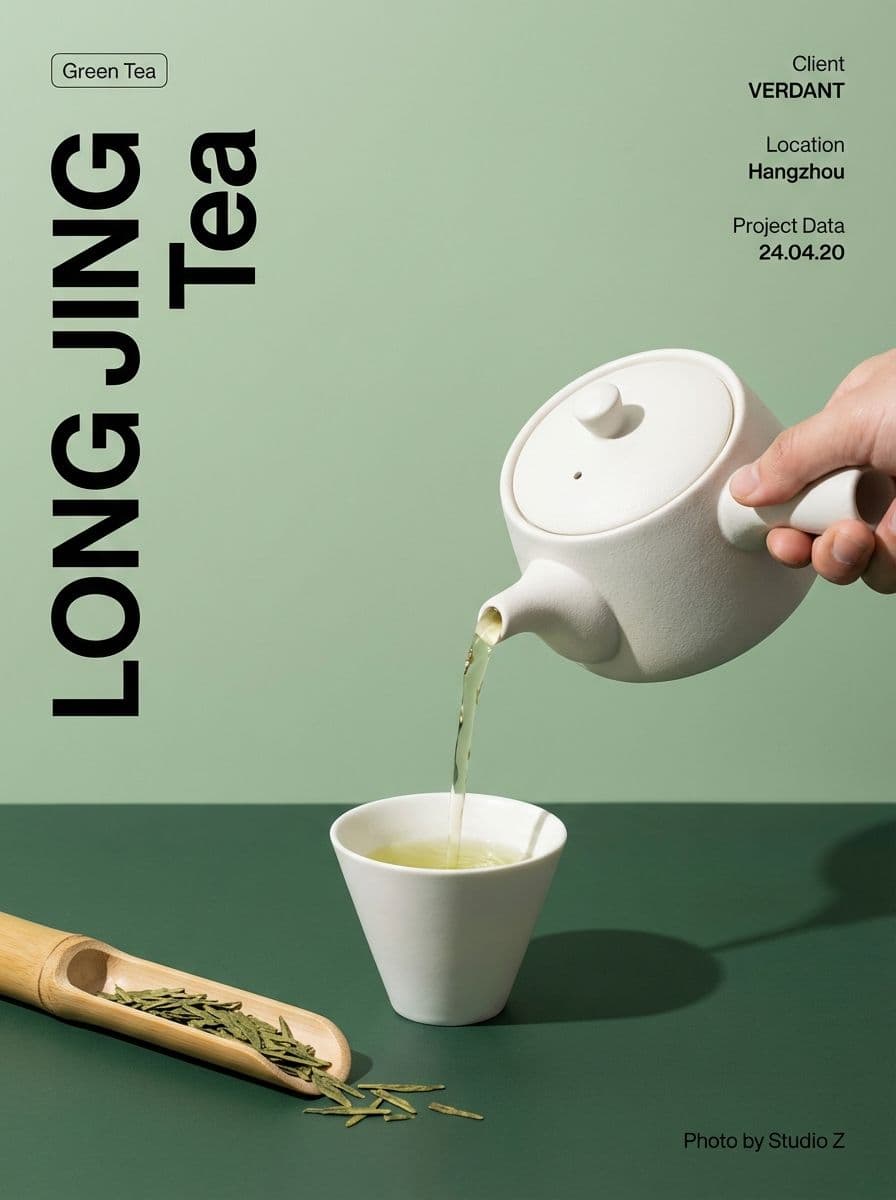
- Lifestyle product shots — product placed in a realistic setting (kitchen counter, desk, outdoor table)
- Professional headshots — business casual, neutral background, natural lighting
- Brand campaign scenes — person in a specific setting that matches your brand aesthetic
What still requires care:
- Hands in close-up — still occasionally off, though much better
- Group shots — multiple people interacting is harder to control
- Hyperspecific real locations — AI generates plausible versions, not actual places
Types of AI Photoshoots: Portrait, Product, and Lifestyle
Not all AI photoshoots are the same. The three core use cases produce different kinds of images, use different input methods, and are suited for different purposes. Knowing which type you need before you start saves a lot of time.
Portrait AI Photoshoots
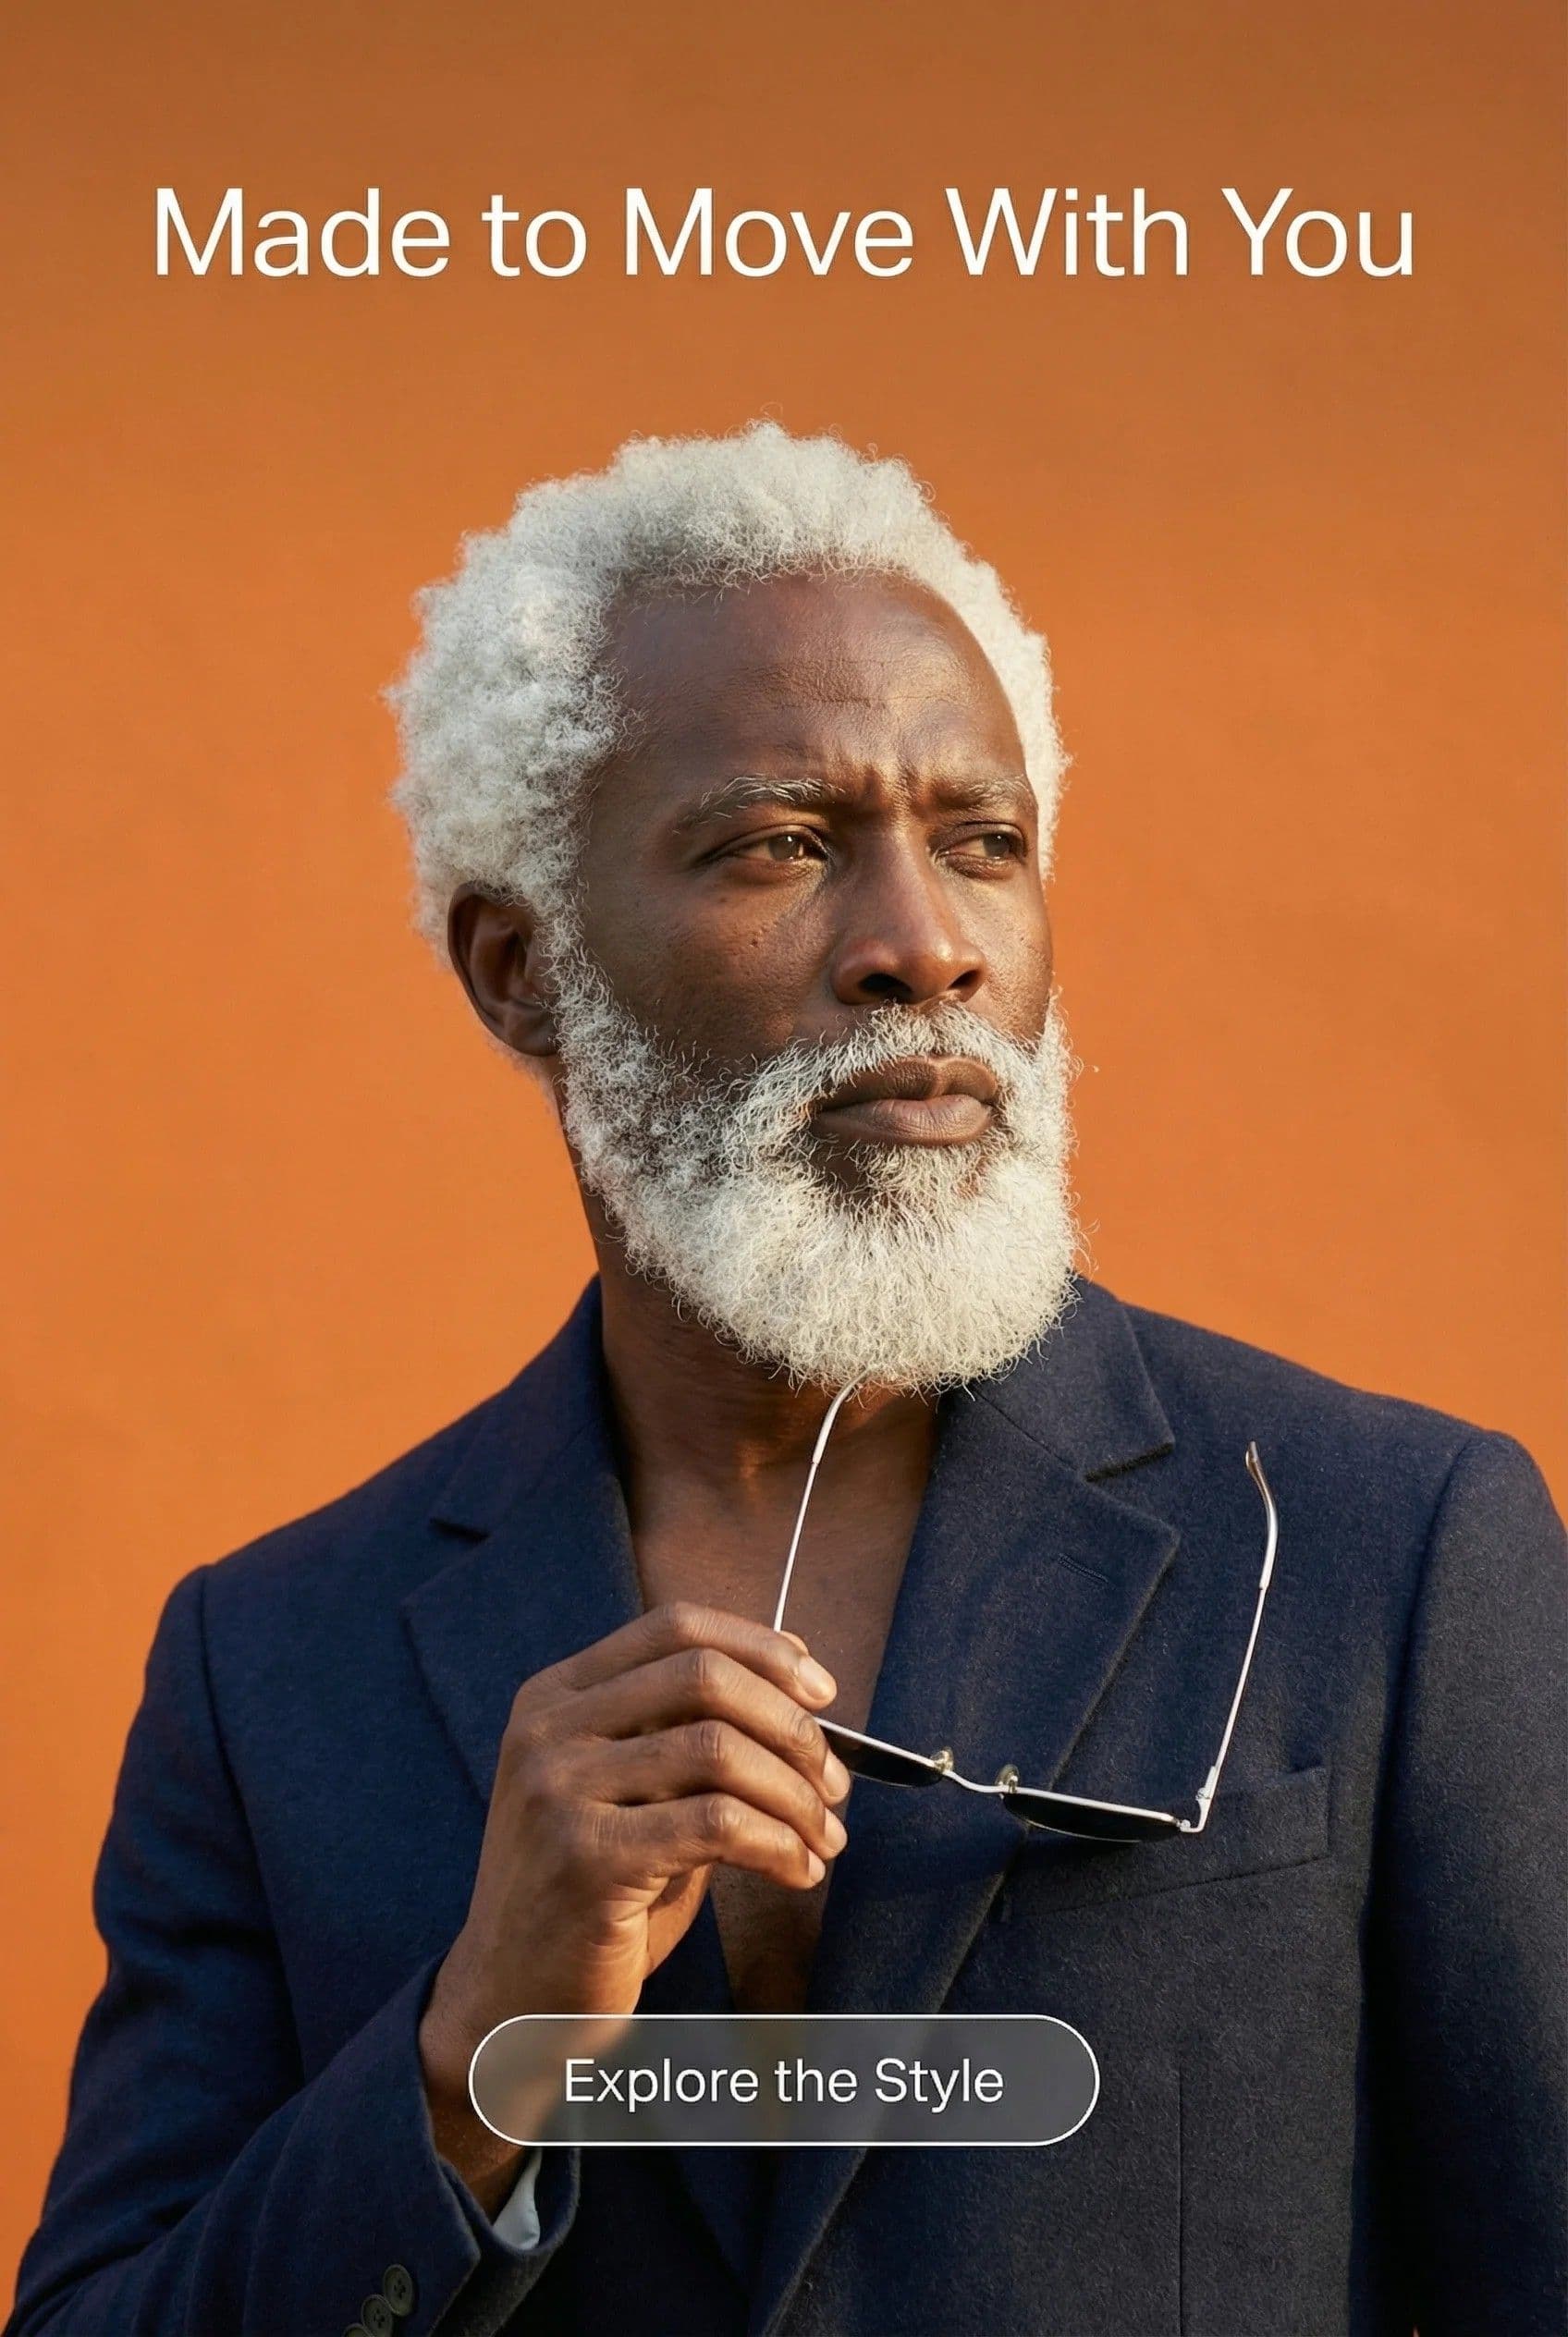
Portrait AI photography is used for headshots, about page photos, press kit images, speaker bios, and LinkedIn profile photos. You upload a clear reference photo of yourself (or the person you're shooting), describe the setting and style you want, and the AI renders you into that context.
The best portrait results come from: a reference photo taken in natural light, looking directly at the camera, with a clear background. The AI is essentially replacing the environment around you — so the cleaner and sharper your original image, the more realistic the final output. Portrait shots tend to have the highest quality ceiling in AI photography right now because the subject is largely human-recognizable and the model has extensive training data on realistic human subjects.
Product AI Photoshoots
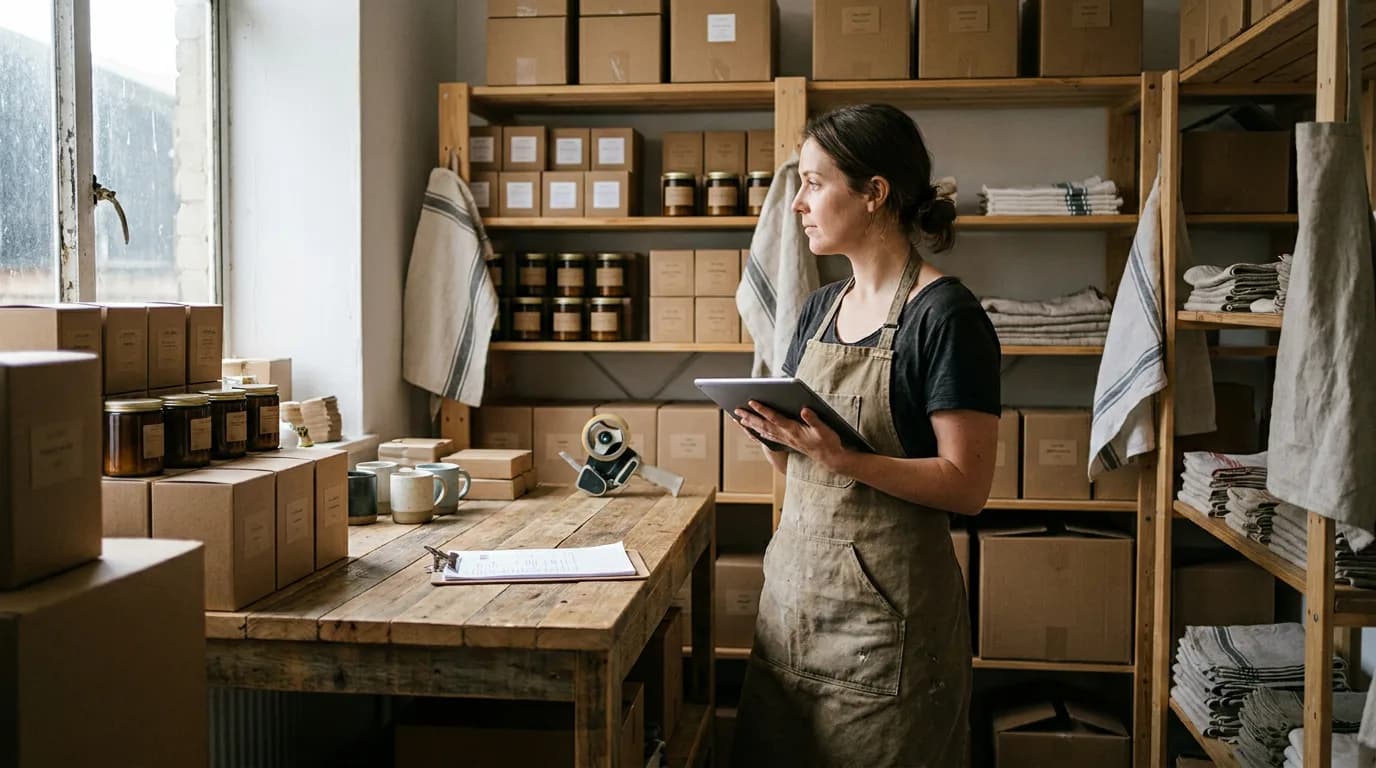
Product AI photography is for e-commerce listings, Shopify product pages, Amazon listings, pitch decks, and social content. You upload a photo of the physical product — ideally on a white background with good lighting — and the AI places it into a new environment: a lifestyle scene, a styled flat lay, a marble countertop, an outdoor table.
This is the use case where AI photoshoots have achieved the strongest results relative to traditional photography. A white-background product photo taken with a smartphone in daylight, run through Playyy's AI image generator, can produce a lifestyle shot that not long ago would have required a full prop styling and photography session. The ROI is particularly clear for Shopify sellers who need several product photos per SKU.
Lifestyle AI Photoshoots
Lifestyle AI photography is the most creative use case — generating scenes that convey a brand mood or aesthetic rather than documenting a specific product or person. These are used for email headers, social media content, campaign imagery, and website backgrounds.
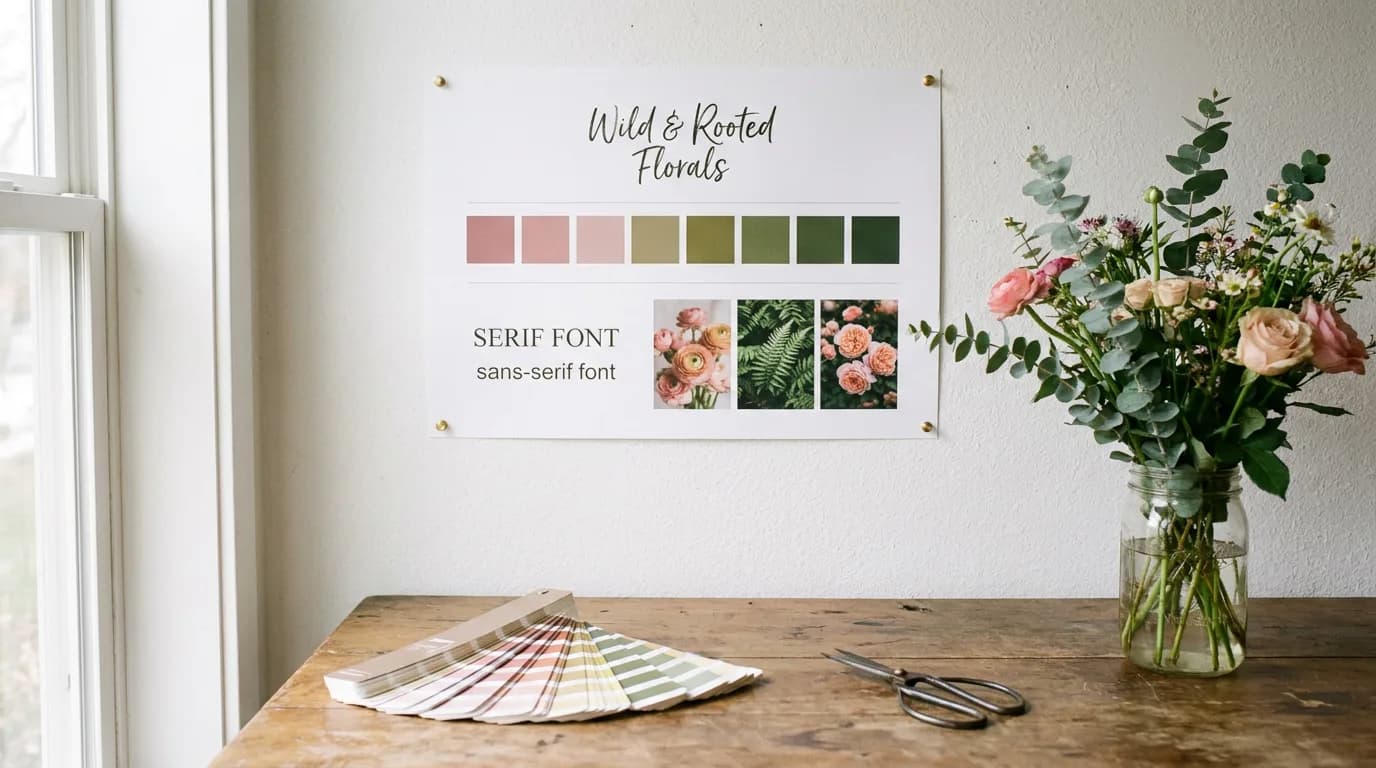
Lifestyle shots give the AI the most creative freedom, which means they produce the widest variation in output quality. The key is being very specific in your prompt about mood, color palette, lighting direction, and compositional elements. Vague prompts produce vague results. A prompt like "bright, minimal Scandinavian kitchen, morning light, clean surfaces, no people" will consistently outperform "modern kitchen."
Why Creators Are Switching to AI Photos for Launches
The three reasons creators most often give for switching:
Speed. A product launch has a long list of content touchpoints — product page hero, Instagram carousel, email header, story, LinkedIn post, press kit image. Getting all of those from a traditional shoot means booking a photographer weeks in advance, coordinating delivery of the product, and waiting for edited files. With AI, you can produce the whole set on launch day.
Iteration. You can try a beach background, an urban background, a studio background, and a natural wood surface — in the same afternoon. That kind of creative testing doesn't exist in traditional photography.
Budget reallocation. The money you didn't spend on a photoshoot can go into distribution — paid social, creator partnerships, or email marketing. That's often a better ROI for early-stage products.
Adoption has moved fastest among early-stage sellers — the group that previously couldn't justify professional photography at all. For someone with a dozen SKUs and no photography budget, the real comparison isn't AI against a studio shoot. It's AI against a phone snapshot taken on a kitchen counter, and that's a much easier bar to clear.
What Makes a Good AI Photoshoot Input
The single most important factor in AI photoshoot quality is your input. The AI cannot improve on blurry, dark, or poorly composed reference photos — it can only work with what it's given. Getting the input right takes a little time and makes a significant difference in output quality.
Resolution and sharpness. Your reference photo should be at least 1000×1000px and sharp. Modern smartphones shoot at resolutions far beyond this, so the limitation is usually focus or motion blur, not the camera itself. Take the reference photo in a stable position, good light, and check it's sharp before uploading. A blurry input produces a blurry — or worse, an uncanny — output.
Lighting. Flat, even lighting is better than dramatic lighting for reference photos. You want the AI to understand your product or face clearly — it will apply its own lighting to the final scene. Natural diffused light (near a window, overcast day outdoors) is the most reliable. Avoid direct flash, which creates harsh shadows and blows out surface detail.
Background. For product photos: a white or solid-color background removes visual noise that can confuse the AI about where the product ends and the background begins. For portraits: any clean, uncluttered background works. Busy backgrounds make it harder for the AI to isolate your subject cleanly.
Angles. For products: capture at least one straight-on front shot, one 45-degree angle, and one top-down (flat lay) shot. Different scenes work better with different source angles, and having options means you can generate more scene types. For portraits: front-facing and slight 3/4 turn are the most versatile inputs.
File format. JPG and PNG both work well. Avoid heavily compressed images (large-file JPGs saved at high quality are fine; images that have been resized down and re-saved multiple times will show compression artifacts).
One thing worth knowing: Playyy's background remover can clean up your product reference photo before you run the AI photoshoot — removing an inconsistent background before the generation step tends to improve the consistency of the lifestyle scenes the AI produces.
Step-by-Step: Running Your First AI Photoshoot
Here's the workflow for running a first AI photoshoot on Playyy. Expect the first session to take longer; it gets much faster once you know the process.
Step 1: Prepare your reference photo. Take or select a photo that meets the input quality standards above — sharp, well-lit, clean background. For products, a quick phone shot on a white surface in daylight is sufficient. For portraits, a recent photo in natural light works well.
Step 2: Clean up the background if needed. If your product photo has a distracting background, run it through Playyy's background remover first. This takes under a minute and meaningfully improves how cleanly the AI can place your product into new scenes.
Step 3: Open the AI image generator and upload your reference. In Playyy's AI image generator, upload your reference photo. This becomes the base the AI uses to maintain product or person consistency across generated images.
Step 4: Write a specific scene prompt. Don't use generic prompts. Describe the specific visual you want: lighting direction, surface, background elements, mood, color palette. "Minimalist white marble countertop, soft morning light from left, shallow depth of field, editorial product photography" will outperform "nice background." Write 2–3 scene prompts for the same product so you generate variety in one session.
Step 5: Generate 4–6 variations per scene. Run each prompt and generate multiple outputs. The AI will produce variations — some better, some worse. You want enough outputs to select from. Generating 4–6 variations per scene typically gives you 1–2 strong selects.
Step 6: Select, download, and apply style adjustments if needed. Download your best outputs. If you need to adjust the visual style — warmer tones, stronger contrast, a specific color grade — Playyy's style transfer tool can apply consistent visual treatments across a batch of images. This is useful when you want all your launch content to have a cohesive look.
AI Photoshoot Results You Can Actually Use Right Now
The output of an AI photoshoot isn't abstract creative content — it's specific deliverables that slot directly into real content channels. Here's what you can produce in a single session:
Launch announcement photos. When you're announcing a new product, course, or service, you need a strong visual — something that conveys the product clearly and looks professional. An AI photoshoot session can produce 3–4 launch announcement photos in different compositions: product hero, lifestyle context, and brand-mood shot. These are directly usable for your launch email, social announcement posts, and press coverage.
Social media content batches. The volume problem for social media is real — consistent posting requires more photos than most creators can shoot traditionally. An AI photoshoot from a single product reference photo can produce enough variation for weeks of Instagram content: different backgrounds, different styling contexts, different compositions. You're not re-shooting the product, you're generating new scenes from the same source.
Product listing hero images. Shopify and Amazon both reward high-quality hero images. The AI photoshoot use case here is particularly strong: generate a white-background hero (required for Amazon), a lifestyle scene hero for Shopify, and 2–3 additional product-in-context photos. This is the full product page gallery, produced in one session without a photographer.
About page photos. Most solo creators and founders have outdated or low-quality about page photos because getting a new headshot feels like a project. An AI portrait photoshoot takes your best existing photo and generates professional-quality headshots in multiple compositions — neutral background, lifestyle context, branded setting. Most people find one they actually want to use.
YouTube thumbnail backgrounds. YouTube thumbnails are designed in layers — your face or key visual on top, a background behind. AI photoshoots can generate clean, visually strong backgrounds sized for thumbnail use: bold colors, studio-style gradients, branded environments. Paired with your real photo in a design tool, these produce thumbnails that stand out without requiring a full design session.
When AI Photoshoots Fall Short
This section matters. AI photoshoots are genuinely useful, but there are specific cases where they're the wrong tool — and knowing that upfront saves wasted effort.
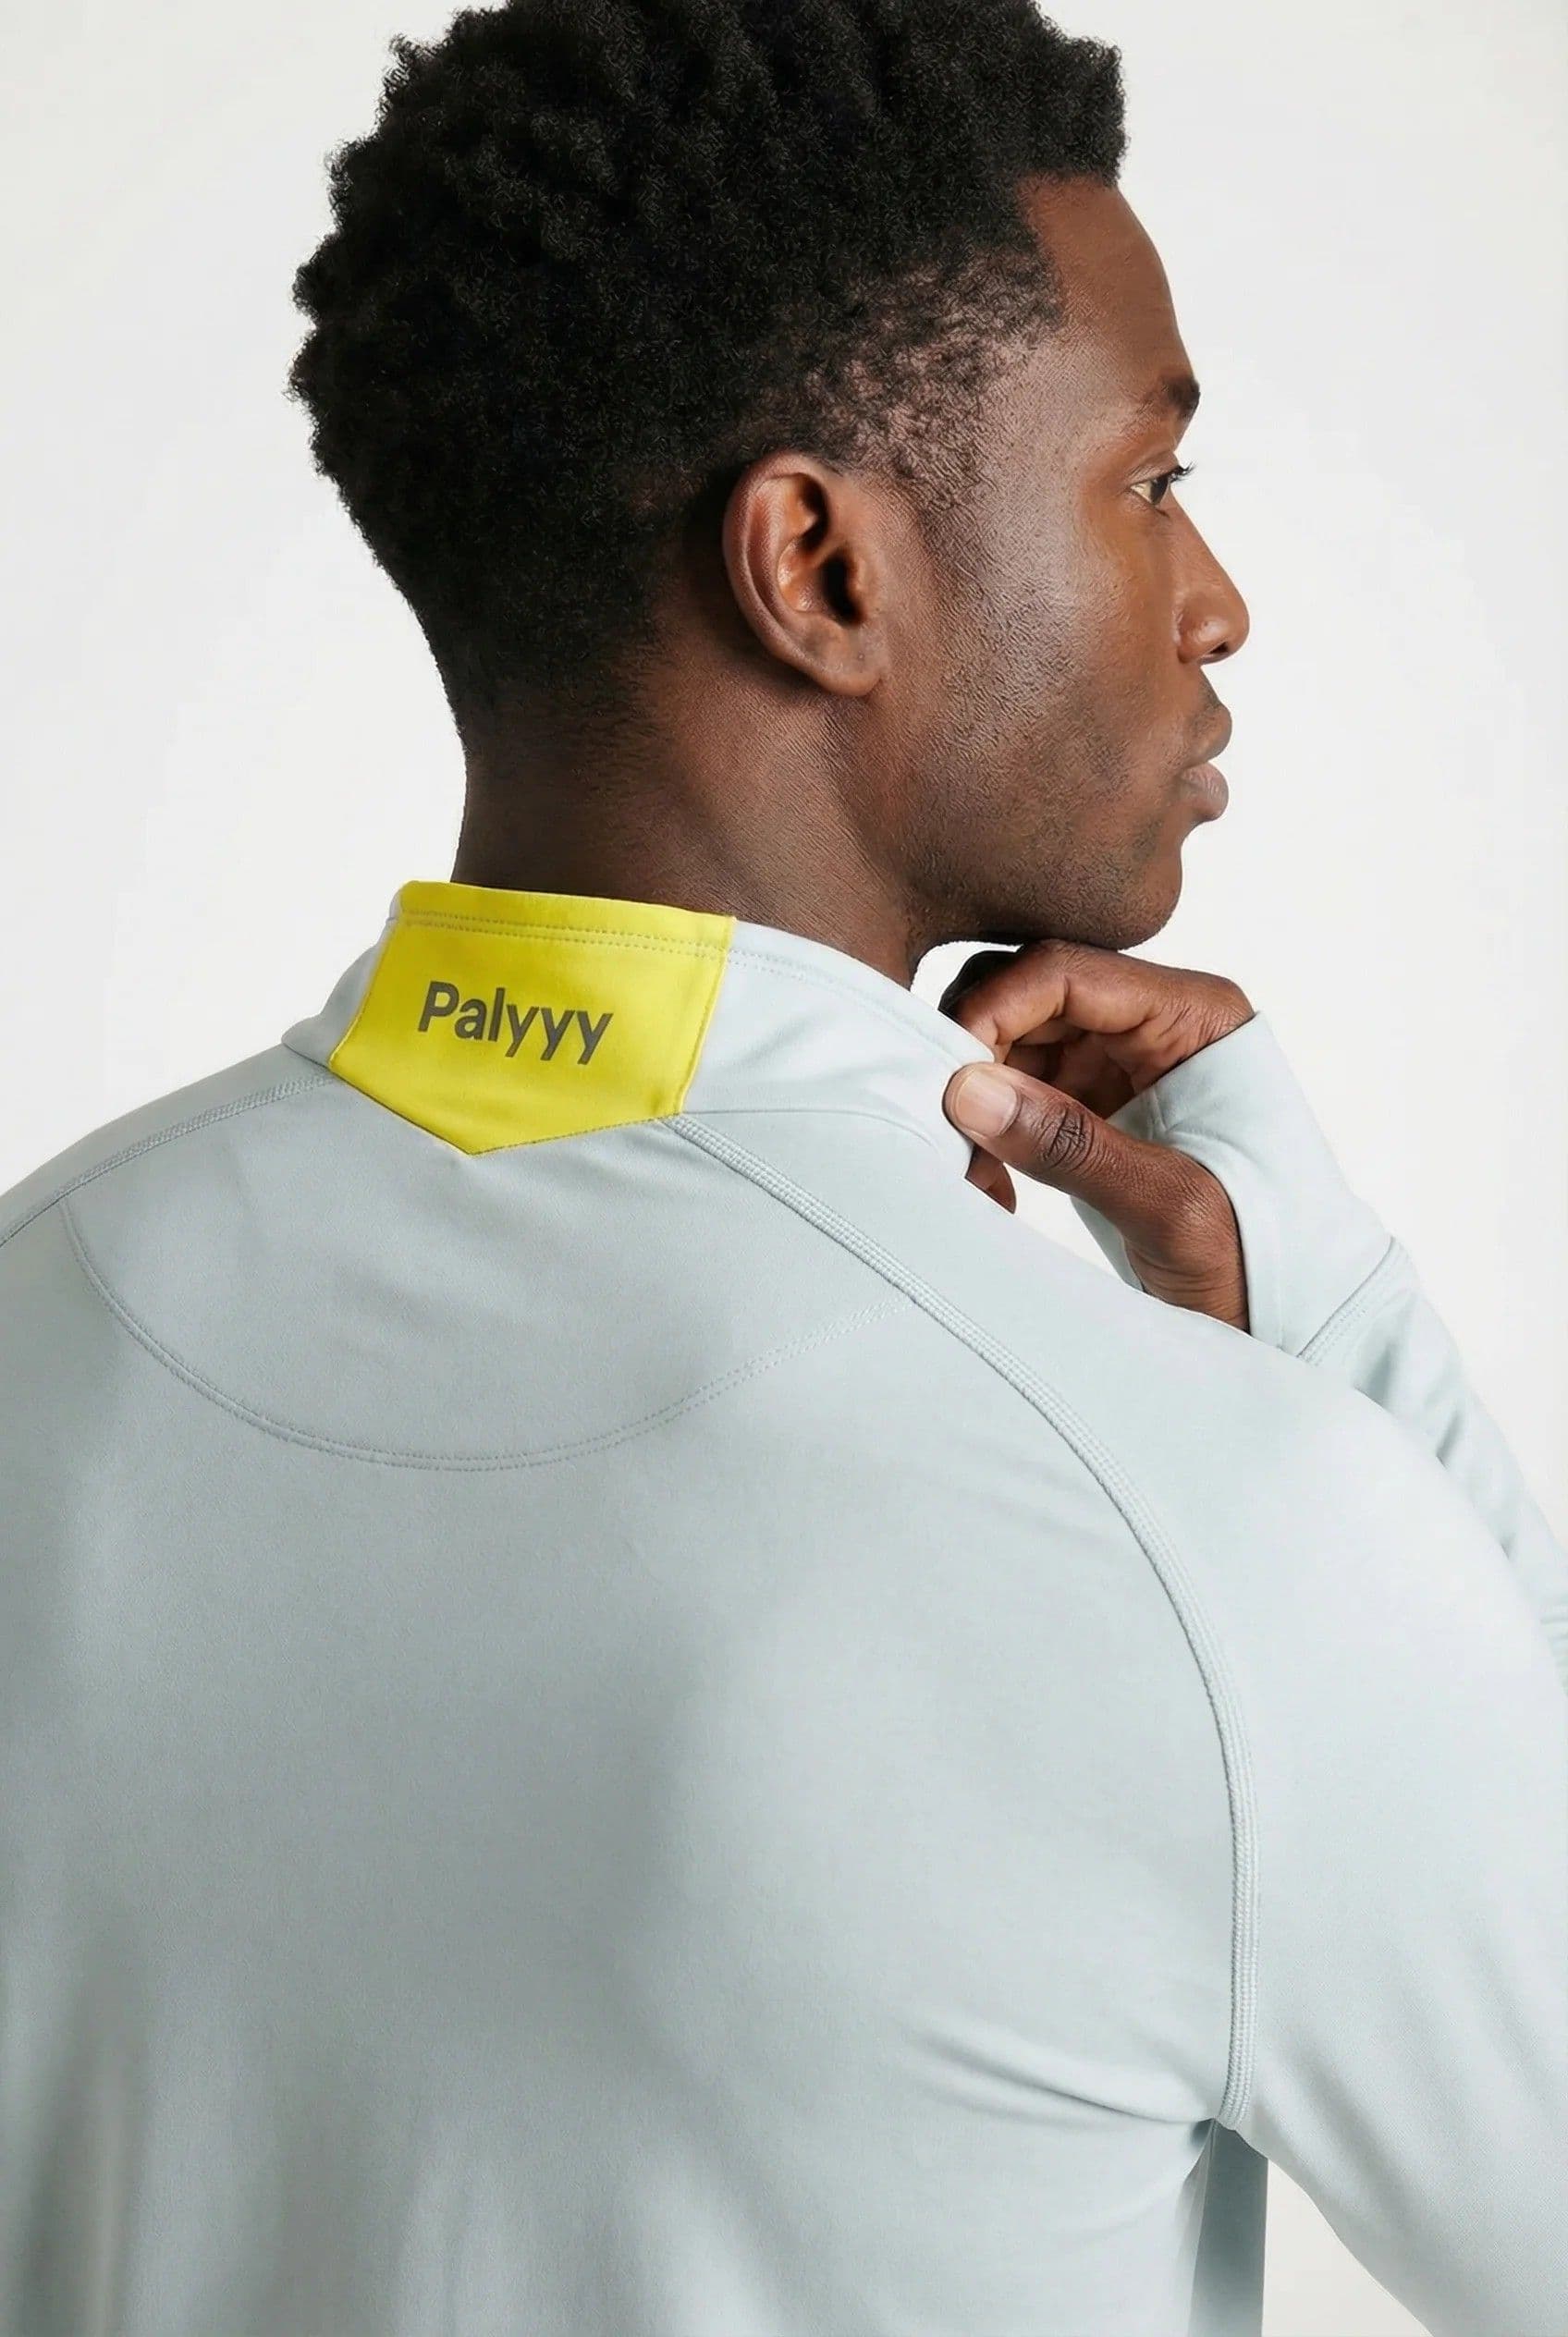
Highly detailed fashion work. If you're shooting clothing, the AI needs to accurately render fabric texture, drape, fit, and construction detail. These are genuinely hard problems for current models. AI-generated fashion photography can look great at thumbnail size and fall apart on close inspection — which matters if you're selling the garment. Traditional photography is still stronger here, particularly for hero garment shots where fit accuracy is commercially important.
Complex multi-person scenes. Generating realistic interactions between two or more specific people is not reliable in current AI tools. You can prompt for "two people having coffee" and get a convincing scene with generic subjects — but if you need specific people in that scene (your team, your co-founders, real customers), the AI will struggle to maintain identity consistency across multiple subjects simultaneously. Events, team photos, and user testimonial images still need real cameras.
Very specific real locations. AI generates plausible versions of places, not accurate representations. If you need a photo of your product outside a specific Tokyo café, at a specific San Francisco intersection, or in front of a recognizable architectural landmark, you need a photographer in that location. AI location-generation produces a convincing "type" of location, not a verified real place — which matters when the specific location is the point.
Print media at large scale. Digital content forgives a lot. Print does not. If you're producing a billboard, a large-format poster, or a magazine spread, AI-generated images often don't hold up at print resolution. The artifacts that are invisible at screen resolution become visible at print scale. For high-stakes print media, traditional photography is still safer.
Understanding these limitations isn't discouraging — it's calibrating. For most content needs that don't hit these edge cases, AI photography for creators is genuinely competitive with traditional photography on quality and dramatically better on cost and speed.
How to Get the Best Results from an AI Photoshoot
The quality of your inputs determines the quality of the outputs. Three things that consistently improve results:
1. Use a clean, well-lit reference photo For product shots: shoot your product against a white background in natural light, even with your phone. This gives the AI accurate colors, proportions, and texture to work from.
For portraits: use a photo taken in good natural light, looking directly at the camera, neutral expression. The AI can change the background, style, and lighting — but it can't fix a blurry or dark input photo.
2. Be specific about the setting you want "Office" is too vague. "Bright Scandinavian home office, natural wood desk, white walls, morning light from the left" gives the AI enough to produce a consistent result. The more visual information you provide in your description, the more control you have over the output.
3. Generate multiple variations Generate 4–6 versions of each shot. Pick the best 1–2. The variation between outputs is actually useful — you'll often find one that works better than you imagined. In Playyy's AI image generator you can rerun the same prompt to get fresh variations, which makes this selection process fast.
The Real Cost Calculation
The conversation about AI photoshoots usually focuses on the upfront cost difference: a free tier or a modest monthly subscription for AI tools versus a session fee for a photographer. That's real, but the full cost calculation is more nuanced — and even more favorable to AI once you factor in time and iteration.
What a traditional photoshoot involves:
- Photographer day rate or session fee
- Studio rental (if needed)
- Prop styling and wardrobe (if needed)
- Post-processing and retouching (sometimes included in the fee)
- Scheduling lead time, often weeks
- File delivery turnaround after the shoot
- Iteration cost: any significant change requires rebooking and repeating the full cycle
If you need to change the background concept, add a new scene, or update the product, that's another session.
What an AI photoshoot involves:
- Tool cost: a free plan or a monthly subscription (Playyy's free plan includes daily bonus credits; paid plans start at $18/month for 1,800 credits)
- Time investment: an afternoon for a first session, much less once you know the process
- Iteration cost: change the prompt, regenerate, done
- Scheduling lead time: none
- Delivery: immediate
A month of heavy AI photoshoot usage — dozens of scenes across multiple product launches — typically costs less than a single traditional shoot.
The caveat worth naming: AI tool quality varies significantly, and free tiers usually limit how much you can generate. Entry-level paid plans unlock the volume most launches need. Free tools may require more generations to get a usable output, which still beats traditional photography on cost but takes more time.
For creators producing content consistently — weekly social posts, recurring email campaigns, product launches every month or two — a year of an AI tool subscription usually costs less than a single quarterly photoshoot schedule, and the difference can go directly into distribution, paid growth, or product development.
Use Cases by Platform
Instagram / TikTok content: Product lifestyle shots perform best. An AI photoshoot can generate your product in 5–6 different settings from a single reference photo — enough for a full week of content.
Product pages (Shopify, Amazon): White background product shots are the easiest AI photoshoot output to get right. Amazon requires pure white backgrounds; AI tools produce this consistently.
LinkedIn / Press kits: Professional headshots. Business casual, neutral or blurred background, natural lighting. Most AI tools do this well if you provide a sharp input photo.
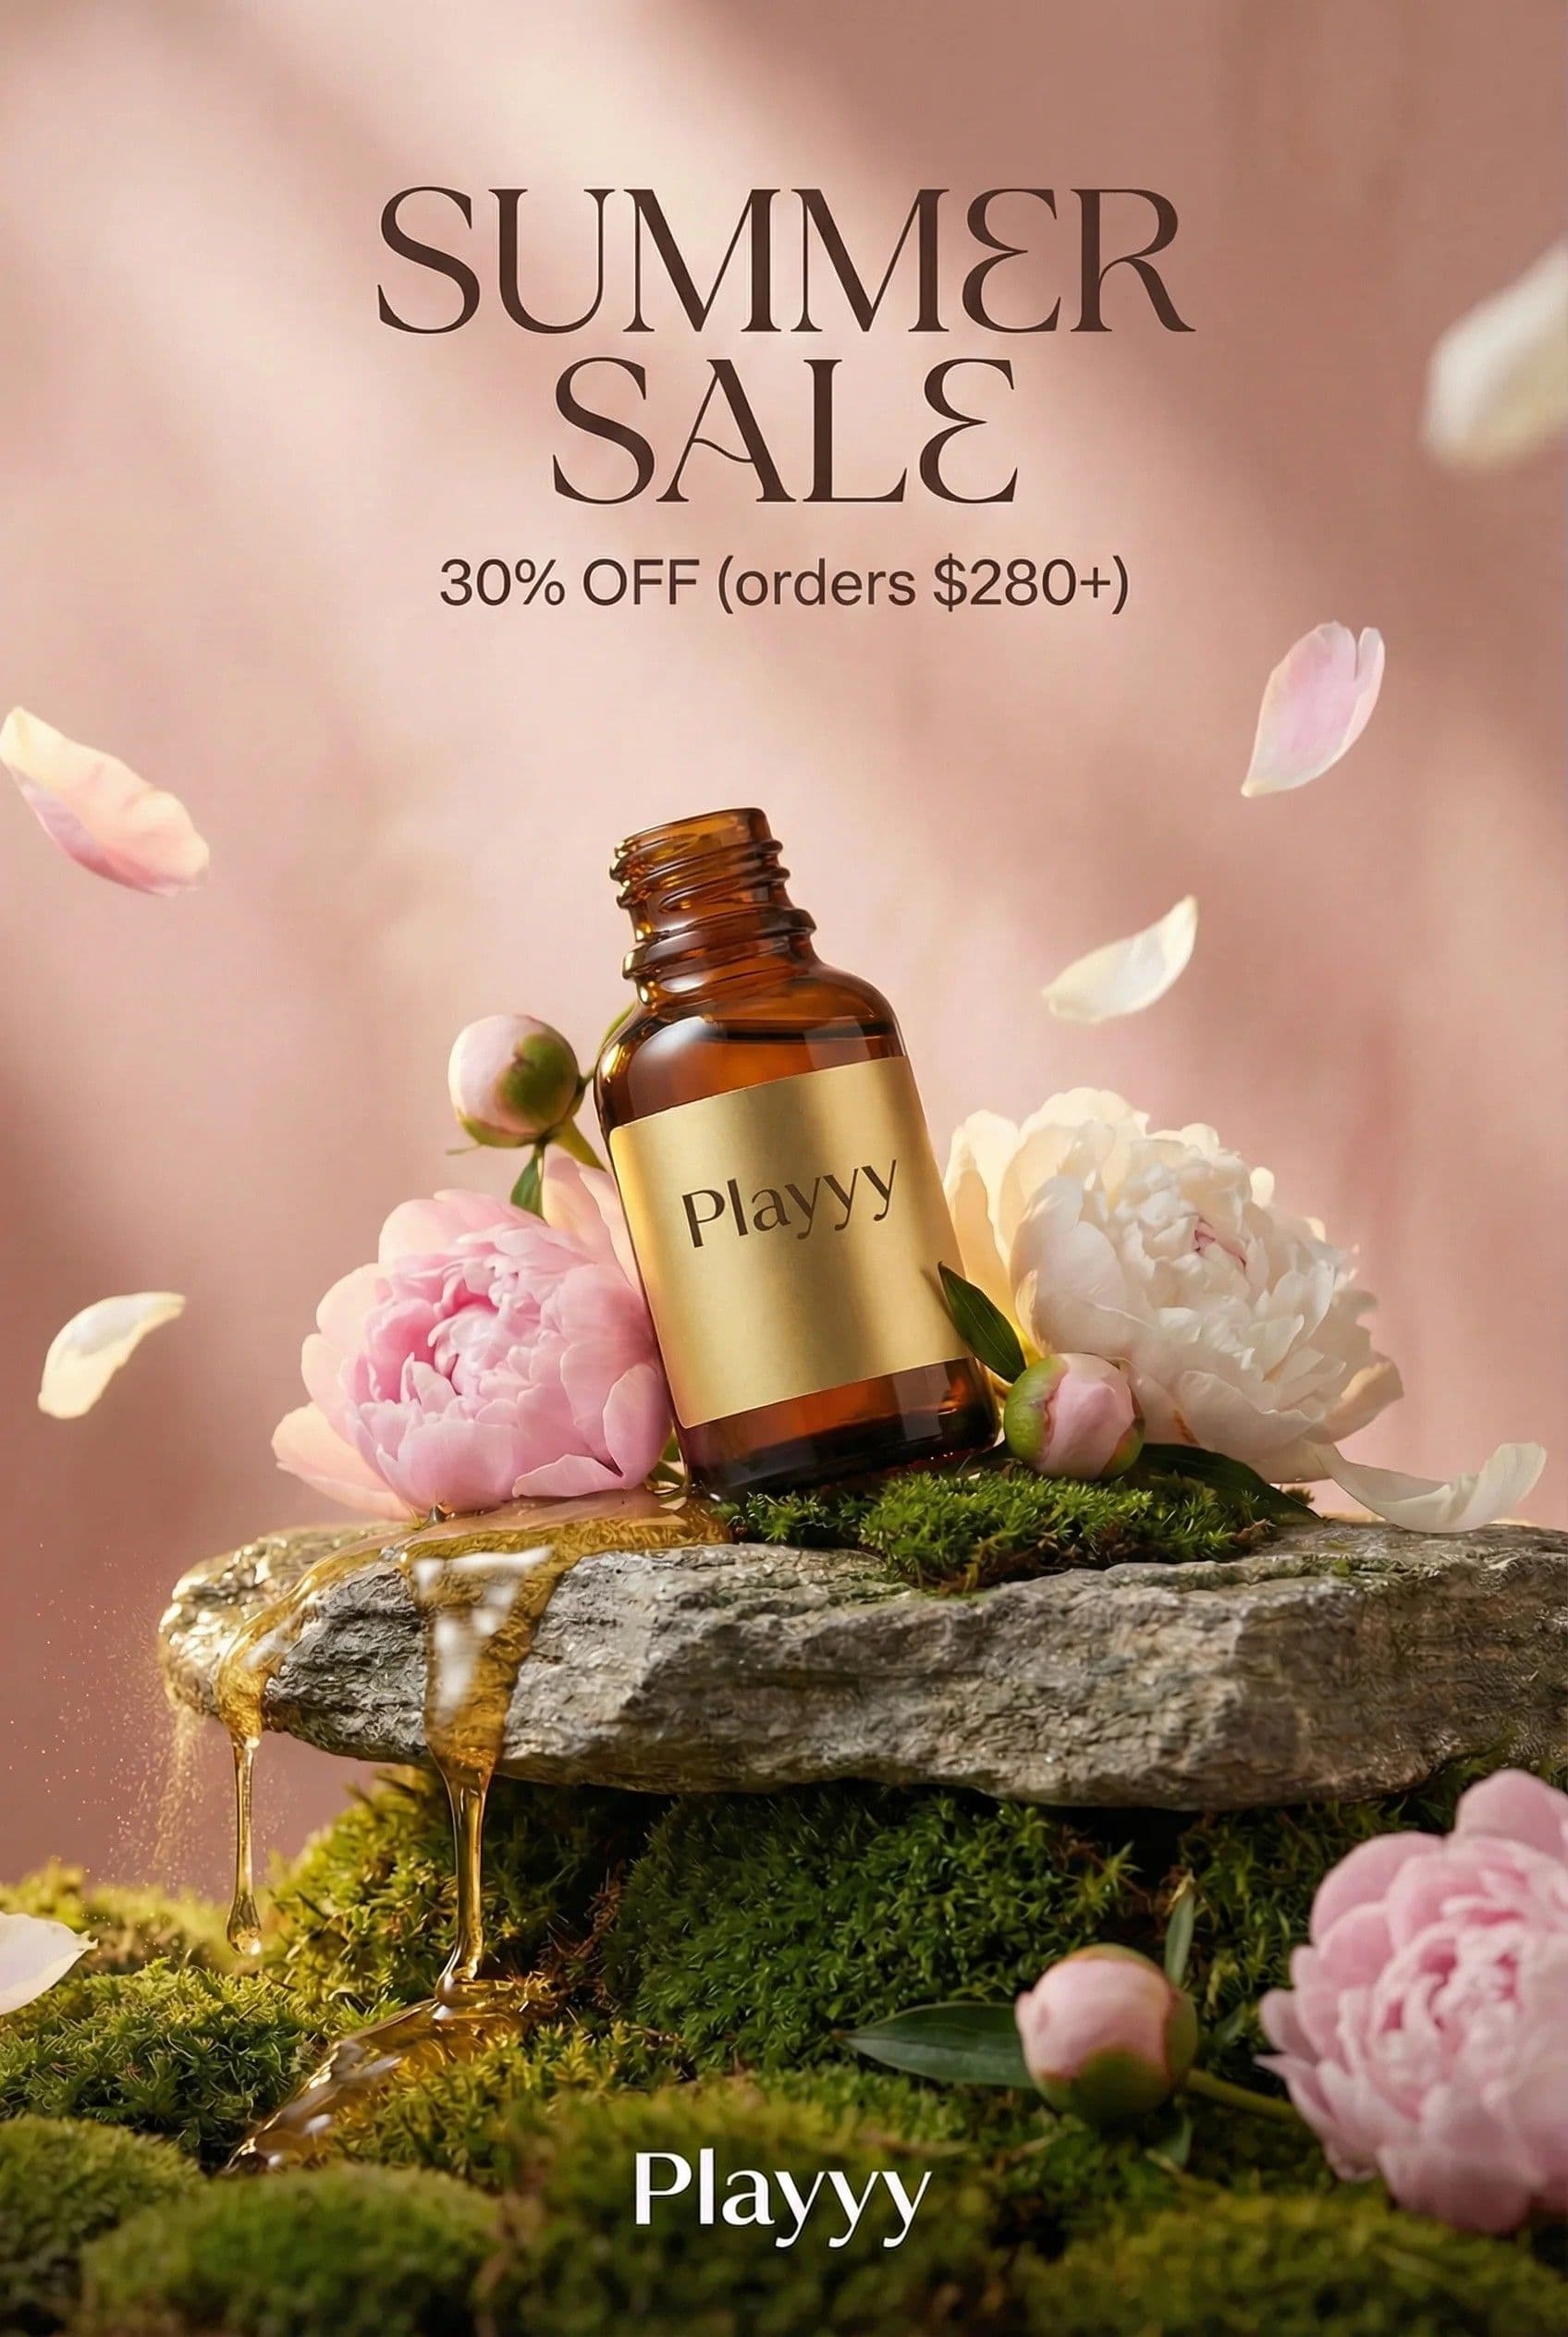
Email marketing: Header images that match your campaign mood. If your email is about a summer sale, generate a bright, airy lifestyle scene. If it's a product announcement, generate a clean product hero image.
The Honest Limitation
AI photoshoots are powerful for creating plausible imagery — they're not yet reliable for creating specific imagery you've visualised precisely. If you need an exact shot of your product on a specific rooftop in Tokyo with specific people, you need a photographer.
But for most of what creators and small teams actually need — social content, product images, headshots, campaign backgrounds — an AI photoshoot is genuinely good enough, and the speed-to-quality tradeoff strongly favors AI.
If you haven't tried an AI photoshoot for your next launch, Playyy's AI image generator is a good place to start. Upload your product photo, describe the setting you want, and generate your first batch of assets in a few minutes. The learning curve is about one afternoon.
Complete Guide: Background Remover: The Complete Guide (2026)
Minji Park
I help indie creators, online educators and small product teams prepare launch visuals and social campaigns. My goal is to make launches feel polished and trustworthy — even when you are working without a designer.
Frequently asked questions
An AI photoshoot uses artificial intelligence to generate realistic photos of a person, product, or scene — without a camera, lighting setup, or photographer. You provide a reference image or text description, and the AI produces studio-quality photos in various settings, styles, and compositions.