How Image Style Transfer Works, and When to Use It
 Aiko Tanaka
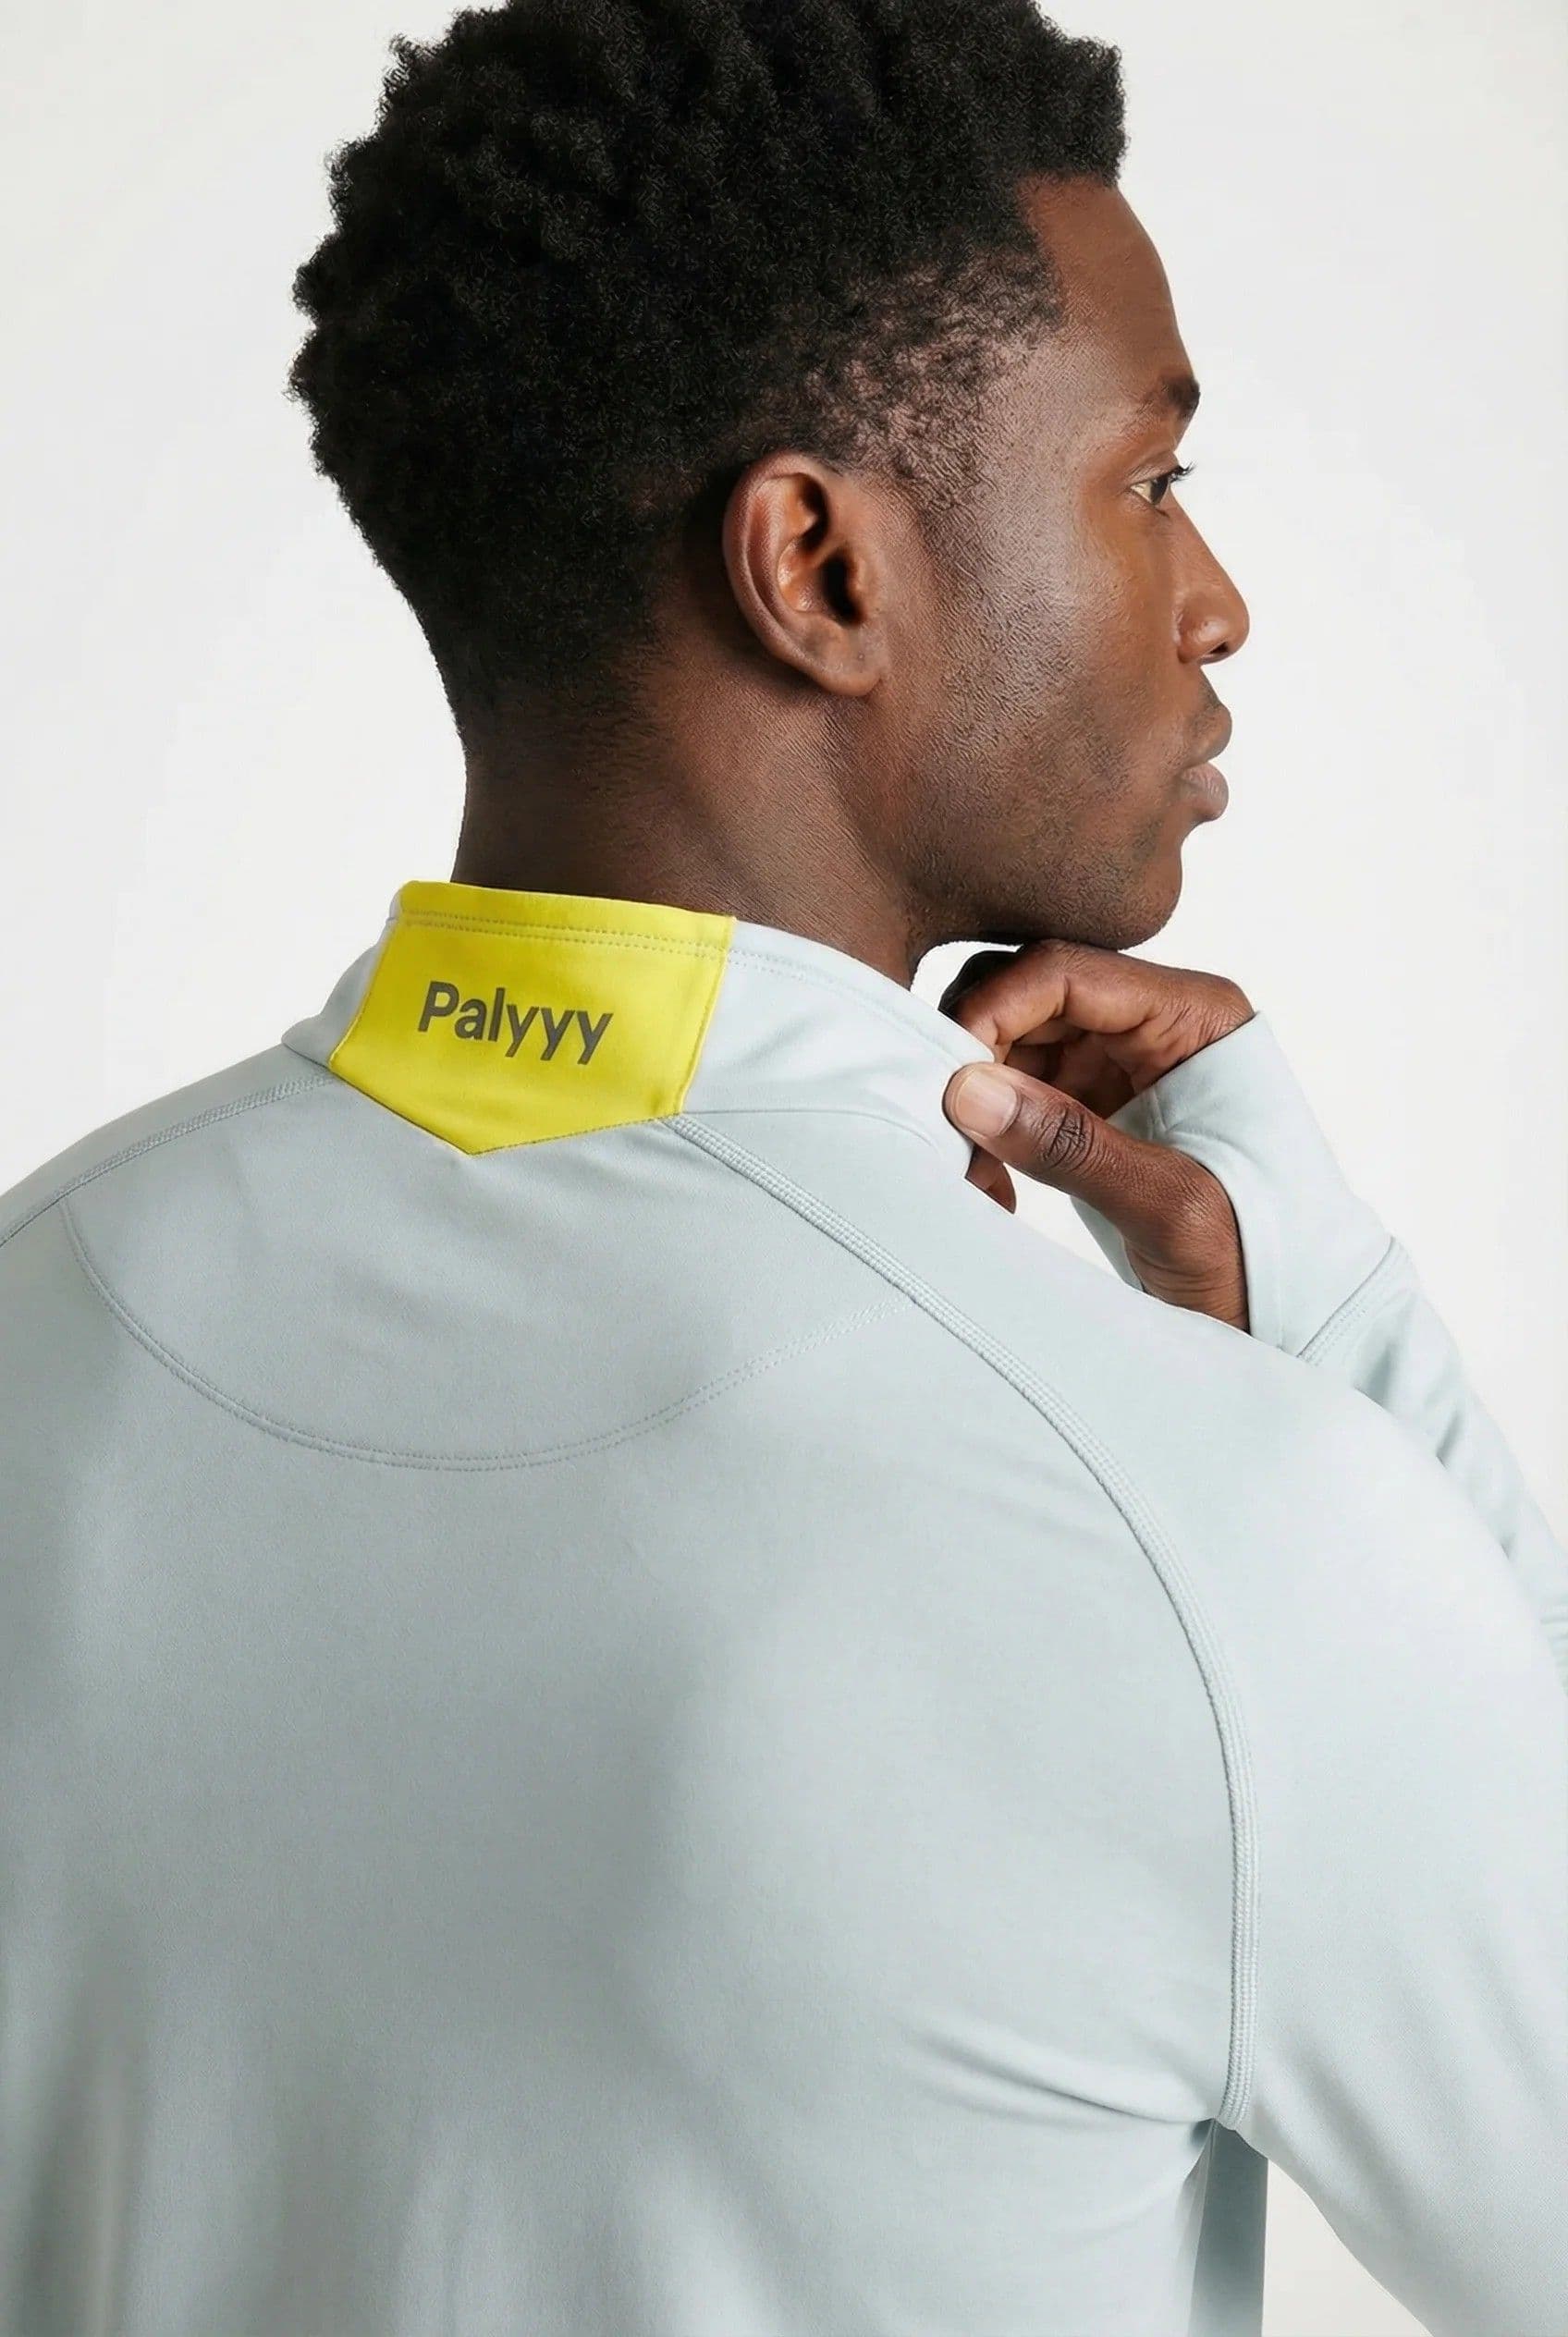
A product shot exists and the question is what it should look like. Editorial and cool, or warm and domestic? Film grain or clean digital? A flat illustrated treatment for the poster version, or photographic? That question used to cost a designer half a day per answer, so most teams asked it once, picked a direction, and lived with it. Image style transfer collapses the cost of asking: the same photo, five visual directions, a few minutes — which turns style from a decision you defend into a set of options you compare.
Quick answer. Image style transfer keeps the content of one image and re-renders it in the visual style of another. Supply the photo you want to keep, supply the style as a reference image or a written description, then adjust strength until the subject is still legible. Faces, text, and fine edges break first, so review those and restore them locally.
How to Transfer a Style From One Image to Another
Image style transfer takes five steps, and the third decides whether the result is usable.
- Start with the content image. The photo whose subject and composition you want to keep. Higher resolution gives the transfer more structure to preserve.
- Define the style. Either upload a reference image whose look you want, or describe it: "muted film photography, warm highlights, soft grain, low contrast." A reference image is more precise; a description is more repeatable across a team.
- Set strength deliberately. Low strength shifts colour and light. High strength reorganises texture and starts eating detail. Most brand work sits lower than the demos suggest — the goal is a family resemblance, not a transformation.
- Review the four failure zones. Faces, text, product edges, fine repeated patterns.
- Restore locally instead of weakening globally. If only the face broke, fix the face. Dropping the whole frame's strength to protect one region wastes the effect everywhere else. Playyy's AI style transfer keeps the result editable so a damaged region can be repaired without a re-run.
The instinct to fix a bad result by lowering strength is what produces washed-out, half-committed images. Commit at the strength the look needs, then repair.
Testing Which Style Fits, Before You Commit
This is the everyday use, and it works best as a structured comparison rather than a browse through presets.
Spread the directions across axes, not variations of one look. Four candidates that differ on things that actually change how a product reads: warm-domestic versus cool-editorial, high-contrast graphic versus soft naturalistic, photographic versus illustrated, current versus period. Five versions of "cinematic" tell you nothing, because they answer the same question four extra times.
Hold everything else fixed. Same source image, same strength, same crop across all four. If the strength drifts between candidates you're comparing luck, not styles — and the one that happens to have landed at a flattering strength wins for the wrong reason.
Judge at delivery size. A style that looks sophisticated at 100% can collapse in a 400-pixel feed tile or on a poster seen from three metres. Shrink every candidate to the size it will actually be viewed at before deciding, because that's the size the decision applies to.
For client work, present three and describe each one. An agency showing eight options is outsourcing the decision; showing three, each with a one-line written spec ("warm film, soft highlights, low contrast, slight halation"), is presenting directions a client can approve and a team can reproduce. The image is the demonstration; the description is the deliverable.
For solo marketers, make style a testable variable. The same product photo in two visual treatments, run as two ad creatives, and the platform decides. Style used to be too expensive to test, so it was settled by taste and defended in meetings. It's now as testable as a headline — and campaign creative production benefits more from two styles at moderate quality than from one style polished twice.
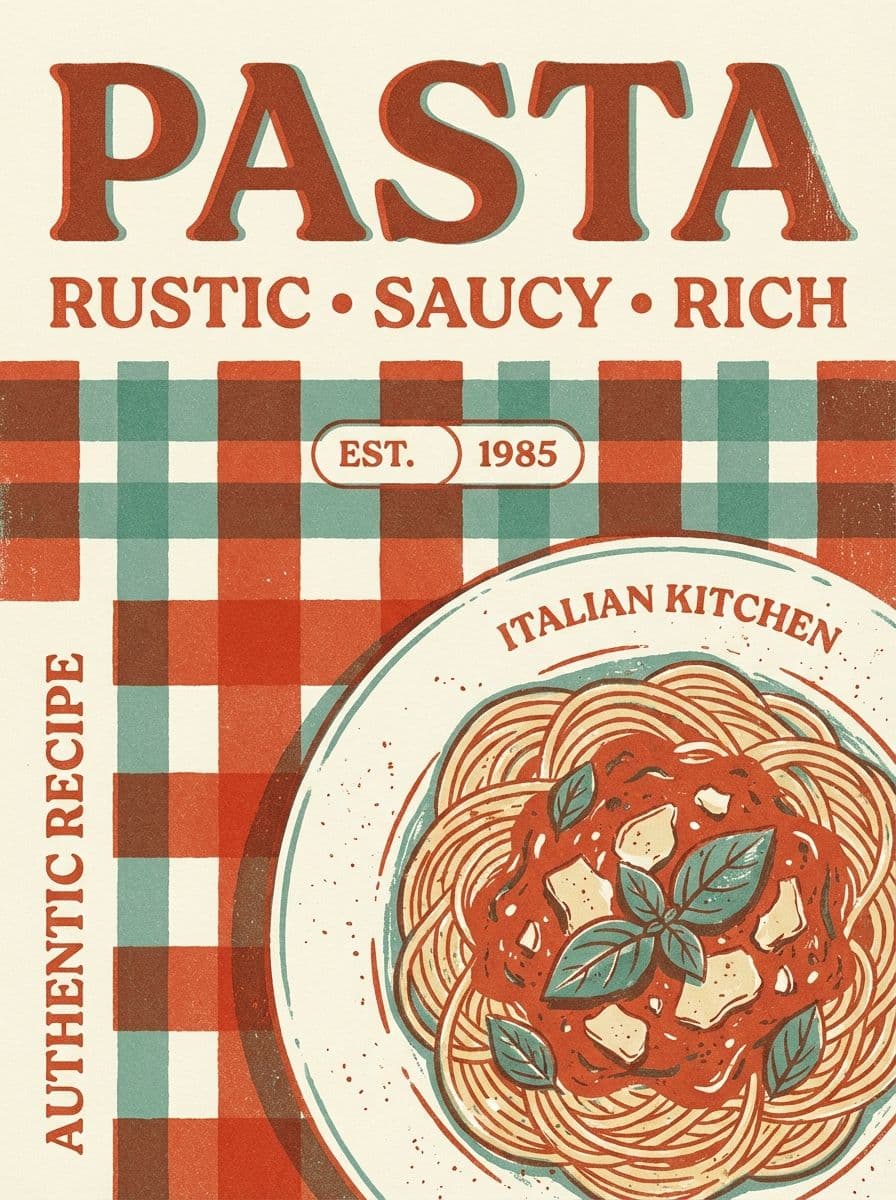
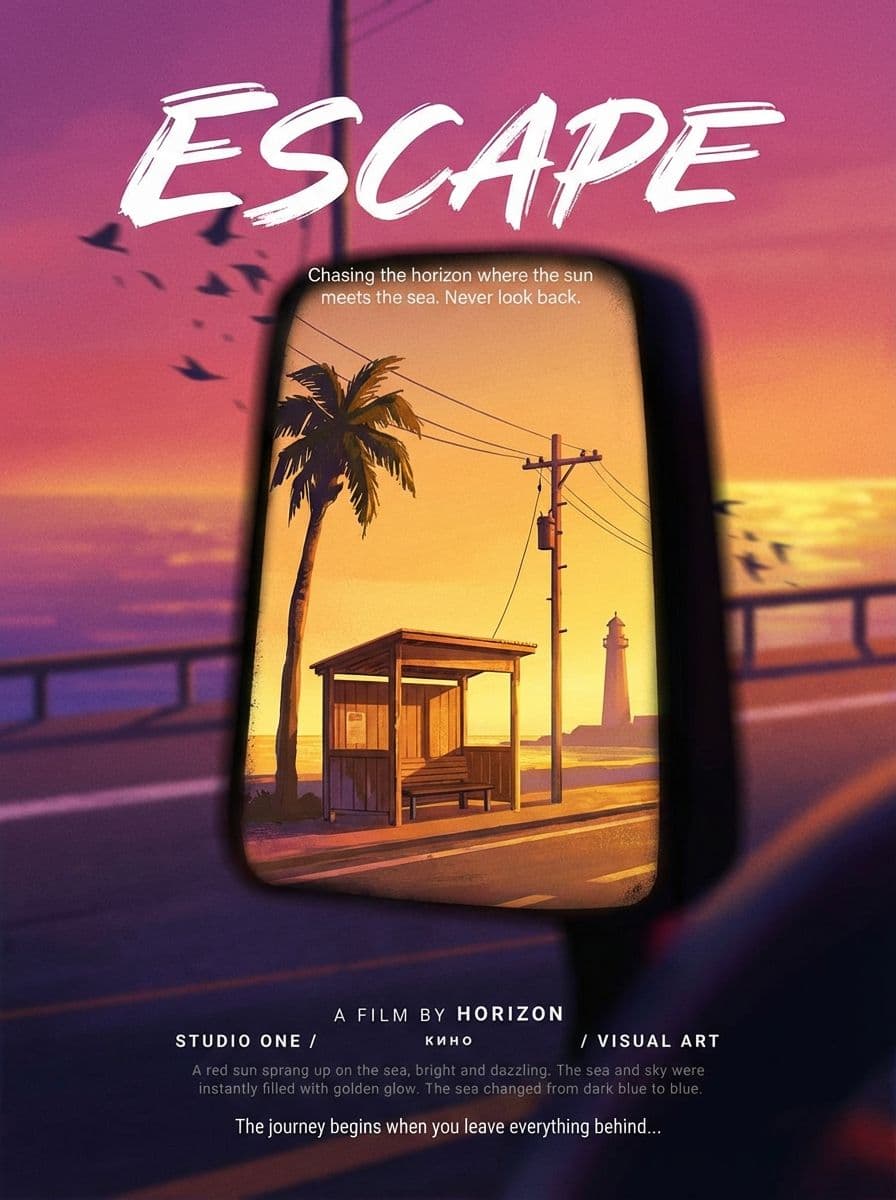
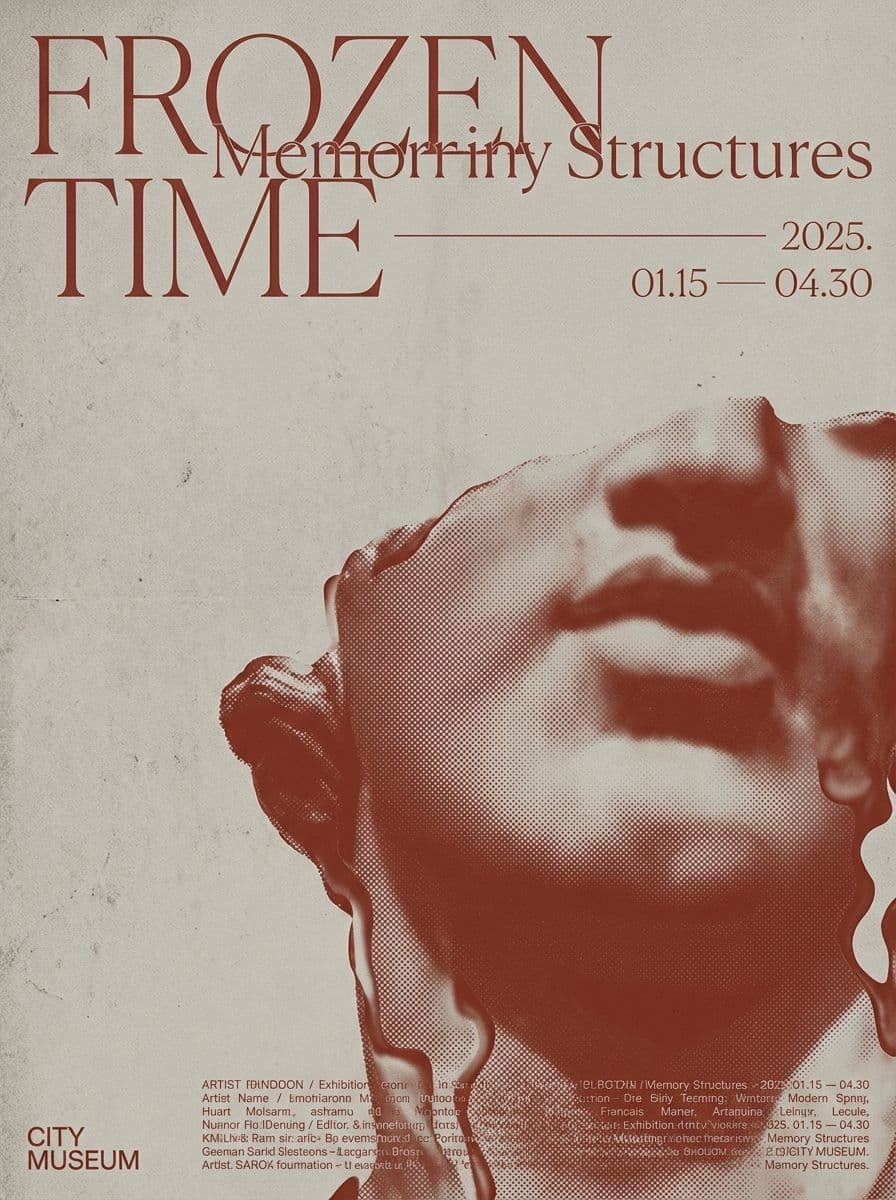
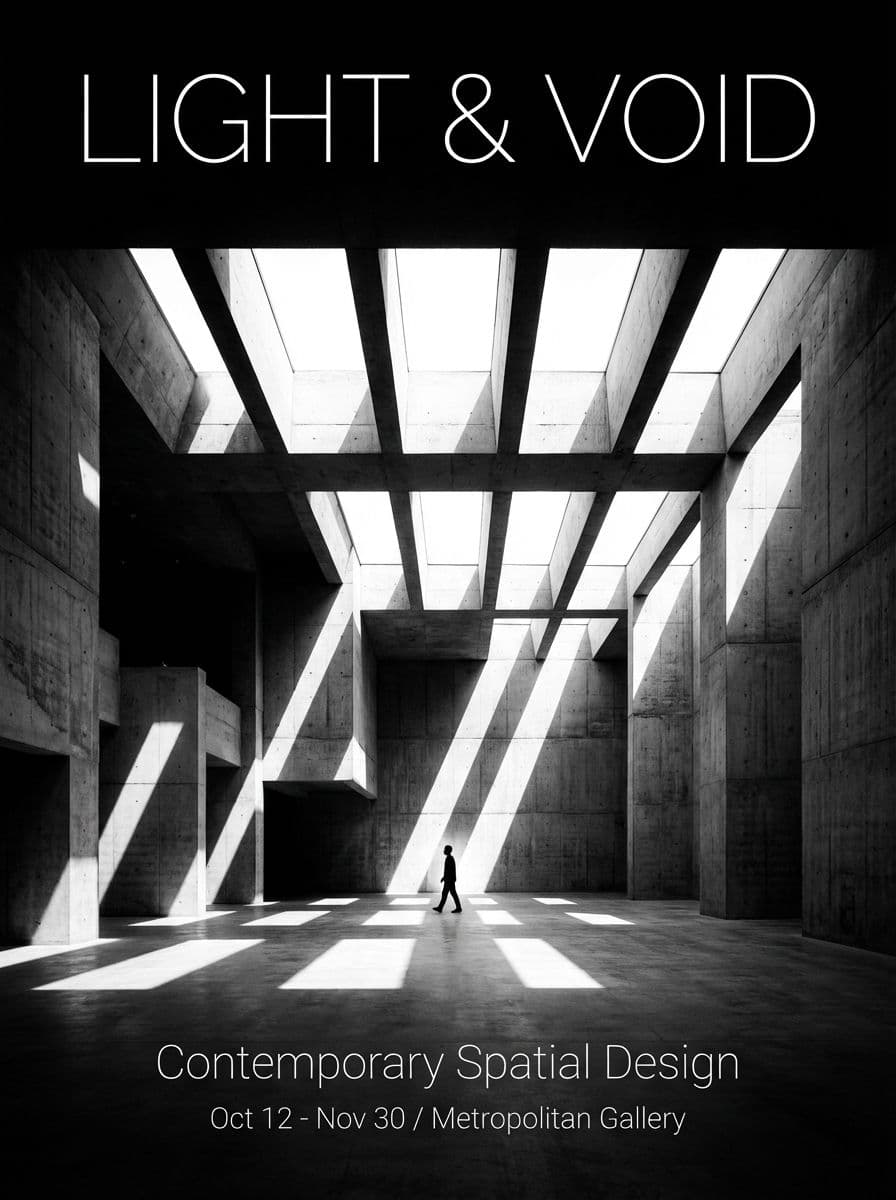
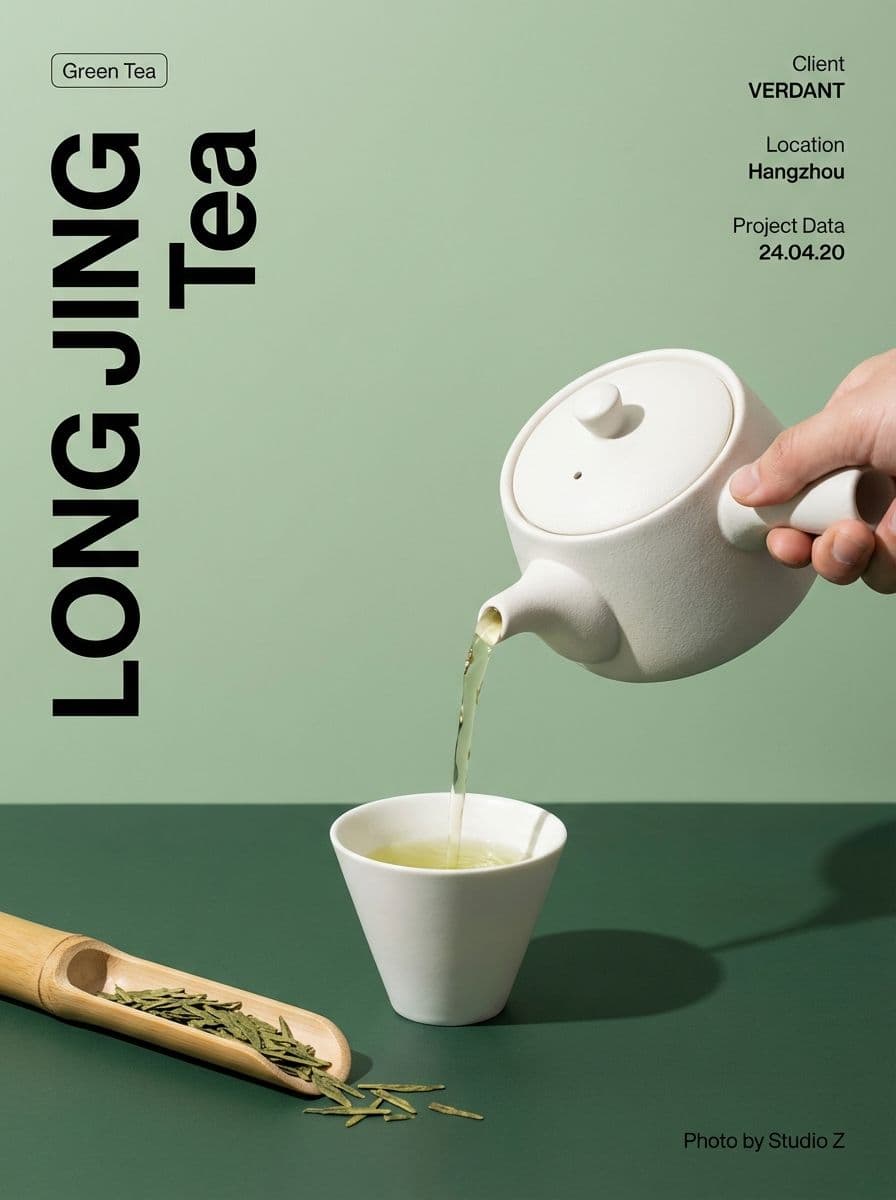
Posters are the case where testing pays most. A poster carries a single visual argument, and the difference between an illustrated treatment and a photographic one changes who stops walking. Run both from the same product photo rather than committing to one and rebuilding later.
One boundary before you start: test styles on ad, social, and poster frames — never on the marketplace main image. That frame has to stay colour-accurate, which rules out stylisation regardless of how good it looks.
What Image Style Transfer Actually Does
The mechanism explains the failure modes, which is why it's worth two paragraphs.
The technique comes from a 2015 paper by Leon Gatys, Alexander Ecker, and Matthias Bethge, A Neural Algorithm of Artistic Style, which showed that a neural network trained for object recognition holds separable representations of an image's content and its style — and that these can be recombined. Their system, in the paper's words, "uses neural representations to separate and recombine content and style of arbitrary images, providing a neural algorithm for the creation of artistic images."
The consequence for practical work: style is treated as statistics of local texture and colour relationships, while content is treated as the arrangement of larger structures. Anything whose meaning lives in small precise relationships — a face, a letterform, a logo, a product label — sits on the wrong side of that split. It reads as texture to the model and gets rewritten. That risk comes from what the operation is, not from one weak model.
Modern diffusion-based and instruction-following image models are far more controllable than the 2015 optimisation approach, and much better at keeping faces and text intact, but the same boundary still shows up under strong stylisation. Understand it and you stop being surprised by which parts of an image survive.
Three Ways to Specify a Style for Image Style Transfer
A reference image gives the most faithful result and the least explainable one. Ideal when you have a look you like and no vocabulary for it — a frame from a film, a spread from a magazine, an old campaign shot.
A written description is less precise and vastly more useful in a team. "Warm muted film, soft grain, low contrast, slight halation" is a spec you can put in a brief and reproduce in six months. A reference image lives in someone's folder.
Presets — what most tools marketed as an image style changer offer — are fastest and least suitable for brand work, because a preset is a look thousands of other accounts are also using. Fine for a one-off social post; a liability as a house style.
For anything that has to be repeatable, write the style down even if you work from a reference. The description is what survives staff changes and tool changes.
Deep Dive: Why Brand Consistency Matters for Local Businesses
Where Image Style Transfer Breaks
Four zones, in the order they fail.
Faces. First and worst. Eyes, mouths, and teeth deform because they depend on precise small-scale relationships. Any style transfer on portraits needs face masking or a local restore pass.
Text. Letters become letter-shaped marks. Newer models keep text far better than older ones, but small text still can't be trusted to survive a strong transfer — treat text as something you re-add afterwards, not something you preserve through the pass.
Product colour and material. A stylised photo is by definition no longer colour-accurate. That makes style transfer unusable for listing images and fine for the ad frame beside them. If a shopper could receive an item and say the colour was different, the edit crossed a line.
Fine repeated patterns. Knit texture, mesh, halftone, brick. These interact with the transfer's own texture statistics and produce moiré-like artefacts.
None of these rule the technique out. They define where the mask goes.
Applying One Style Across a Whole Set
Set-wide image style transfer is the use case that justifies learning the tool properly, and it has three requirements.
A fixed style source. Same reference image, same description, same strength for every file. Changing any of the three mid-set produces a group that still looks mismatched, just differently.
Grouping by source before running. Photos shot under different light land differently under identical settings. Group by shoot or supplier, run each group, then compare groups and adjust per group rather than per image.
A consistency check at thumbnail size. Set the finished images side by side and shrink them to 200 pixels. Mismatches that are invisible at full size are obvious at gallery scale — and gallery scale is how the set will actually be seen.
For sets beyond a dozen files, doing this as a batch pass rather than one image at a time is the difference between a workflow and an afternoon.
Style Transfer, Filters, and Generating From Scratch
Three adjacent operations, and picking the wrong one is the most common mistake here.
A filter applies a fixed transformation — a curve, a grain overlay, a colour grade. Predictable, cheap, and unable to change how an image is rendered structurally.
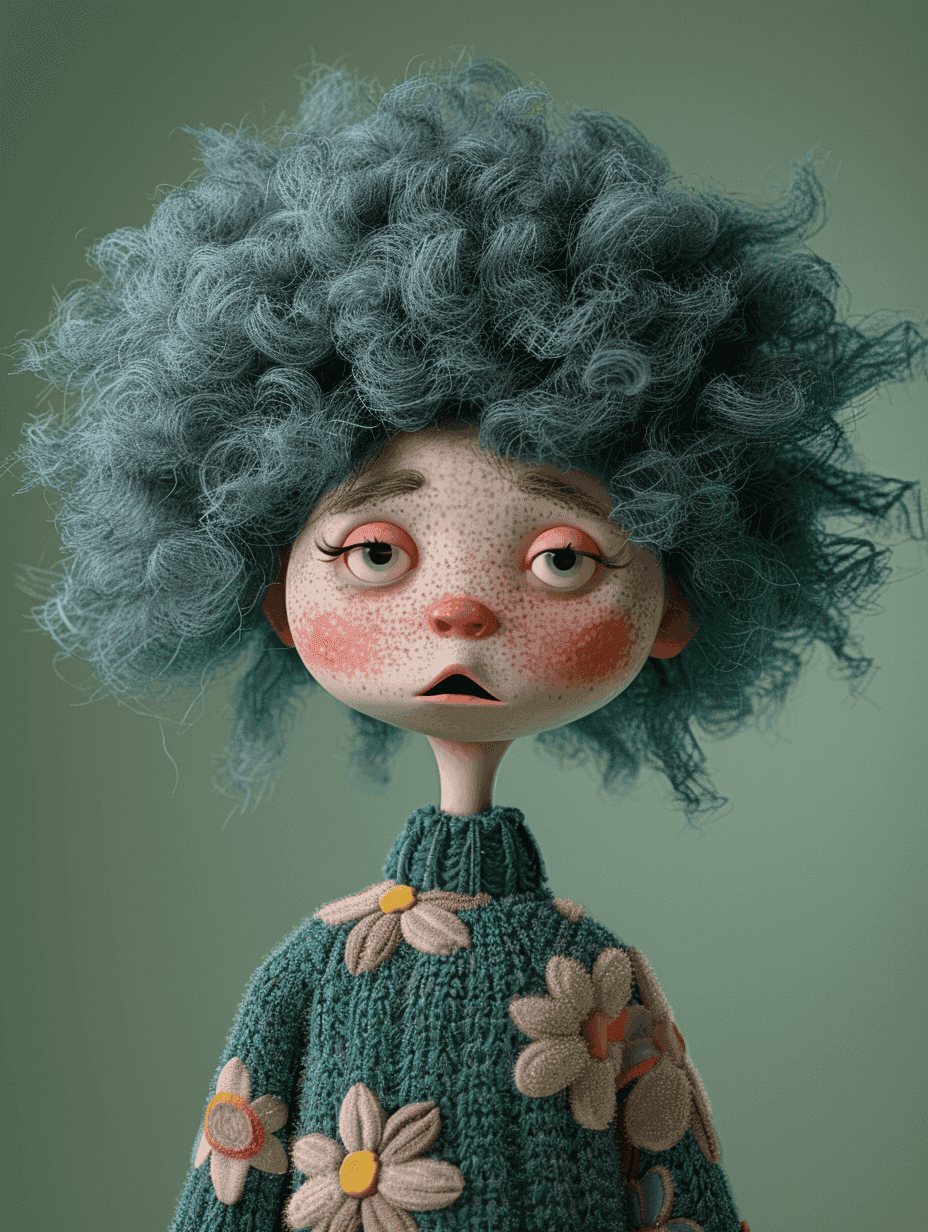
Style transfer re-renders an existing image in another visual language. The content is yours; the surface isn't. Use it when you have the right subject in the wrong look.
Generating from scratch invents both. Use it when you don't have the image at all — and accept that the subject won't match anything real. Playyy's AI image generator covers that case.
The decision rule: if the subject matters and exists, transfer. If only the mood matters, generate. If all you need is a colour shift, a filter is faster and safer than either.
Where to Start
Take the product shot or portrait you are least sure about and run four style directions against it at moderate strength — one editorial, one warm and domestic, one high-contrast graphic, one illustrated. Check faces and text in each, restore what broke, then judge them at the size they will actually be seen.
That exercise takes minutes and answers a question that used to require a designer and a meeting. Whichever direction wins, write it down as a description rather than filing the reference image, because a style you can describe is a style you can reproduce next quarter — on a different product, by a different person.

Aiko Tanaka
I work with boutique brands, cafes, creators and small businesses on visual systems, layout discipline, typography and moodboards. My focus is on fast concept exploration that still has a strong design point of view.
Frequently asked questions
Image style transfer takes the content of one image — the objects, their arrangement, the composition — and re-renders it in the visual style of something else: a painting, a photographic treatment, an illustration language, or a reference image you supply. The subject stays recognisable; the surface changes. It is the difference between repainting a scene and photographing a different one.