How to Choose Tattoo Placement and Size
 Claire Dubois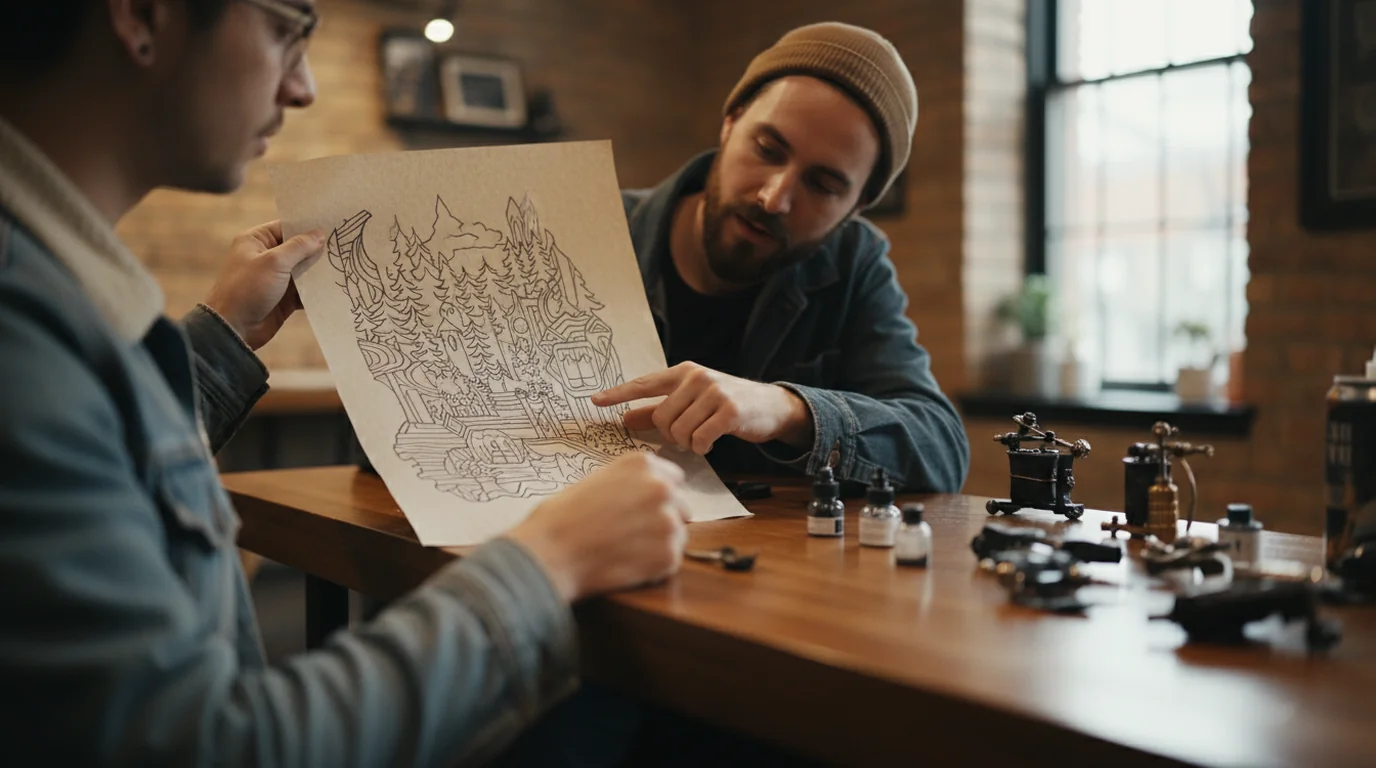
The design is usually the part people spend most time on, and the part an artist spends least time worrying about. What they need settled before the machine is switched on is where the piece goes, how big it is, and whether the linework can actually be drawn at that size on that part of the body. Those three answers are connected, they constrain each other, and getting them in the wrong order is how a good idea becomes a tattoo that needed reworking two years later.
Quick answer. Placement and size are one decision. Pick the body area first based on friction, sun exposure and how much the skin moves there; then set the size from the smallest element the design has to keep distinct, because lines spread over time and small gaps close first. Simplify the design rather than shrinking it if the two do not fit.
How to Choose a Placement
Four constraints decide most placements, and only one of them is aesthetic.
Friction and regeneration. Skin that rubs against things and turns over quickly holds ink worst. Hands, fingers, feet and the inner lip are the extreme cases, and artists will often tell you upfront that those areas need touching up. The outer forearm and the outer thigh sit at the forgiving end.
Sun exposure. UV breaks down pigment, and the areas most often uncovered — forearms, hands, neck, calves — fade fastest in practice. This is a habit question as much as an anatomy one: a forearm on someone who uses sunscreen ages better than a shoulder on someone who does not.
Movement and curvature. Elbows, knees, ribs and the inside of the wrist all distort a design because the skin stretches and folds there. A symmetrical or geometric piece is the least tolerant of this, since the eye reads a broken symmetry immediately. A flat plane — the back, the outer upper arm, the thigh — keeps a drawing looking like the drawing.
Visibility you can live with. The only reversible part of this decision is the one made before the appointment. Hands, neck and forearms are visible in most workplaces; upper arms, back and thigh are not.
Body geometry also decides whether a design works at all in a given spot. A drawing built on a square or circular composition sits badly on a forearm, because a cylinder cannot display a flat grid without distorting it. Artists redraw designs for the limb they are going on, which is one of the things you are paying them for.
Sizing: Let the Smallest Detail Set the Floor
The instinct is to pick a size that looks right on the body. The better method is to find the size below which the design stops working, and then stay above it.
Tattoo pigment does not sit still. Research in the Journal of Experimental Medicine found that the pigment is held inside dermal macrophages which, when they die, release it into the surrounding tissue to be recaptured by new cells — a repeating cycle of capture, release and recapture. Each handoff allows a small amount of lateral drift.
The consequence for sizing is direct. Lines widen slightly over decades, and the gaps between them narrow by the same amount. A two-millimetre gap between two elements is comfortable; a half-millimetre gap is the first thing to disappear. So the question is not how big the piece should look, but how small its tightest gap can be and still be a gap in twenty years.
Practically, that means: identify the finest detail the design depends on, ask the artist what weight they would draw it at, and let that determine the overall dimensions. If the result is larger than the space or the budget allows, the fix is to remove detail, not to scale the whole thing down. A simplified design at a small size ages well. A detailed design shrunk to the same size is a dark patch waiting to happen.
Which style the design is drawn in changes these limits considerably — the tattoo styles guide covers why bold-outline work tolerates small sizes that fine-line work does not.
Stencils, and What They Cannot Fix
A stencil is the outline transferred onto the skin so the artist has a guide to follow. The linework is printed onto thermal transfer paper, the area is shaved and cleaned, a transfer solution is applied, and the paper is held against the skin for around a minute. The coloured outline left behind is positioning, not pigment.
Two things about stencils are worth knowing before an appointment.
The stencil stage is where placement is finally agreed. It is applied, you look in a mirror, and it gets repositioned until it is right. This is the last free moment in the process, and it is worth using properly — walk around, sit down, see it at the angle you will actually see it from. Asking for a third reposition is normal and costs nothing.
And a stencil cannot rescue a design that was not tattooable. Converting a photograph to line art produces evenly weighted outlines with no hierarchy — everything at the same line weight, nothing emphasised — which reads as noise once it is on skin. Line art drawn deliberately, with thick strokes where the design needs structure and space where it needs air, is a different thing to trace.
What to Bring to the Consultation
Most consultations open with a phone and a camera roll, which is the weakest possible brief. An artist looking at nine saved images in four styles has to reconstruct an intention before they can improve it.
What makes the appointment go well:
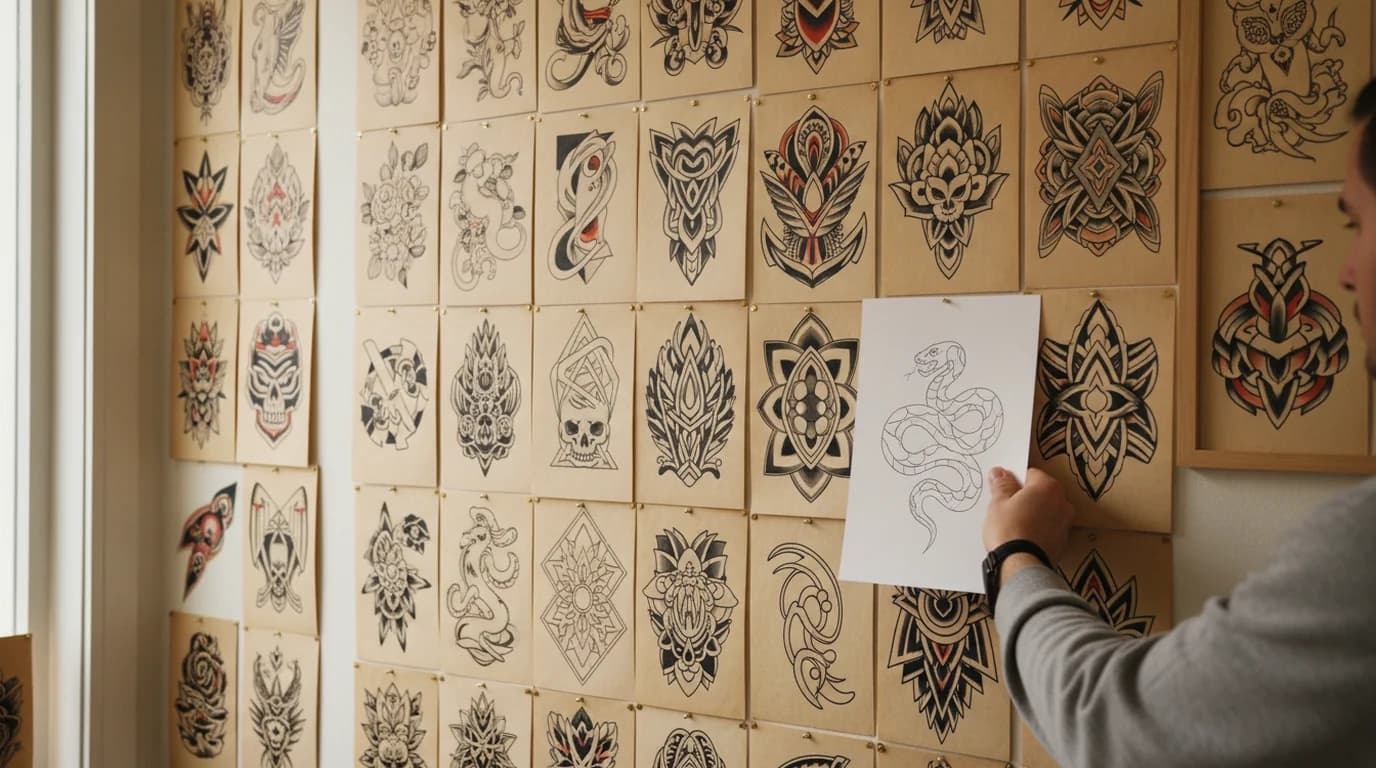
- One piece of line art, not a folder. It does not have to be well drawn. It has to commit to a subject, a style and a rough composition, so the conversation is about refining one idea.
- A size in centimetres, even approximate. "About twelve centimetres tall" moves faster than holding fingers apart.
- The placement, with a second choice. Artists frequently suggest moving a design a few centimetres for a reason to do with how the muscle sits.
- One or two style references, labelled with what you want taken from each — the line weight from this one, the shading from that one.
- Constraints: existing tattoos nearby, scars, skin conditions, a date you need it healed by.
A free AI tattoo generator is useful for exactly the first item — describe the piece, name the style, and get clean line art back as a vector your artist can scale to any placement. It replaces the screenshot folder, not the artist: the tattoo is still drawn by the person doing it, and every sizing and placement judgement above is theirs to confirm.
For name and initial pieces specifically, initials drawn as one interlocking mark hold together better than separate letters, and an initial monogram maker produces that as a single vector shape rather than as three characters set side by side.

Claire Dubois
I advise fashion, beauty, lifestyle and hospitality brands on campaign direction, brand storytelling and visual consistency. I care deeply about how brands use AI tools while preserving taste, restraint and a coherent art direction.
Frequently asked questions
The spots that change fastest are hands, fingers, feet, and the inner lip, because friction and constant regeneration break up the ink. Elbows and knees distort with movement. Anywhere with heavy sun exposure and no habit of sunscreen fades sooner. None of these are forbidden — they are places where touch-ups are part of the deal, and where fine detail is the wrong choice.