How to Start a Clothing Brand in 2026, Step by Step
 James Walker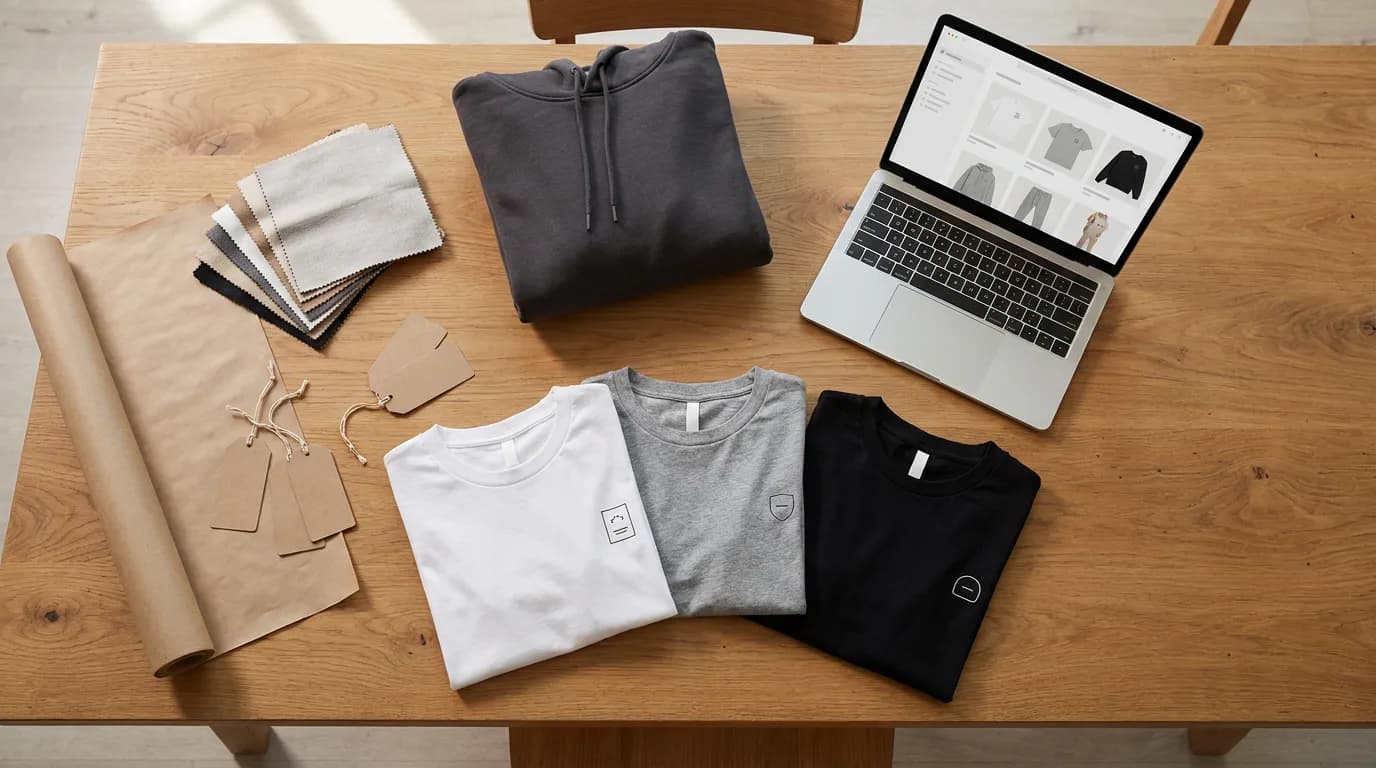
Learning how to start a clothing brand used to mean a lot of money tied up in stock before a single sale. A sample room, a minimum order of a few hundred units per style, a photographer and a model. For a small brand in 2026 the route looks different: print on demand removes the stock, and AI handles the design files, mockups and listing photos that used to need a studio. The hard parts that remain are choosing who the brand is for, picking a first drop that sells, and getting it in front of people.
Direct answer. To start a clothing brand, pick a narrow niche, choose a production model (print on demand for low risk, small batches for higher margins), build a simple identity, design a first drop of three to six pieces, test them with mockups and samples, then list them with clean product and on-model images and market to one audience first.
Step 1: Choose a Niche You Can Describe in One Sentence
"Streetwear" isn't a niche. "Heavyweight tees with trail-map graphics for weekend hikers in the Pacific Northwest" is. The narrower version tells you what to design, where to advertise and what to charge, and it gives a small brand something the big ones can't copy quickly.
Good clothing brand ideas usually come from a group you already belong to. A few that work for a first brand:
- Hobby communities: climbers, run clubs, anglers, chess players, home bakers.
- Places: a neighborhood, a surf break, a city's transit map, a local dialect.
- Professions with in-jokes: nurses, line cooks, software engineers, teachers.
- Fandoms and subcultures: indie music scenes, retro gaming, car meets, vintage sports.
- Values-led basics: organic cotton blanks, gender-neutral fits, plus-size first.
Test the idea before designing anything. Can you name three places where these people already gather online? Can you write ten shirt slogans or graphics for them in an hour? If both answers are yes, the niche is specific enough.
Step 2: Pick a Business Model: Print on Demand or Small Batches
There are three realistic ways to make the product, and the choice sets your budget, your margins and how fast you can change direction.
| Model | How it works | Upfront cost | Best for |
|---|---|---|---|
| Print on demand | A provider prints and ships each item after a customer orders | Lowest | Testing designs and niches |
| Small-batch printing | You order 24 to 100 pieces from a local screen printer or DTG shop | Medium | Proven designs, better margins |
| Cut and sew | A factory makes your own patterns and fabrics | Highest | Established brands with demand |
A print on demand business is the default starting point for good reason. Printful's breakdown of clothing line costs estimates that a small print-on-demand clothing business can often launch on $500 to $1,000, while a traditional route can need $20,000 to $50,000 just for initial stock. That gap is the whole argument: print on demand turns inventory risk into a slightly higher cost per unit.
The catch is margin. Printful's own step-by-step clothing brand guide notes that direct-to-consumer apparel brands often target margins of 55% to 65%. A print-on-demand tee hits that only with a confident retail price, which is another reason a clear niche matters: people pay more for a shirt that feels made for them.
Step 3: Build a Small Brand Identity
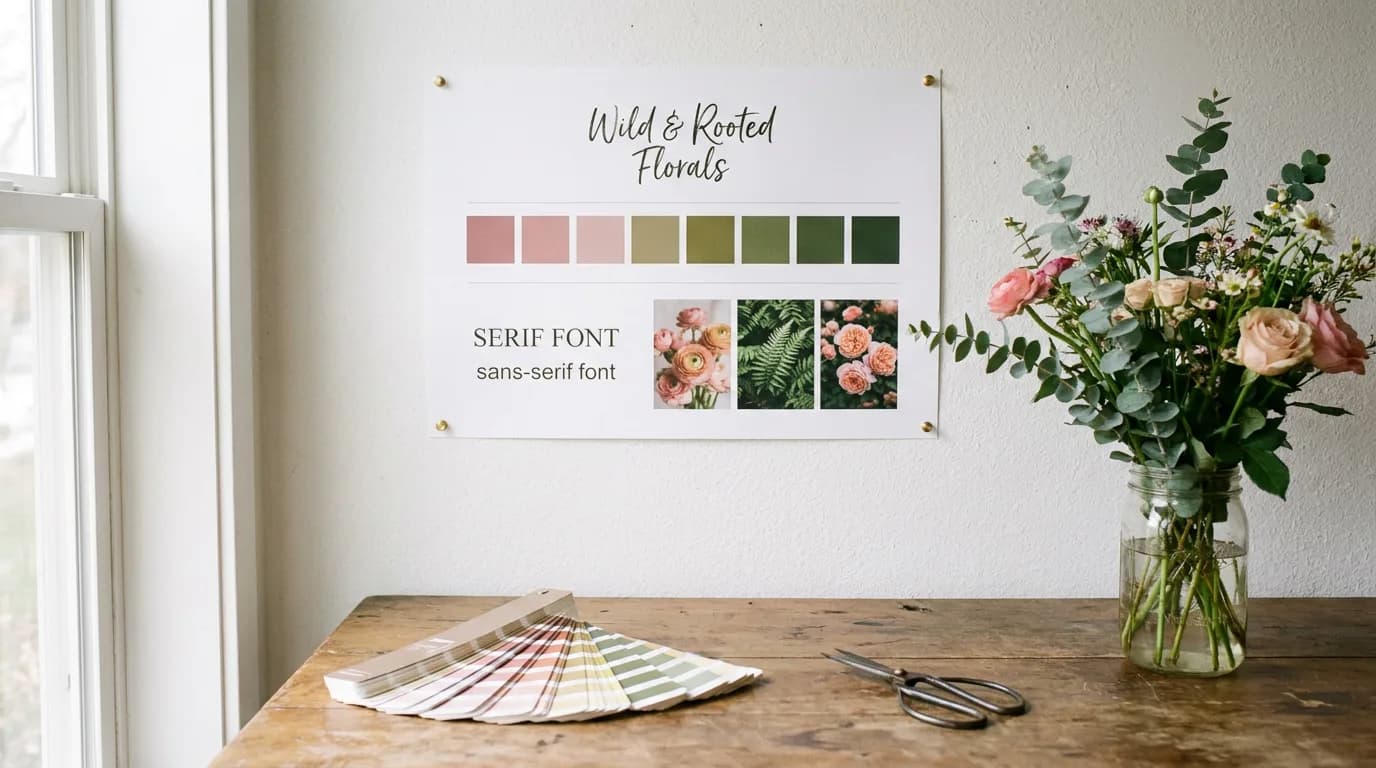
A first clothing brand needs four things, not forty: a name that's available as a domain and social handle, a logo or wordmark that works as a small neck print, two or three brand colors, and one or two fonts. Write them down in one place so every hang tag, listing image and Instagram post matches.
The logo matters more on clothing than on most products because it doubles as a design. A simple wordmark can become a left-chest print, a sleeve hit or an inside-neck label. Keep it to one or two colors so it prints cleanly at small sizes.
Step 4: Design Your First Drop
Three to six designs is enough for a launch. Pick one hero design you believe in most, then two to five that share its color palette and visual style so they look like a collection rather than a random shop.
Playyy's AI t-shirt design generator turns a sentence like "retro trail-map badge in burnt orange and cream, two colors, bold linework" into artwork you can download as an SVG for screen printing or a transparent PNG for print-on-demand uploads. Ask for a second colorway for dark garments and it redraws the same composition.
A few rules keep designs printable: one focal element per design, two or three ink colors, and no hairline detail that will fill in on cotton. Hoodie design ideas follow the same rules, with one addition: the pouch pocket interrupts the front, so small chest prints, back prints and sleeve hits work better than a big centered graphic. For placement measurements, check the t-shirt design size guide before you send files to a printer.
Step 5: Test Every Design on a Mockup Before You Order
A design that looks sharp on a white screen can disappear on heather gray or look tiny on a size XL. Mockups catch those problems for free, before you pay for samples.
In the Playyy editor, the t-shirt mockup generator holds dozens of real tee photos, with crewneck sweatshirts and hoodies alongside. Drop the design onto a shirt, drag and scale the print, then change the garment color with the color picker while the folds and shadows stay in place. Put the whole drop on one page in each color you plan to stock and the weak designs show up immediately.

Once the mockups look right, order one physical sample of each piece. Mockups show placement and color; a sample shows fabric weight, print feel and fit, which is what customers will review you on.
Step 6: Make Listing Images With AI Instead of a Photoshoot
Clothing listings usually need three kinds of image: a clean product shot, the garment on a person, and a close-up of the print. Traditionally that meant a studio, lighting, a model and an editor. In Playyy's workflow those shots are generated from one photo of your sample.
Take a quick phone photo of the sample laid flat. The white background tool relights it onto pure white for the main marketplace image. Then the AI virtual model puts that exact garment on one of six consistent models in full-length, waist-up or detail framing, so every product in the collection looks like it came from the same shoot. Use the same model across the whole drop for that reason.

A full listing set for one product: white background shot first, then on-model, then a detail crop. Add the remaining colorways as mockups behind the color swatches.
Step 7: Set Up the Store
Pick one sales channel to start. Etsy brings built-in shoppers for niche and gift-style designs; a Shopify store gives you your own brand and customer list; both connect to the major print-on-demand providers so orders route to production automatically.
Whichever you choose, write product titles the way customers describe the item ("trail map hiking t-shirt, heavyweight cotton") rather than the design's internal name. Add a size chart for every garment, state production and shipping times plainly, and set a return policy before the first order arrives.
Step 8: Launch to One Audience, Then Reorder What Sells
Launch where your niche already gathers: the subreddit, the club group chat, the local market stall, the creators your audience follows. A short pre-launch period with mockups and a waitlist gives you early buyers on day one instead of an empty store.
After the first few weeks, look at which design sold, which color sold and which channel the buyers came from. Retire what didn't move. Design the next drop around the winner, and once a design sells steadily, compare the print-on-demand unit cost with a small-batch run from a local printer to improve the margin.
What the 3-3-3 Rule Means for a Clothing Launch
The 3-3-3 rule comes from capsule wardrobes: three tops, three bottoms and three pairs of shoes that all combine. Three times three times three gives 27 outfits from nine pieces. The point is coverage through compatibility, not volume.
The same thinking makes a better first collection. Three designs, three garment colors and three products (say a tee, a hoodie and a cap) give you 27 possible listings while every piece still looks like it belongs to one brand. That's enough variety to learn what sells, and small enough to sample, photograph and promote properly on a starter budget.
Your First Drop Is the Real Business Plan
Starting a clothing brand is mostly a sequence of small, testable decisions: one niche, one production model, a handful of designs, and listing images good enough to earn the first sale. Print on demand keeps the downside small, and generating mockups and on-model photos removes the most expensive part of a traditional launch. When the designs are ready to test, put them on garments with the hoodie mockup generator and see the drop as customers will.
Keep Reading
- 10 T-Shirt Design Ideas That Survive the Print — design directions for tees and hoodies that still read on fabric.
- AI Hoodie Design Generator — create hoodie artwork from a prompt and drop it straight onto a mockup.
- Brand Kit Examples That Show What a Kit Includes — keep your logo, colors and fonts consistent across every drop.
- How to Look Like a Real Brand on Shopify — visual identity choices that make a new store feel trustworthy.

James Walker
I help Shopify and Amazon sellers improve product images, promotional banners and ad creatives. I focus on practical visual improvements that help products look more credible and conversion-ready — no design jargon, just what works.
Frequently asked questions
It depends on the production model. Printful's cost breakdown puts a small print-on-demand clothing business at roughly $500 to $1,000, while a traditional bulk launch can need $20,000 to $50,000 just for initial stock. Most of a print-on-demand budget goes to samples, a store subscription and early ad tests, because nothing is printed until a customer pays.