What Is Inpainting, and How Does AI Inpainting Work?
 James Walker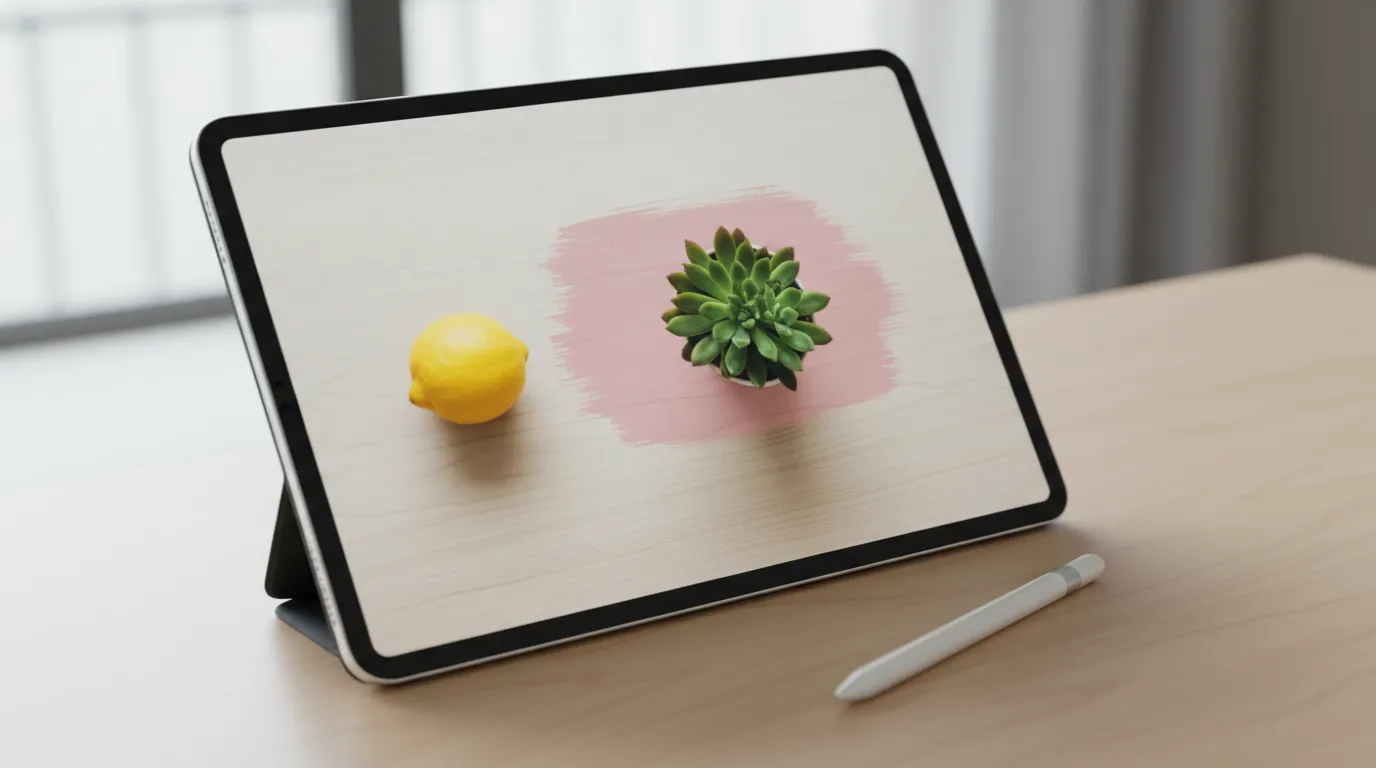
A product shot with a stray price tag, a portrait with a passer-by in the background, a banner where the headline needs to change but the photo is perfect: all three call for the same fix. You don't need a new image. You need to change one area of the existing one and leave the rest untouched. That's inpainting, and AI inpainting has made it a one-step job in most photo editors.
Direct answer. Inpainting is the process of filling in a selected area of an image, called the mask, with new content that blends with everything around it. AI inpainting uses a generative model to rebuild the masked area from the surrounding pixels and, optionally, a text prompt. Pixels outside the mask are kept, so only the chosen area changes.
What Is Inpainting?
The term comes from art conservation, where restorers paint in missing or damaged parts of a canvas so the repair can't be seen. The SIGGRAPH 2000 paper that brought the idea to digital images, Bertalmio, Sapiro, Caselles and Ballester's "Image Inpainting", opens by noting that inpainting, "the technique of modifying an image in an undetectable form, is as ancient as art itself," and describes an algorithm that tries "to replicate the basic techniques used by professional restorators."
Early digital inpainting copied and blended nearby pixels. That works for scratches, dust and thin wires, but it can't invent anything that wasn't already in the picture. Modern AI inpainting can: because the model has learned what scenes look like, it can rebuild a wall behind a removed person, or put a plant where a lemon used to be, and match the light and texture of the original.
In practice, every inpainting job has three inputs:
- The image you want to edit.
- The mask, the area you brush or select. This is the only part that changes.
- The instruction (optional): what should appear in the masked area. Leave it empty and most tools fill the area with plausible background, which is how object removal works.
If you want to try it on a real image, Playyy's AI inpainting tool follows exactly that pattern: brush over the area, describe what should be there, and only that region is regenerated.
How AI Inpainting Works
Most current AI inpainting runs on diffusion models. Hugging Face's Diffusers inpainting documentation describes the mask convention clearly: "the area to inpaint is represented by white pixels and the area to keep is represented by black pixels," and "the white pixels are filled in by the prompt."
Under the hood, the model adds noise to the masked area and then removes it step by step. At every step it looks at the real pixels around the mask and at your prompt, and nudges the masked area toward something that fits both. That is why a good inpaint picks up the lighting direction, grain and color temperature of the original photo rather than looking pasted in.
Three mechanics explain most of the results you'll see:
Inpainting-specific models blend better, but can touch more. The Diffusers docs compare a general checkpoint with an inpainting-tuned one: the tuned model creates "a more natural transition between the masked and unmasked areas," but is "more likely to change your unmasked area." Many tools handle this by pasting the original pixels back outside the mask after generation.
Strength controls how far the fill can drift. A high strength value adds more noise, so the result can be more different from what was there. A low value keeps the fill closer to the original pixels. Changing a red mug to a blue one needs less freedom than replacing the mug with a vase.
Large masks are hard. The LaMa paper (Suvorov et al., 2021) notes that inpainting systems "often struggle with large missing areas, complex geometric structures, and high-resolution images," and addresses it with fast Fourier convolutions that give the network "the image-wide receptive field." That's why LaMa-style models are often used for erasing big objects, where the fill has to borrow from far across the frame.
AI inpainting works because the model always has real pixels on every side of the masked area. Each denoising step is conditioned on that surrounding context, so the fill inherits the original light, perspective and texture. The smaller and more enclosed the mask, the more context the model has, and the more convincing the result tends to be.
Inpainting vs Outpainting vs Object Removal
These three terms describe the same underlying technique, masked generation, pointed at different jobs.
| Technique | What changes | Image shape | Prompt needed? | Typical use |
|---|---|---|---|---|
| Inpainting | A masked area inside the frame is regenerated | Same | Optional | Replace an object, fix a detail, change text |
| Outpainting | New content is added outside the original border | Wider or taller | Optional | Fit a photo to 16:9, uncrop, extend a background |
| Object removal | A masked object is replaced with matching background | Same | No | Remove people, tags, cables, blemishes |
The quick test: if the image needs to change shape, it's outpainting, and AI image expand is the tool for it. If the shape stays and something inside it changes, it's inpainting. Object removal is inpainting with an empty prompt, which is why dedicated erasers like Playyy's object remover don't ask you to describe anything.
Outpainting is the harder of the two, because generated pixels at the outer edge are only conditioned on real pixels from one side. Our AI outpainting guide covers why seams fail there and how to expand in steps.
How to Inpaint an Image Online
The steps are the same in almost every browser editor. Here's the process in Playyy:
- Upload the image. Start from the largest version you have. The fill is generated at the model's working resolution, so a small source gives a soft patch.
- Brush over the area to change. Cover the object plus a small margin around it, including its shadow or reflection.
- Describe what should be there. Name the replacement and its material, for example "a matte white ceramic vase." To remove an object without a prompt, switch to Playyy's Object Remover and brush over the object.
- Apply the edit and compare. Check the edge of the mask first. That's where a bad fill shows.
- Refine locally. If one part is wrong, brush over just that part and run it again rather than starting over.
For edits where you'd rather click than brush, such as recoloring one product or rewriting a label, click-to-edit elements targets a single object from one click and a plain-language instruction.
What Inpainting Is Used For
Product photos. Swap a prop, remove a price sticker, change a surface under the product or add a seasonal detail without a reshoot. One strong base image can become several variants for AI product photography, with the product itself left outside the mask so it stays accurate.
Removing or replacing objects. Tourists in a travel shot, a power line across a sky, a coffee cup on a desk. Empty-prompt inpainting rebuilds the background behind them.
Fixing details. Hands, a smudged logo, gibberish text in an AI-generated image, a stray hair. A small mask over just the broken part fixes it without regenerating a scene that's otherwise right.
Restoration. Scratches, tears and date stamps on scanned photos are the original use case for inpainting, and still one of the most reliable.
A common reason a fill looks wrong is a mask that stops exactly at the object's edge. Extending the mask a few pixels past the outline, and over the shadow, usually fixes it on the next try.
Tips for Better Masks and Prompts
- Mask a little wider than the object. Include its shadow, reflection and a few pixels of edge. A tight mask leaves an outline the model has to work around.
- Don't mask what must stay exact. Product labels, logos and faces you want to keep should sit outside the mask, not inside it with a prompt asking the model to preserve them.
- Describe only the masked area. Write "soft grey studio backdrop," not a description of the whole photo. Naming the main subject again often makes the model paint a second copy of it.
- Name material and light. "Brushed steel," "linen," "warm afternoon light from the left" give the model something concrete to match. For examples of that kind of concrete wording, Playyy's Prompt Gallery collects 1,000+ ready-made image prompts.
- Break big changes into several small masks. One large mask leaves the center far from any real pixels. Two or three smaller passes keep context close.
- Fix text separately. If the area contains lettering, inpaint it on its own pass, or remove it and add real text afterward.
Where Inpainting Still Falls Short
AI inpainting invents content, so it can't recover what was actually behind an object. That's fine for a wall or a sky, and a problem for anything someone might rely on as fact. Keep generated content away from product details, packaging text and anything a customer could read as part of the product.
Hard geometry is the other weak spot. Straight lines that pass through the mask, such as shelf edges, tiles or window frames, can bend slightly, and repeating patterns can shift out of step at the join. Check those first, and if a line is off, re-mask just that section.
Three things to remember: inpainting changes only what you mask, a slightly generous mask beats a precise one, and prompts should describe the fill rather than the whole image. To try it on your own photo, open Playyy's inpaint and replace tool and start with one small fix.

James Walker
I help Shopify and Amazon sellers improve product images, promotional banners and ad creatives. I focus on practical visual improvements that help products look more credible and conversion-ready — no design jargon, just what works.
Frequently asked questions
Inpainting fills in a selected area of an image, called the mask, with new content that matches everything around it. You can use it to remove an object and rebuild the background behind it, replace one element with another, or repair damage such as scratches, text overlays or a broken detail, while every pixel outside the mask stays the same.